

Step-up Authentication is the process of re-authenticating users when they attempt to execute, edit, modify, or access sensitive data in an application.
The user often confirms their identity by One-Time Password (OTP) via SMS or email as a form of 2FA/MFA (two-factor or multi-factor authentication), but this method is flawed as someone with malicious intent can gain access to the OTP. This is where the tru.ID SIMCheck and SubscriberCheck APIs come in.
The tru.ID SIMCheck API indicates whether a SIM card associated with a mobile phone number was changed within the last seven days. This check provides an extra layer of security in your application login flows and can be used to detect attempted SIM swap fraud. It can be used to augment existing 2FA or anti-fraud workflows.
The tru.ID SubscriberCheck API confirms the ownership of a mobile phone number by verifying the possession of an active SIM card with the same number. It also exposes a flag that indicates if the SIM card associated with the mobile phone number has changed within the last seven days. This process provides the security required for passwordless login, with the addition of attempted fraud detection.
This app uses Passwordless Registration with React Native & tru.ID PhoneCheck.
If you wish to skip the tutorial and just access the finished code, you can find it on GitHub.
Getting Started
To complete this tutorial, you'll need to have the following:
Clone the Github repository and check out the starter-files branch to follow this tutorial using the command below in your Terminal:
git clone -b starter-files https://github.com/tru-ID/stepup-auth-simcheck
If you're only interested in the finished code in main, then run:
git clone -b main https://github.com/tru-ID/stepup-auth-simcheck.git
npm install -g @tru_id/cli
tru login <YOUR_IDENTITY_PROVIDER> (this is one of google, github, or microsoft) using the Identity Provider you used when signing up. This command will open a new browser window and ask you to confirm your login. A successful login will show something similar to the below:Success. Tokens were written to /Users/user/.config/@tru_id/cli/config.json. You can now close the browser
config.json file contains some information you won't need to modify. This config file includes your Workspace Data Residency (EU, IN, US), your Workspace ID, and token information such as your scope.Create a new tru.ID project within the root directory with the following command:tru projects:create stepup-auth-simcheck --project-dir .
Start the App
To start the development server, which we'll be using for our mobile app to make API calls to, first install dependencies via:
cd server && npm install
In this tutorial we store some information in Redis, such as the name and phone number. So first, ensure Redis is running, then start the development server by running the command below:
npm start
You'll need ngrok to expose your development server to the Internet, so that your mobile phone application can access it. In your Terminal, run the following command to create an ngrok tunnel on port 4000:
ngrok http 4000
Your unique ngrok URL will be shown in the Terminal and look like the example below:
https://0d834043fe8d.ngrok.io -> http://localhost:4000
To start the mobile application, open up a new terminal and install dependencies via:
cd mobile && npm install
If you wish to test the mobile application on Android, run the command below:
npm run android
Or if you wish to test the mobile application on iOS, run the command below:
npx pod-install$ npm run ios
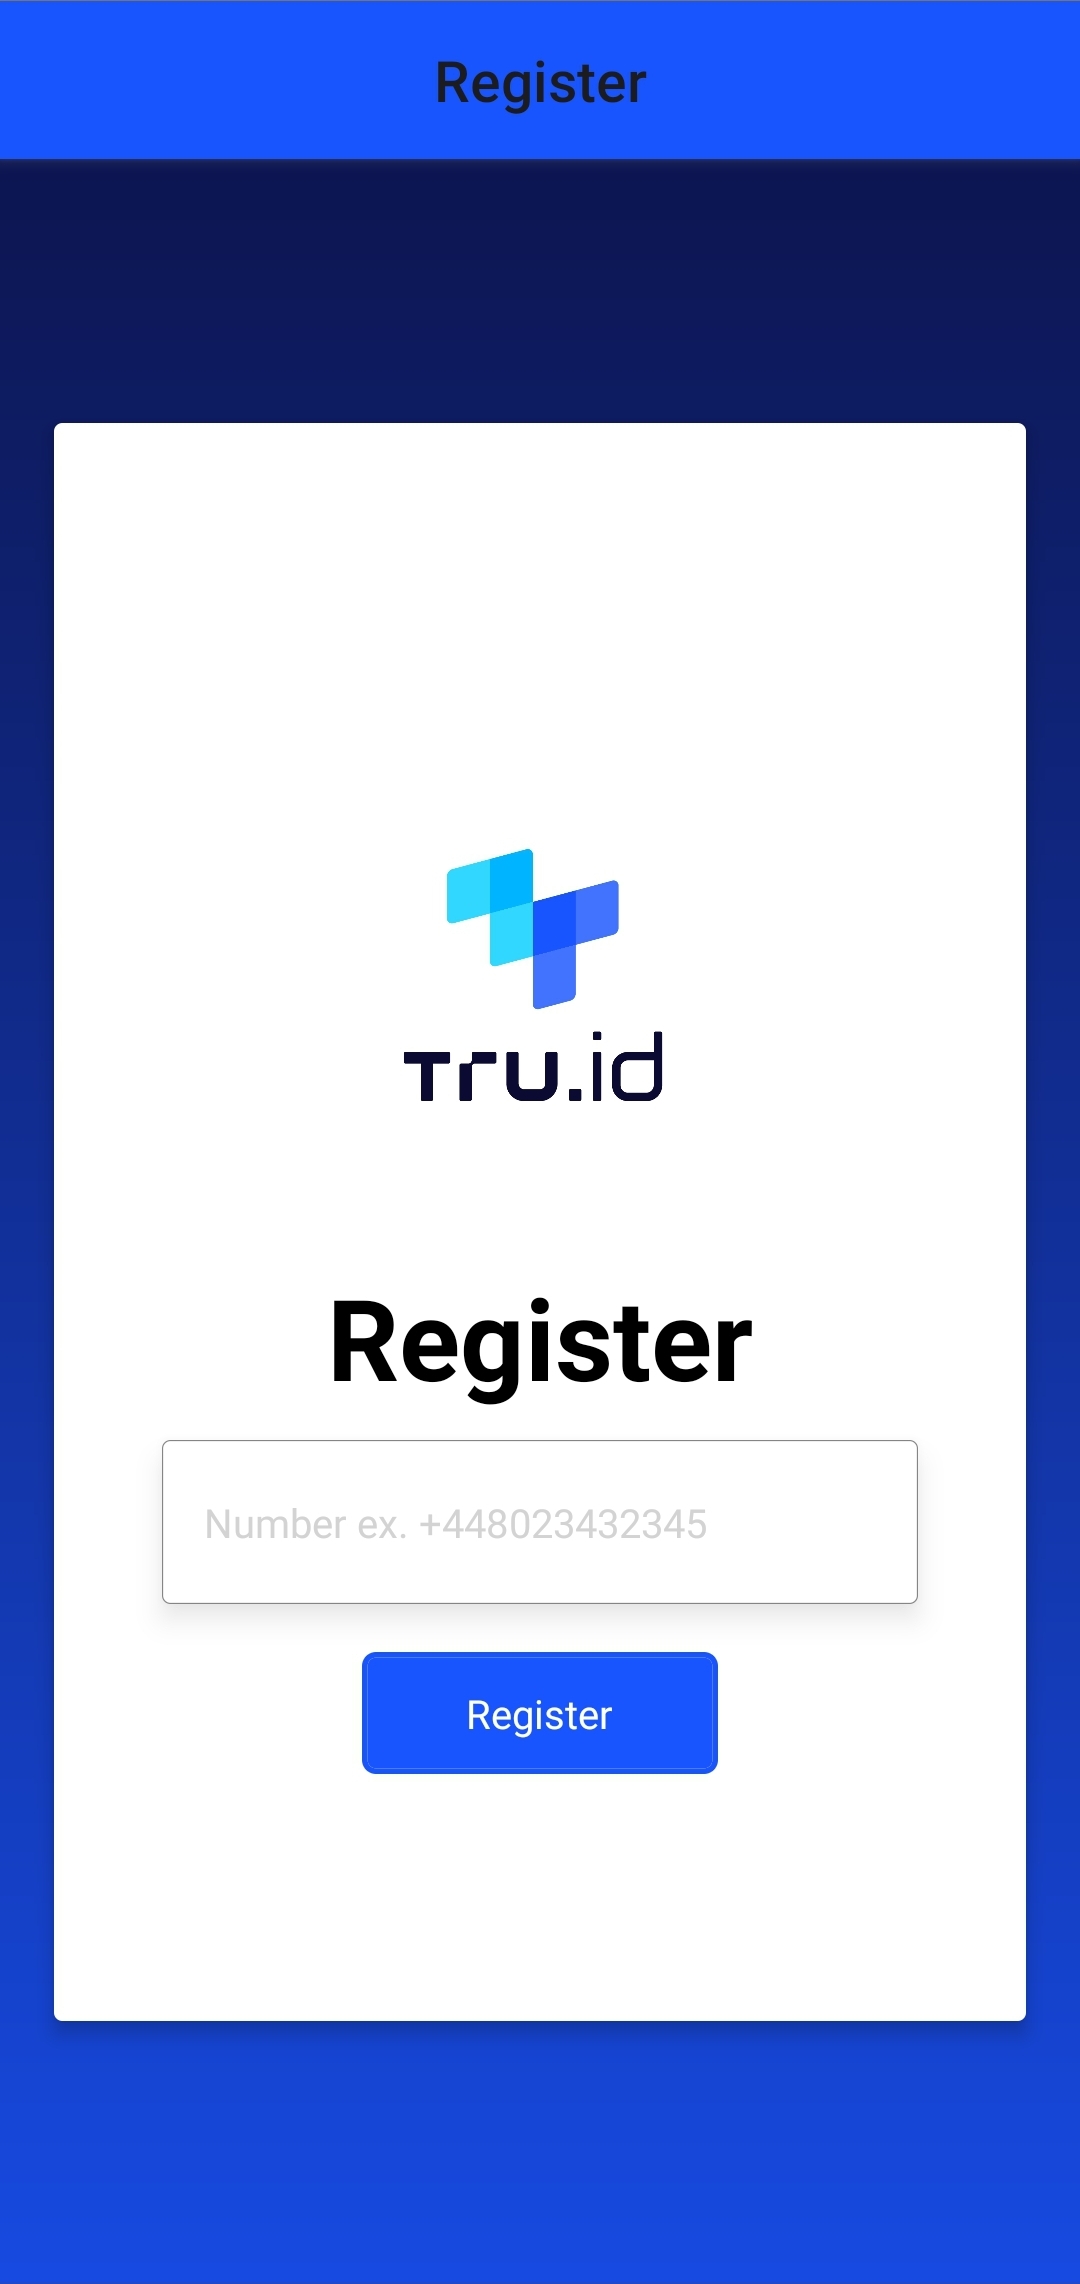
Your app will look like this:
Application structure
The file structure of the app will look similar to the following:
.│ .prettierrc│ README.md│├───mobile│ │ app.json│ │ babel.config.js│ │ index.js│ │ metro.config.js│ │ package.json│ │───src│ │ │ App.js│ │ ││ │ └───screens│ │ | Edit.js│ │ | Home.js│ │ | Register.js│ │ | Screens.js| | |─── images| | tru-logo.png└───server│ index.js│ package.json│└───helperscreateAccessToken.jscreatePhoneCheck.jsgetPhoneCheck.js
This project contains two directories:
mobileserver
The mobile directory contains code for the React Native application which has three screens found in the src/screens folder: Register.js, Edit.js, and Home.js. Screens.js contains code for navigating between screens via React Navigation.
The server directory contains a helpers directory with functions for creating and getting the PhoneCheck result. It has an index.js file in its root which serves routes and their associated handlers for receiving user data at registration.
Storing user data
Some user data needs to be stored, such as the phone number at registration.
For the mobile app to communicate with the server, we need to update the value for base_url found in mobile/src/screens/Register.js with your unique ngrok URL.
Open the Register.js file and update as shown in the example below:
const Register = ({ route, navigation }) => {// server ngrok urlconst base_url = '<Insert your ngrok url here>'}
The server needs functionality to access the Redis instance, in order to store the phone number and user's name. In a new Terminal, navigate to the server directory, then install redis with npm, as shown in the example below:
cd server$ npm install --save redis
The server will need to create a connection to the Redis instance running on port 6379. Create a file in the helpers directory named redisClient.js and paste the following:
const redis = require('redis')const redisClient = redis.createClient(6379)exports.redisClient = redisClient
This Redis client gets used in your server's index.js file, so at the top of the file add the following three lines:
const { promisify } = require('util')const { redisClient } = require('./helpers/redisClient')const get = promisify(redisClient.get).bind(redisClient)
Here, we get the promisify module and our redisClient helper. promisify converts callback-based code into promise-based code.
We then promisify the redisClient.get function.
Now, we need to update app.post('/api/exchange-code') to handle the response if there is a match on the PhoneCheck. Find the line: const { patchResponseStatus, patchResponse } = await patchPhoneCheck(checkId, code) and below this add the following code:
if (match) {const users = await get('users')// check if there is are usersif (users) {const oldUsers = JSON.parse(users)// check if we have a user with that phone number, get it and also filter out the existing user from our array// POINT BEING THE USER WANTS TO RE-REGISTER WITH THE SAME PHONE NUMBERconst existingUser = oldUsers.find((el) => el.phone_number === phone_number)const updatedUsers = oldUsers.filter((el) => el.phone_number !== phone_number,)// check if we have users, if we do, update the phone numberif (existingUser) {existingUser.phone_number = phone_numberexistingUser.name = ''// add the updated user back and set the users to redisupdatedUsers.push(existingUser)redisClient.setex('users', 60 * 60 * 24 * 7, JSON.stringify(updatedUsers))return res.status(200).send({data: { match, phoneNumber: phone_number, name: '' },})}// we have old users but user has never registered beforeconst userProperties = {phone_number,name: '',}oldUsers.push(userProperties)redisClient.setex('users', 60 * 60 * 24 * 7, JSON.stringify(oldUsers))} else {const userProperties = {phone_number,name: '',}const users = []users.push(userProperties)redisClient.setex('users', 60 * 60 * 24 * 7, JSON.stringify(users))}}res.status(200).send({ data: { match, phoneNumber: phone_number, name: '' } })
Here, we get the check_id and phone_number as query parameters.
We then check if we have a user attempting to register again, if we do we update the phone_number, add a name field, store back in Redis, and send a 200 - OK response back to the mobile client sending the match result. If there isn't an existing user we create a new user and store in Redis.
If there are no users at all, we create a new users array, push a new user onto it and store it in Redis. We send a 200 - OK response back to the mobile client with the match result.
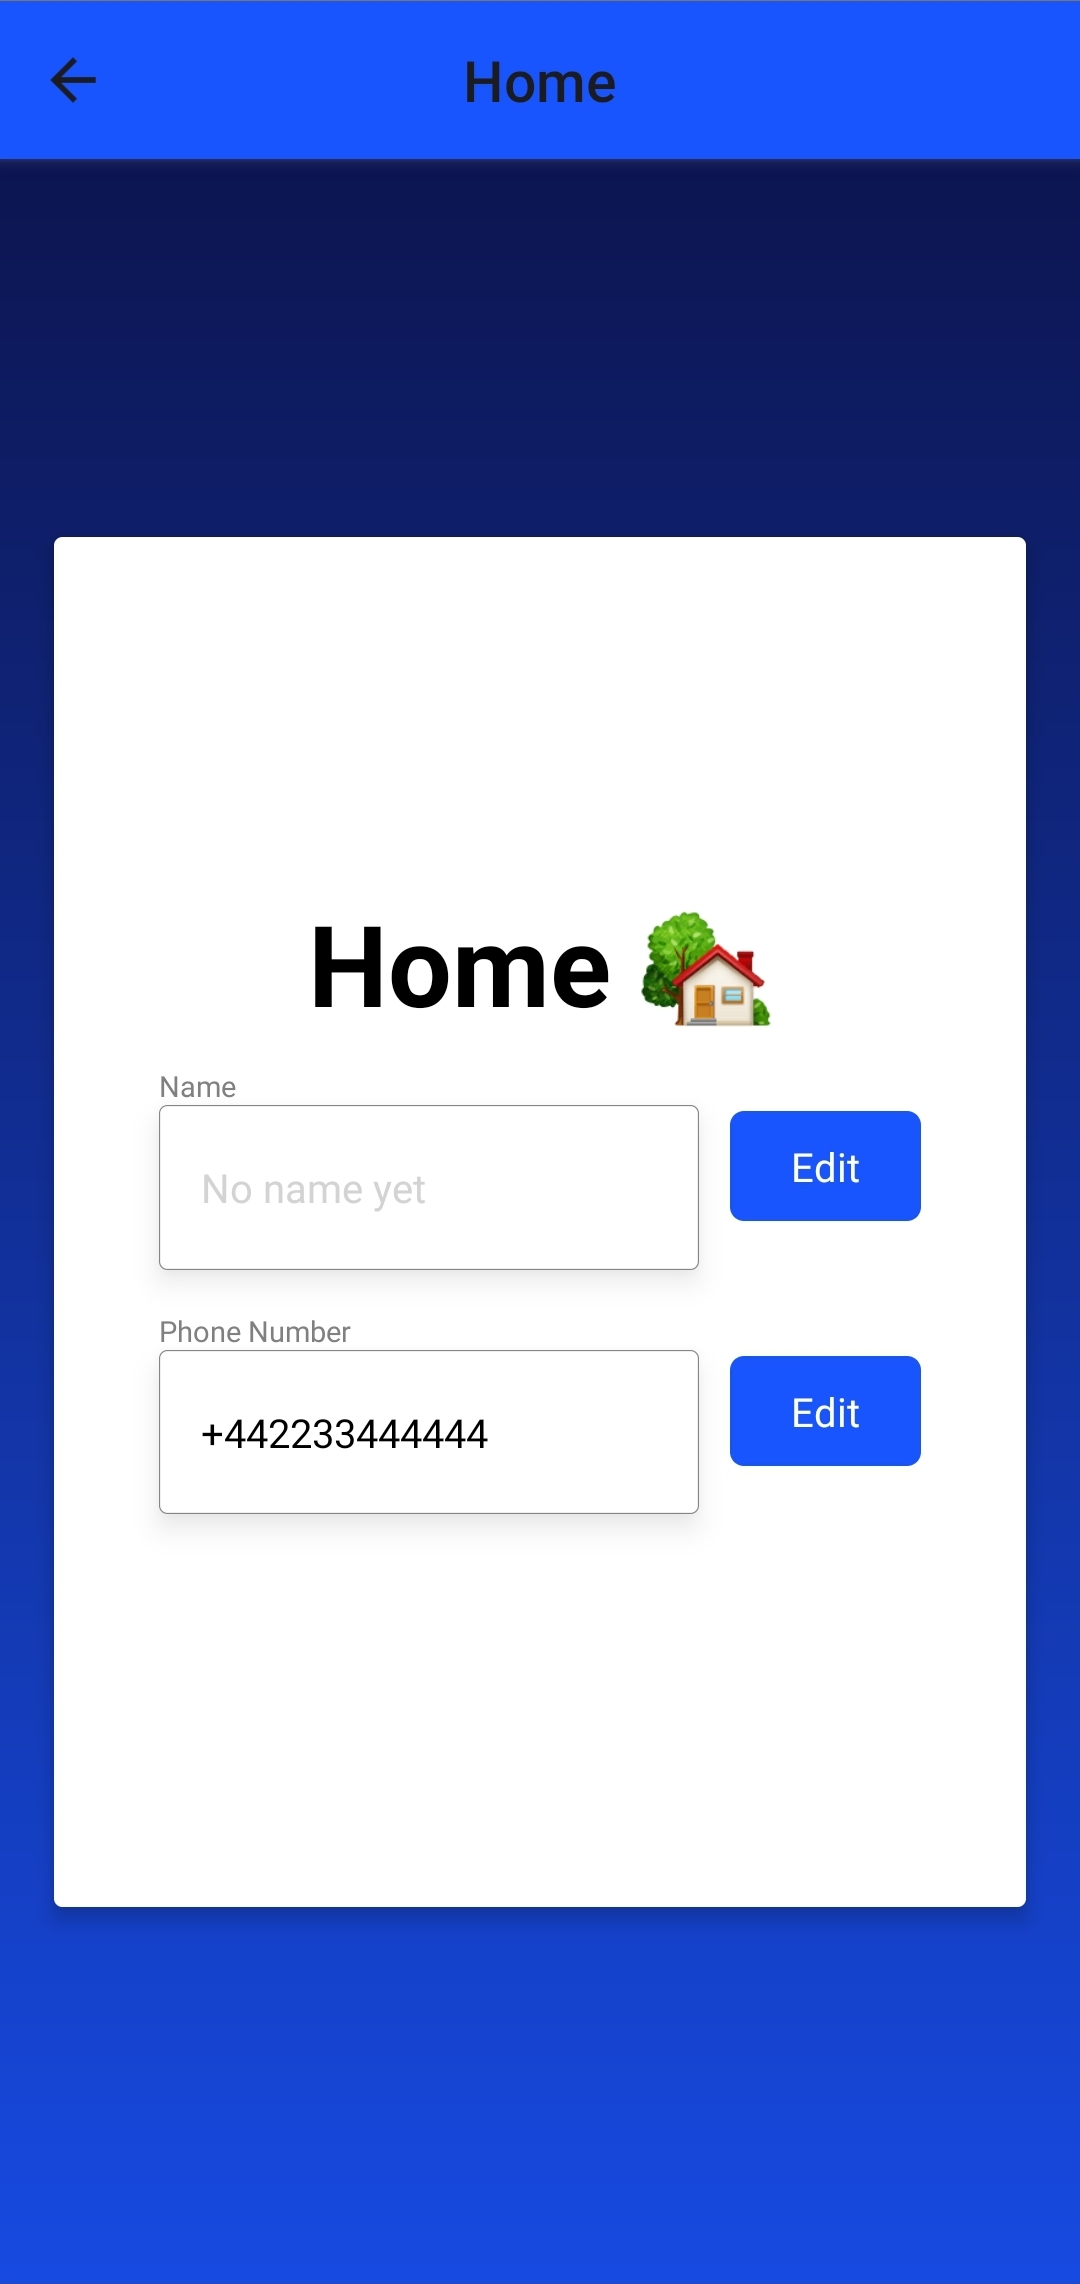
When we've successfully registered, it will take us to our Home screen which looks like this:

Update Home screen UI
The Home screen UI needs updating to display the user's name and phone number. Open the mobile/src/screens/Home.js file and replace the contents of the return() with the code shown in the example below:
return (<LinearGradientcolors={['rgba(25, 85, 255, 40)', 'rgba(10, 10, 50, 66)']}useAngle={true}angle={0}style={{flex: 1,}}><SafeAreaView style={styles.container}><View style={styles.box}><Text style={styles.heading}>Home 🏡</Text><View><Text style={styles.label}>Name</Text><View style={styles.list}><TextInputstyle={styles.textInput}placeholder="No name yet"placeholderTextColor="#d3d3d3"value={name}editable={false}/><TouchableOpacityonPress={() =>navigation.navigate('Edit', {name,phoneNumber,})}style={styles.button}><Text style={styles.buttonText}>Edit</Text></TouchableOpacity></View></View><View><Text style={styles.label}>Phone Number</Text><View style={styles.list}><TextInputstyle={styles.textInput}placeholder="Number ex. +448023432345"placeholderTextColor="#d3d3d3"value={phoneNumber}editable={false}/><TouchableOpacityonPress={() =>navigation.navigate('Edit', {phoneNumber,})}style={styles.button}><Text style={styles.buttonText}>Edit</Text></TouchableOpacity></View></View></View></SafeAreaView></LinearGradient>)
Here, we have two TextInput components with default values of name and phoneNumber respectively. If the value is undefined it shows the predefined placeholder.
The TextInput for name will be initialized to an empty string the first time our app is used since we set that as the default value on the server. This has a default value because the name field is not provided during registration.
Next, we have two TouchableOpacity buttons which navigate us to the Edit page when pressed.
The Home screen UI should now look like this:
Display user data in Edit screen
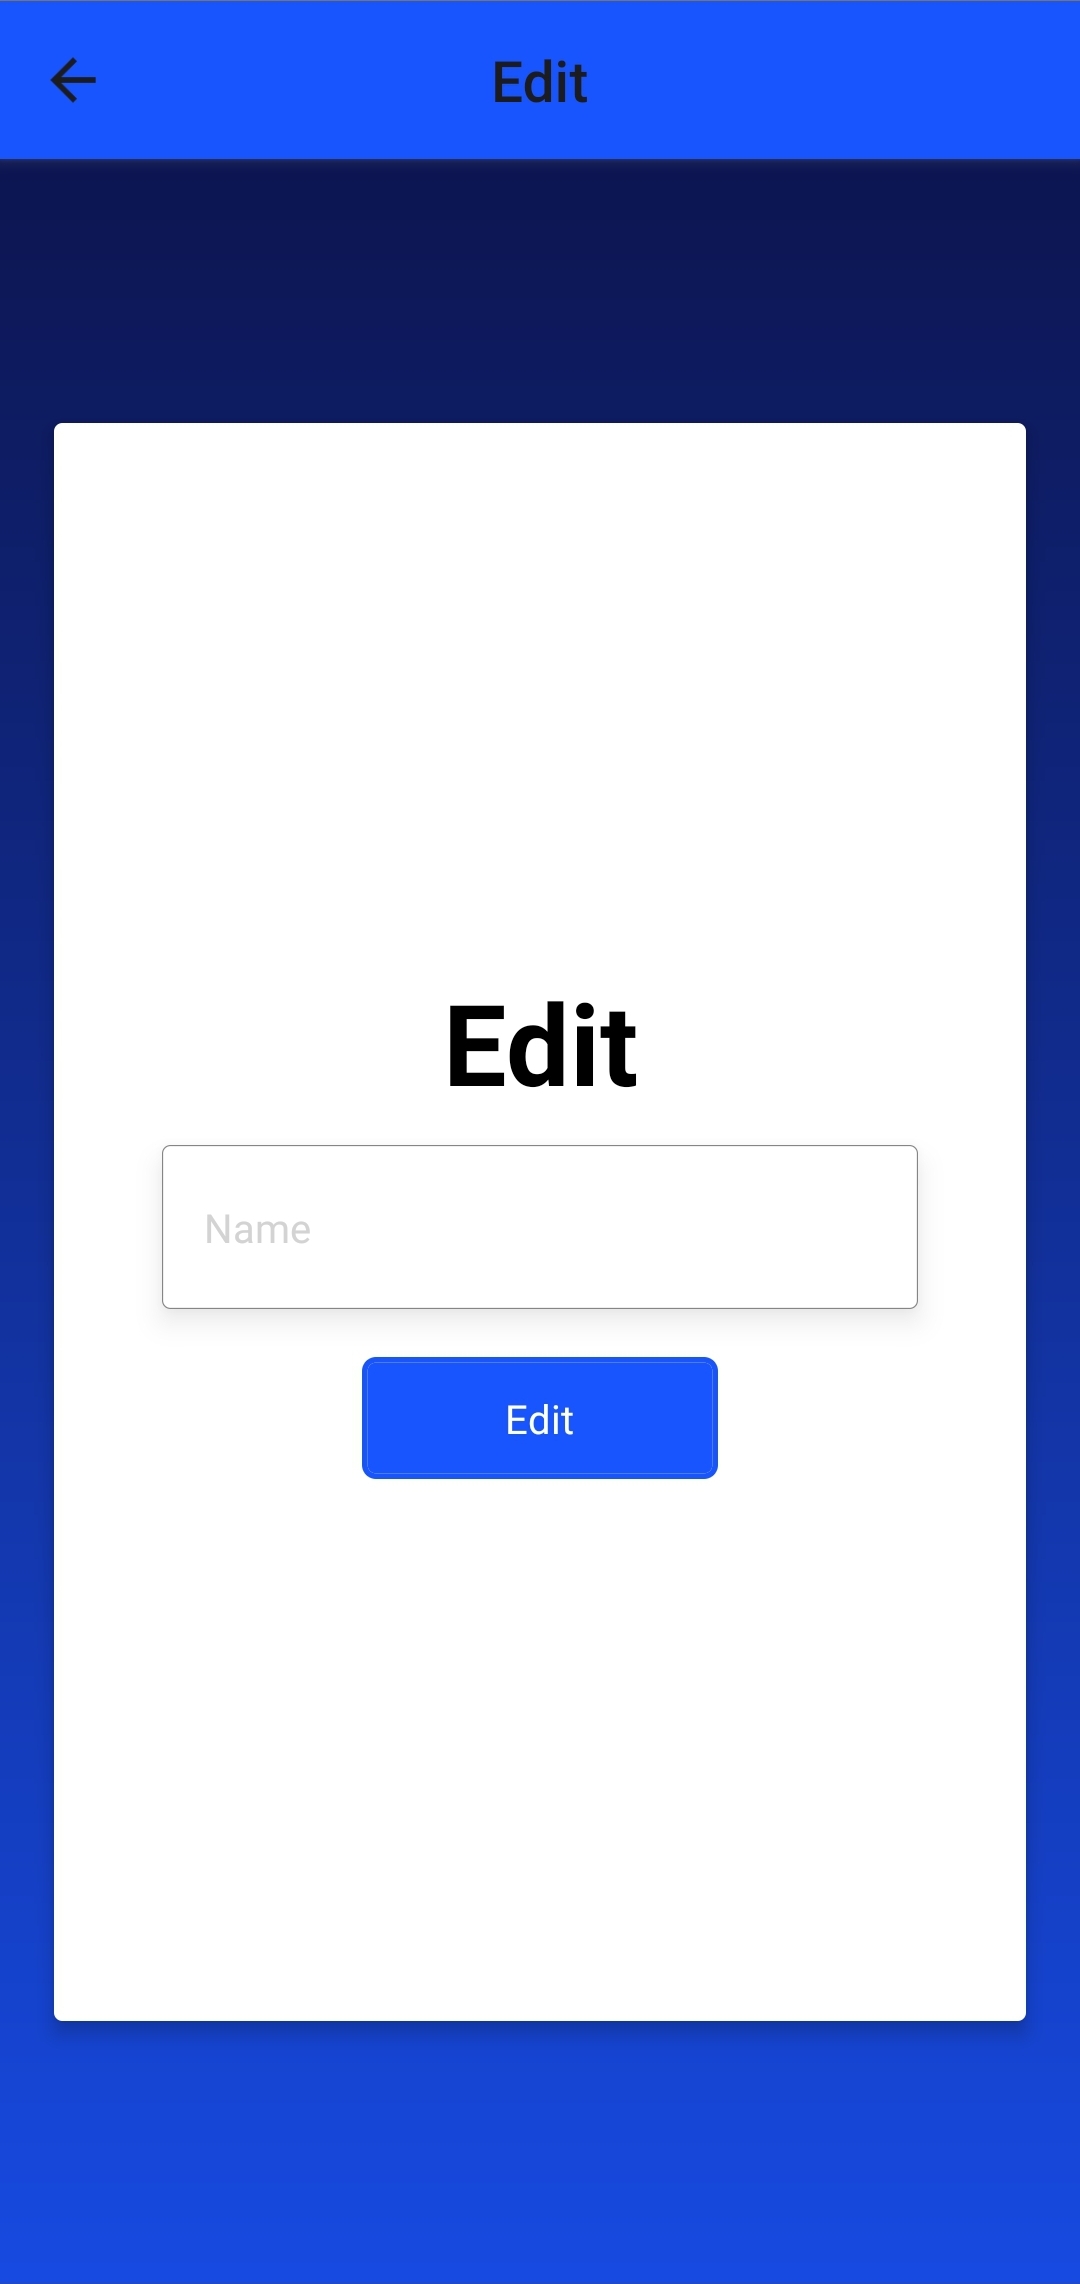
If you navigate to the Edit screen by pressing the first TouchableOpacity, it looks like this:

We would like to display either the phone number or name depending on which TouchableOpacity is pressed. First, open mobile/src/Edit.js and update the base_url with your server's ngrok URL. For example:
const Edit = ({ route, navigation }) => {// server ngrok urlconst base_url = '<your ngrok url>'}
Now, add slices of state for the phone number, name, and a loading variable (the last 3 lines in the example below):
const Edit = ({ route, navigation }) => {const base_url = '<your ngrok url>'const { params } = routeconst { name: usersName, phoneNumber: usersPhoneNumber } = paramsconst [phoneNumber, setPhoneNumber] = useState(usersPhoneNumber)const [name, setName] = useState(usersName)const [loading, setLoading] = useState(false)}
Here, we get the name and phone number from the route parameter and rename it.
We then set them to the initial state of phoneNumber and name respectively.
Next, update the return statement with the following:
return (<LinearGradientcolors={['rgba(25, 85, 255, 40)', 'rgba(10, 10, 50, 66)']}useAngle={true}angle={0}style={{flex: 1,}}><SafeAreaView style={styles.container}><View style={styles.box}><Text style={styles.heading}>Edit</Text>{name || (typeof name !== 'undefined' && phoneNumber) ? (<TextInputstyle={styles.textInput}placeholder="Name"placeholderTextColor="#d3d3d3"value={name}editable={!loading}onChangeText={(value) => setName(value)}/>) : (<TextInputstyle={styles.textInput}placeholder="Number ex. +448023432345"placeholderTextColor="#d3d3d3"keyboardType="phone-pad"value={phoneNumber}editable={!loading}onChangeText={(value) => setPhoneNumber(value.replace(/\s+/g, ''))}/>)}{loading ? (<ActivityIndicatorstyle={styles.spinner}size="large"color="#00ff00"/>) : (<TouchableOpacity onPress={editHandler} style={styles.button}><Text style={styles.buttonText}>{usersName ? 'Edit' : 'Add'}</Text></TouchableOpacity>)}</View></SafeAreaView></LinearGradient>)
This layout can output one of two different displays. Either it will render a TextInput for the user to update their name or, it’ll render a TextInput for the phoneNumber. The button will either display Add or Edit for the label, depending on whether that field already exists.
Your UI will look like this:
Edit the user's name
To provide some added security to this application, when a user edits their name, we perform a SIMCheck. If this check fails, the edit request is stopped and no fields are updated.
The first step to this process is to add helpers for handling error and success scenarios. In the Edit.js file, locate the line: const editHandler = () => {} and add the following code above this line:
const errorHandler = ({ title, message }) => {return Alert.alert(title, message, [{text: 'Close',onPress: () => console.log('Alert closed'),},])}const successHandler = (value) =>Alert.alert('Successful!',`Successfully ${usersName ? 'added' : 'edited'} ${value}`,[{text: 'Close',onPress: () => {value === 'name'? navigation.navigate({name: 'Home',params: { name },merge: true,}): navigation.navigate({name: 'Home',params: { phoneNumber },merge: true,})},},],)
The successHandler helper function renders an Alert where we conditionally render a message. When we dismiss the Alert, if we updated the name value, it navigates us to the Home screen and updates the name property in the route parameters of the Home screen. If we updated the phoneNumber it simply navigates us back to the Home screen.
The application now needs the editHandler to be populated with functionality. This functionality will need to check if the user's name state exists, which indicates the user wants to edit the name property and whether their phone number is passed in the route parameter.
If it has been passed, then a POST request is made to /api/edit, with the value query parameter set to name. This endpoint is implemented later in the tutorial.
In the response, if the SIM has changed, this means their edit attempt was rejected, and the user is informed that the edit attempt failed via the errorHandler function. If the SIM hasn't changed, their edit was successful, so the user is notified via the successHandler function.
In Edit.js find the const editHandler = () => {} line and replace it with the following:
const editHandler = async () => {// check if it's the user's name that was editedif (name && usersPhoneNumber) {const body = { name, phone_number: usersPhoneNumber }setLoading(true)console.log('creating SIMCheck for', body)try {const response = await fetch(`${base_url}/api/edit?value=name`, {method: 'POST',body: JSON.stringify(body),headers: {'Content-Type': 'application/json',},})const simCheckResult = await response.json()console.log(simCheckResult)if (!simCheckResult.data.simChanged) {setLoading(false)successHandler('name')} else {setLoading(false)errorHandler({title: 'Something went wrong',message: 'Failed to edit name.',})}} catch (e) {setLoading(false)errorHandler({ title: 'Something went wrong', message: e.message })}}}
The UI if the the edit failed will look like this:

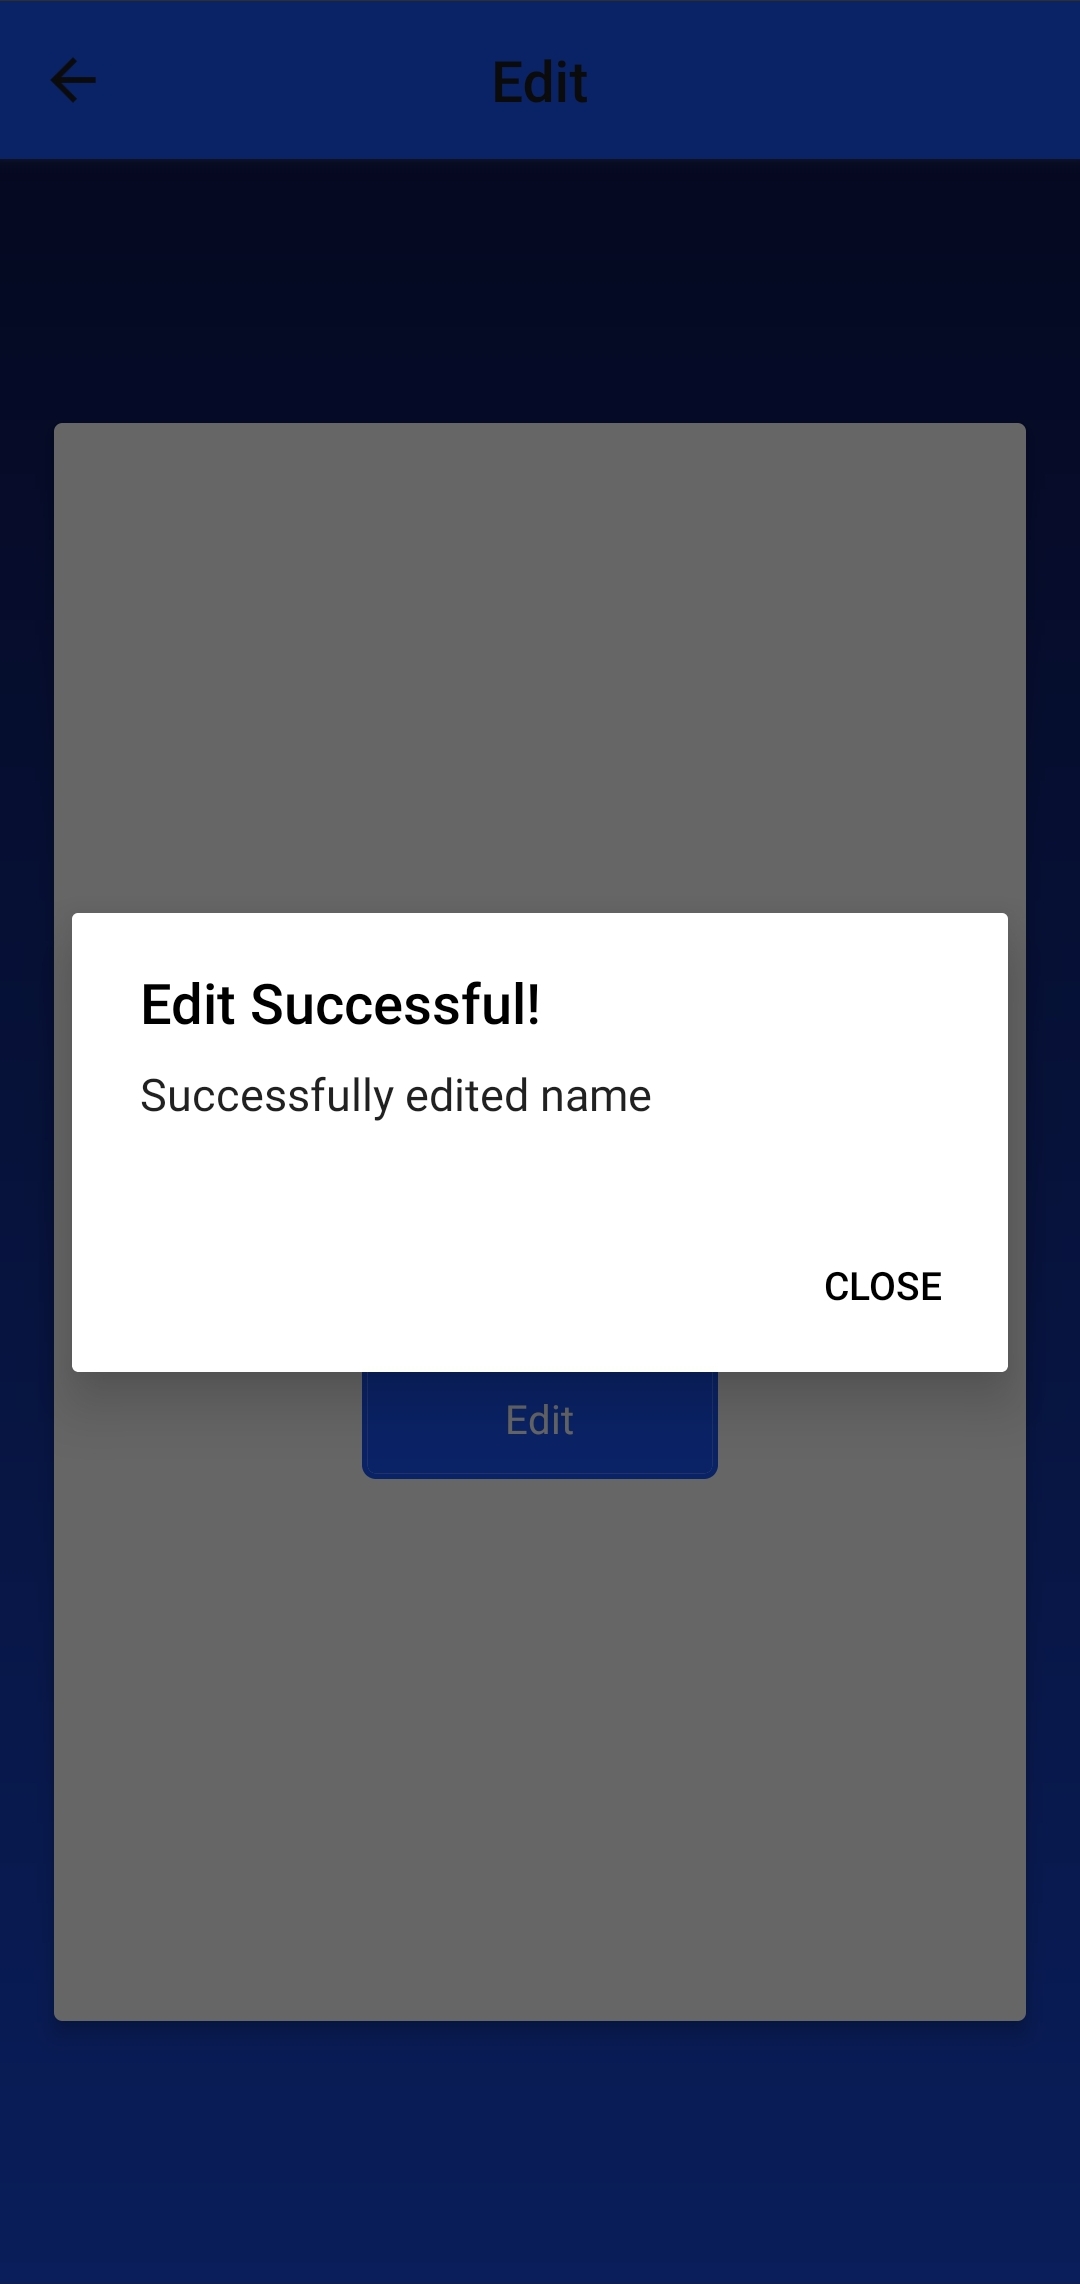
The UI if the the edit succeeded will look like this:
Next, we need to implement this logic on the server. For this, create a file named createSimCheck.js inside server/helpers/ and paste the following:
const fetch = require('node-fetch')const { createAccessToken } = require('./createAccessToken')exports.createSimCheck = async (phoneNumber) => {let simChangedconst accessToken = await createAccessToken('sim_check')const body = JSON.stringify({ phone_number: phoneNumber })const response = await fetch(`https://{data_residency}.api.tru.id/sim_check/v0.1/checks`,{method: 'POST',body,headers: {Authorization: `Bearer ${accessToken}`,'Content-Type': 'application/json',},},)if (response.status === 201) {const data = await response.json()console.log(data)simChanged = !data.no_sim_change} else {throw new Error(`Unexpected API response ${response.status}`,response.toString(),)}return { simChanged }}
Here, create a tru.ID access token passing in the scope - sim_check, which then creates a SIMCheck.
If the status code 201 - created is received, the POST was successful and the value of simChanged was saved.
Time to import this functionality into our index.js file:
const { createSimCheck } = require('./helpers/createSimCheck')
Next, create the route handler for handling POST edit requests. Add a new endpoint for the path /api/edit to the index.js file:
app.post('/api/edit', async (req, res) => {const { value } = req.queryconst { name, phone_number } = req.bodytry {if (value === 'name') {const users = await get('users')if (users) {const currentUsers = JSON.parse(users)console.log('current users for edit / add name are', currentUsers)const currentUser = currentUsers.find((el) => el.phone_number === phone_number,)const otherUsers = currentUsers.filter((el) => el.phone_number !== phone_number,)// if we have a user with that phone number, update phone numberif (currentUser) {console.log(currentUser.phone_number.trim())const { simChanged } = await createSimCheck(currentUser.phone_number.trim(),)//update the users name if SIM has not changed recently and add user back into users arrayif (!simChanged) {currentUser.name = nameotherUsers.push(currentUser)redisClient.setex('users',60 * 60 * 24 * 7,JSON.stringify(otherUsers),)return res.status(201).send({data: { simChanged, name },message: 'SIMCheck created',})}return res.status(201).send({data: { simChanged, name },message: 'SIMCheck created',})}}}} catch (e) {console.log(JSON.stringify(e))res.status(500).send({ message: e.message })}})
Here, the value is retrieved from the query parameters, and name and phone_number from the request body.
If the value is name, the server pulls the user that the phone number matches to, creates a SIMCheck, and then updates the user to have the new name.
On a successful change, the HTTP status 201 - created is returned with the simChanged value.
If any errors are thrown, it's caught, and a 500 HTTP status is returned to the client.
Edit the user's phone number
On the Home screen, if the user presses the second TouchableOpacity button, the UI will look like this:
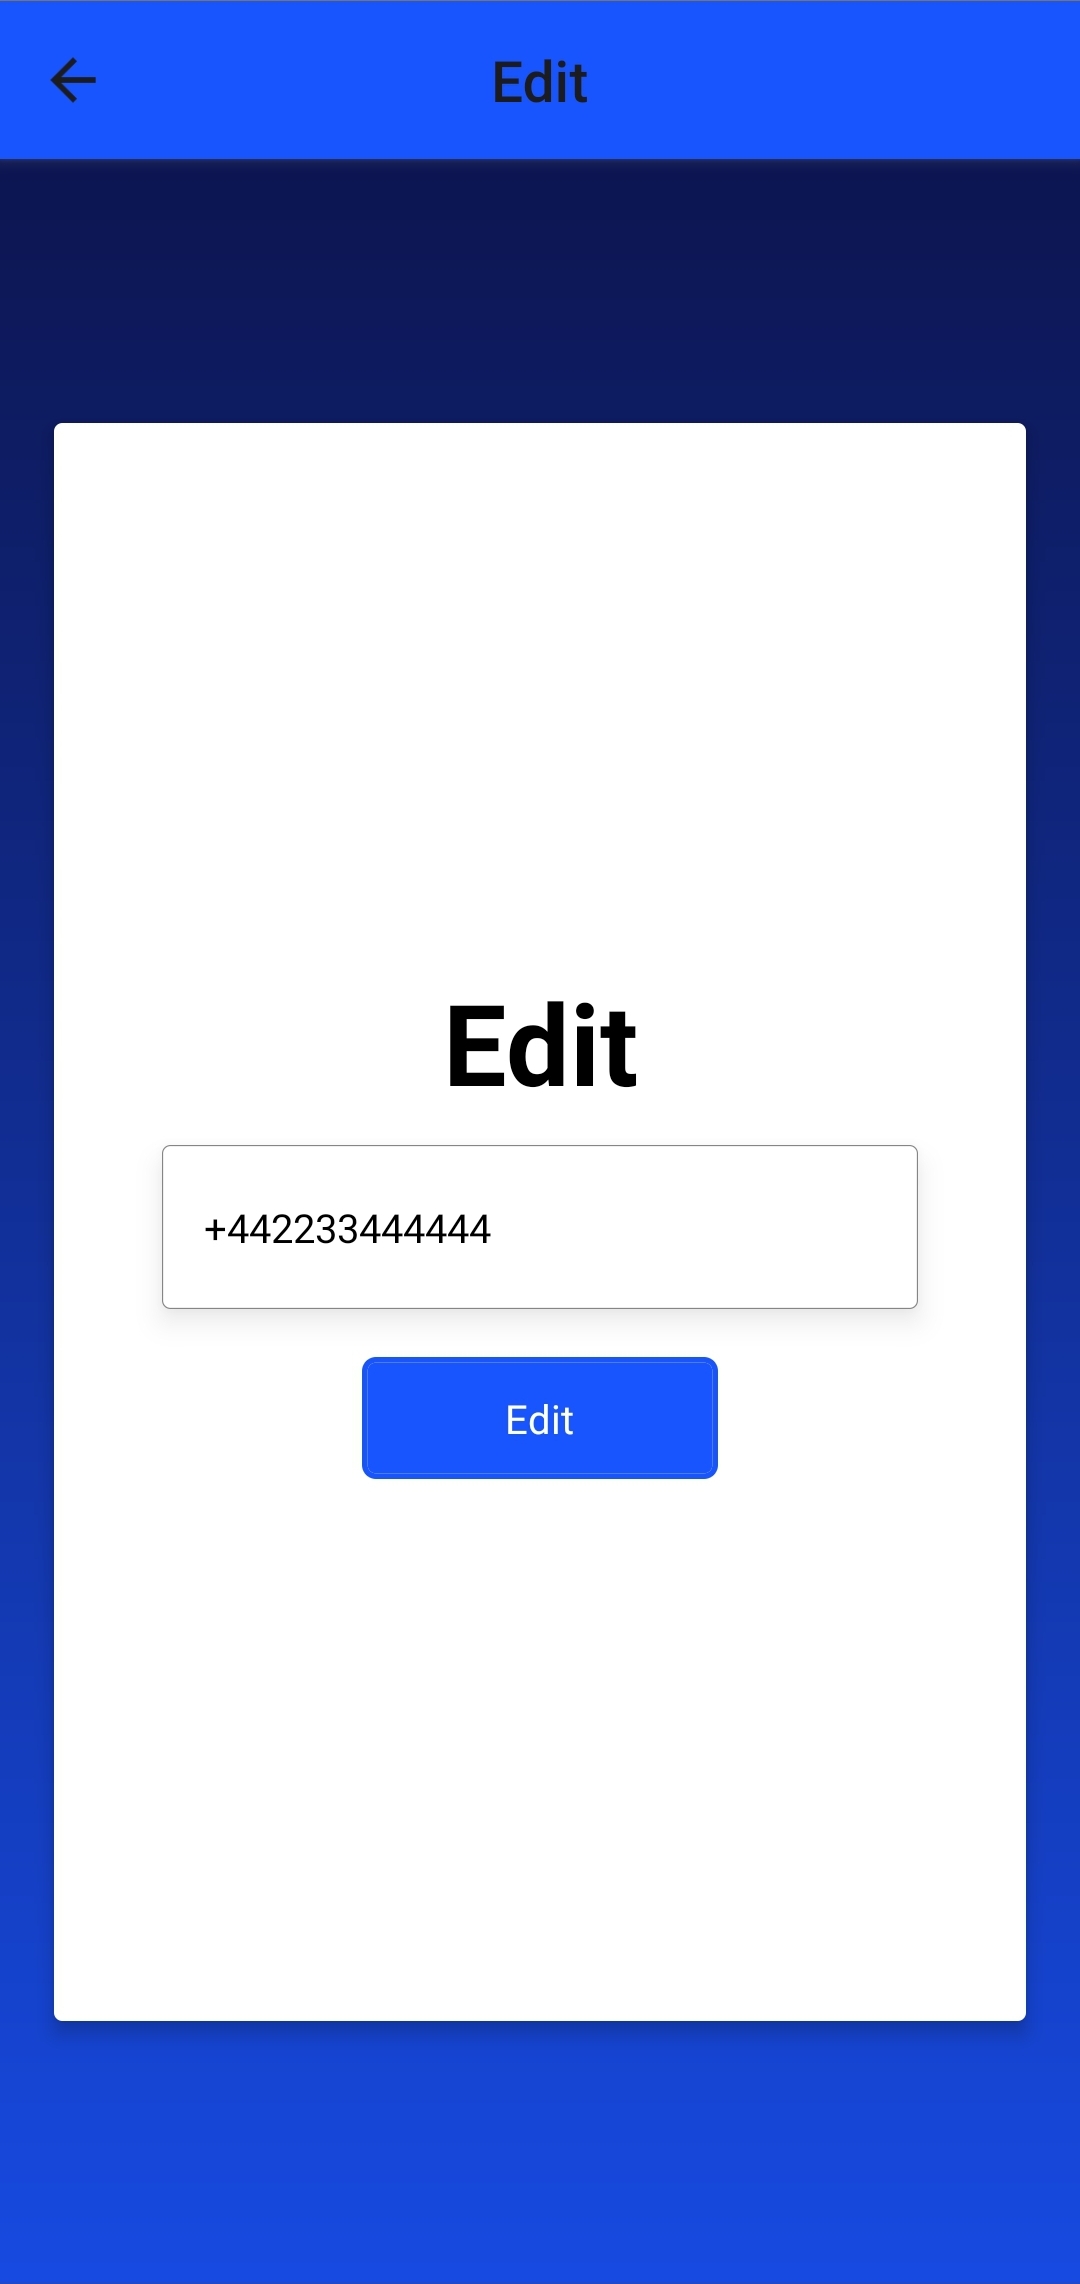
When a phone number is edited, the application performs a SubscriberCheck. If the check fails, there is either a SIM swap occuring, or the number doesn't match the SIM. Either way, the update isn't performed.
In mobile/src/screens/Edit.js, in the editHandler function, update the contents of this to have an else if. This checks if the POST request to the /api/edit endpoint has phone_number as a query parameter. The body of the POST request will contain the old phone number on record.
const editHandler = async () => {// check if it's the user's name that was editedif (name && usersPhoneNumber) {...} catch (e) {setLoading(false)errorHandler({ title: 'Something went wrong', message: e.message })}} else if (phoneNumber) {const body = { phone_number: phoneNumber.trim() }setLoading(true)console.log('creating SubscriberCheck for', body)try {const response = await fetch(`${base_url}/api/edit?value=phone_number`, {method: 'POST',body: JSON.stringify(body),headers: {'Content-Type': 'application/json',},})const data = await response.json()console.log(data)if(!data.data){errorHandler({title: 'Something went wrong',message: 'Number not supported',})return}} catch (e) {setLoading(false)errorHandler({ title: 'Something went wrong', message: e.message })}}}
This endpoint doesn't yet have any functionality on the server, though. To start with, create create a file called createSubscriberCheck.js inside server/handlers/ and paste the following code:
const fetch = require('node-fetch')const { createAccessToken } = require('./createAccessToken')exports.createSubscriberCheck = async (phoneNumber) => {let checkUrllet checkIdlet numberSupported = trueconst accessToken = await createAccessToken('subscriber_check')const body = JSON.stringify({ phone_number: phoneNumber })const response = await fetch(`https://{data_residency}.api.tru.id/subscriber_check/v0.2/checks`,{method: 'POST',body,headers: {Authorization: `Bearer ${accessToken}`,'Content-Type': 'application/json',},},)if (response.status === 201) {const data = await response.json()console.log(data)checkUrl = data._links.check_url.hrefcheckId = data.check_id} else if (response.status === 400) {console.log('number not supported')numberSupported = false} else {throw new Error(`Unexpected API response ${response.status}`,response.toString(),)}return { checkId, checkUrl, numberSupported }}
The creation of a SubscriberCheck works in the following steps:
A phone number is passed in E.164 format.
An access token is created with the subscriber_check defined as the scope.
A POST request is made to the PhoneCheck endpoint using the phoneNumber and accessToken to create the resource.
If the status code of 201 - created is received, we know the POST was successful, and the values of check_url and check_id are saved.
If the status code of 400 - Bad Request is received, we know the number is not supported and set numberSupported to false. Any other status codes are unexpected errors and handled accordingly.
At the top of server/index.js, add the following to the list of imports:
const { createSubscriberCheck } = require('./helpers/createSubscriberCheck')
Find app.post('/api/edit', async (req, res) => {, and add the else if block, as displayed in the example below:
app.post('/api/edit', async (req, res) => {const { value } = req.queryconst { name, phone_number } = req.bodytry {if (value === 'name') {...} else if (value === 'phone_number') {const { checkId, checkUrl, numberSupported } =await createSubscriberCheck(phone_number.trim())if (!numberSupported) {return res.status(400).send({ message: 'number not supported' })} else {return res.status(201).send({data: { checkId, checkUrl },message: 'PhoneCheck created',})}}} catch (e) {console.log(JSON.stringify(e))res.status(500).send({ message: e.message })}})
The piece of code you've added to your /api/edit POST request handler checks if the query parameter value equals phone_number. If a match is made, a SubscriberCheck is made. If the number is not supported we inform the client. Otherwise, that means a SubscriberCheck was created, and we return the checkId and checkUrl values to the client.
The next step is to open the Check URL and get the SubscriberCheck result.
First add the TruSdkReactNative import to the top of the mobile/src/screens/Edit.js file:
import TruSdkReactNative from '@tru_id/tru-sdk-react-native'
The SDK will be used to open the Check URL. Update the editHandler with the following functionality:
const editHandler = async () => {// check if it's the user's name that was editedif (name && usersPhoneNumber) {...} else if (phoneNumber) {...// open Check URLconst checkResponse = await TruSdkReactNative.openWithDataCellular(response.data.check_url);// pass the new phone number and old phone number as query paramsconst resp = await fetch(`${base_url}/api/edit?check_id=${checkResponse.response_body.check_id}&code=${checkResponse.response_body.code}&old_phone_number=${usersPhoneNumber.trim()}&new_phone_number=${phoneNumber.trim()}`,)const subscriberCheckResult = await resp.json()if (resp.status !== 200) {setLoading(false)errorHandler({title: 'Something went wrong',message: 'Failed to edit phone number',})return}if (subscriberCheckResult.data.no_sim_change &&subscriberCheckResult.data.match) {setLoading(false)successHandler('number')} else {setLoading(false)errorHandler({title: 'Something went wrong',message: 'Failed to edit phone number',})}} catch (e) {setLoading(false)errorHandler({ title: 'Something went wrong', message: e.message })}}}
Here, using the tru.ID React Native SDK, the Check URL is retrieved, which is then used to get the SubscriberCheck result by making a GET request to /api/edit. This request passes in the check_id, old_phone_number, and new_phone_number query parameters.
check_id is the checkId parameter from the SubscriberCheck response, old_phone_number is the existing phone number stored, and new_phone_number is the one the user has requested their account be updated to.
If a match is successful, and the SIM card hasn't been changed, the user's requested updates are stored. The next step for the user is to see the success of this request. This is where the successHandler comes in.
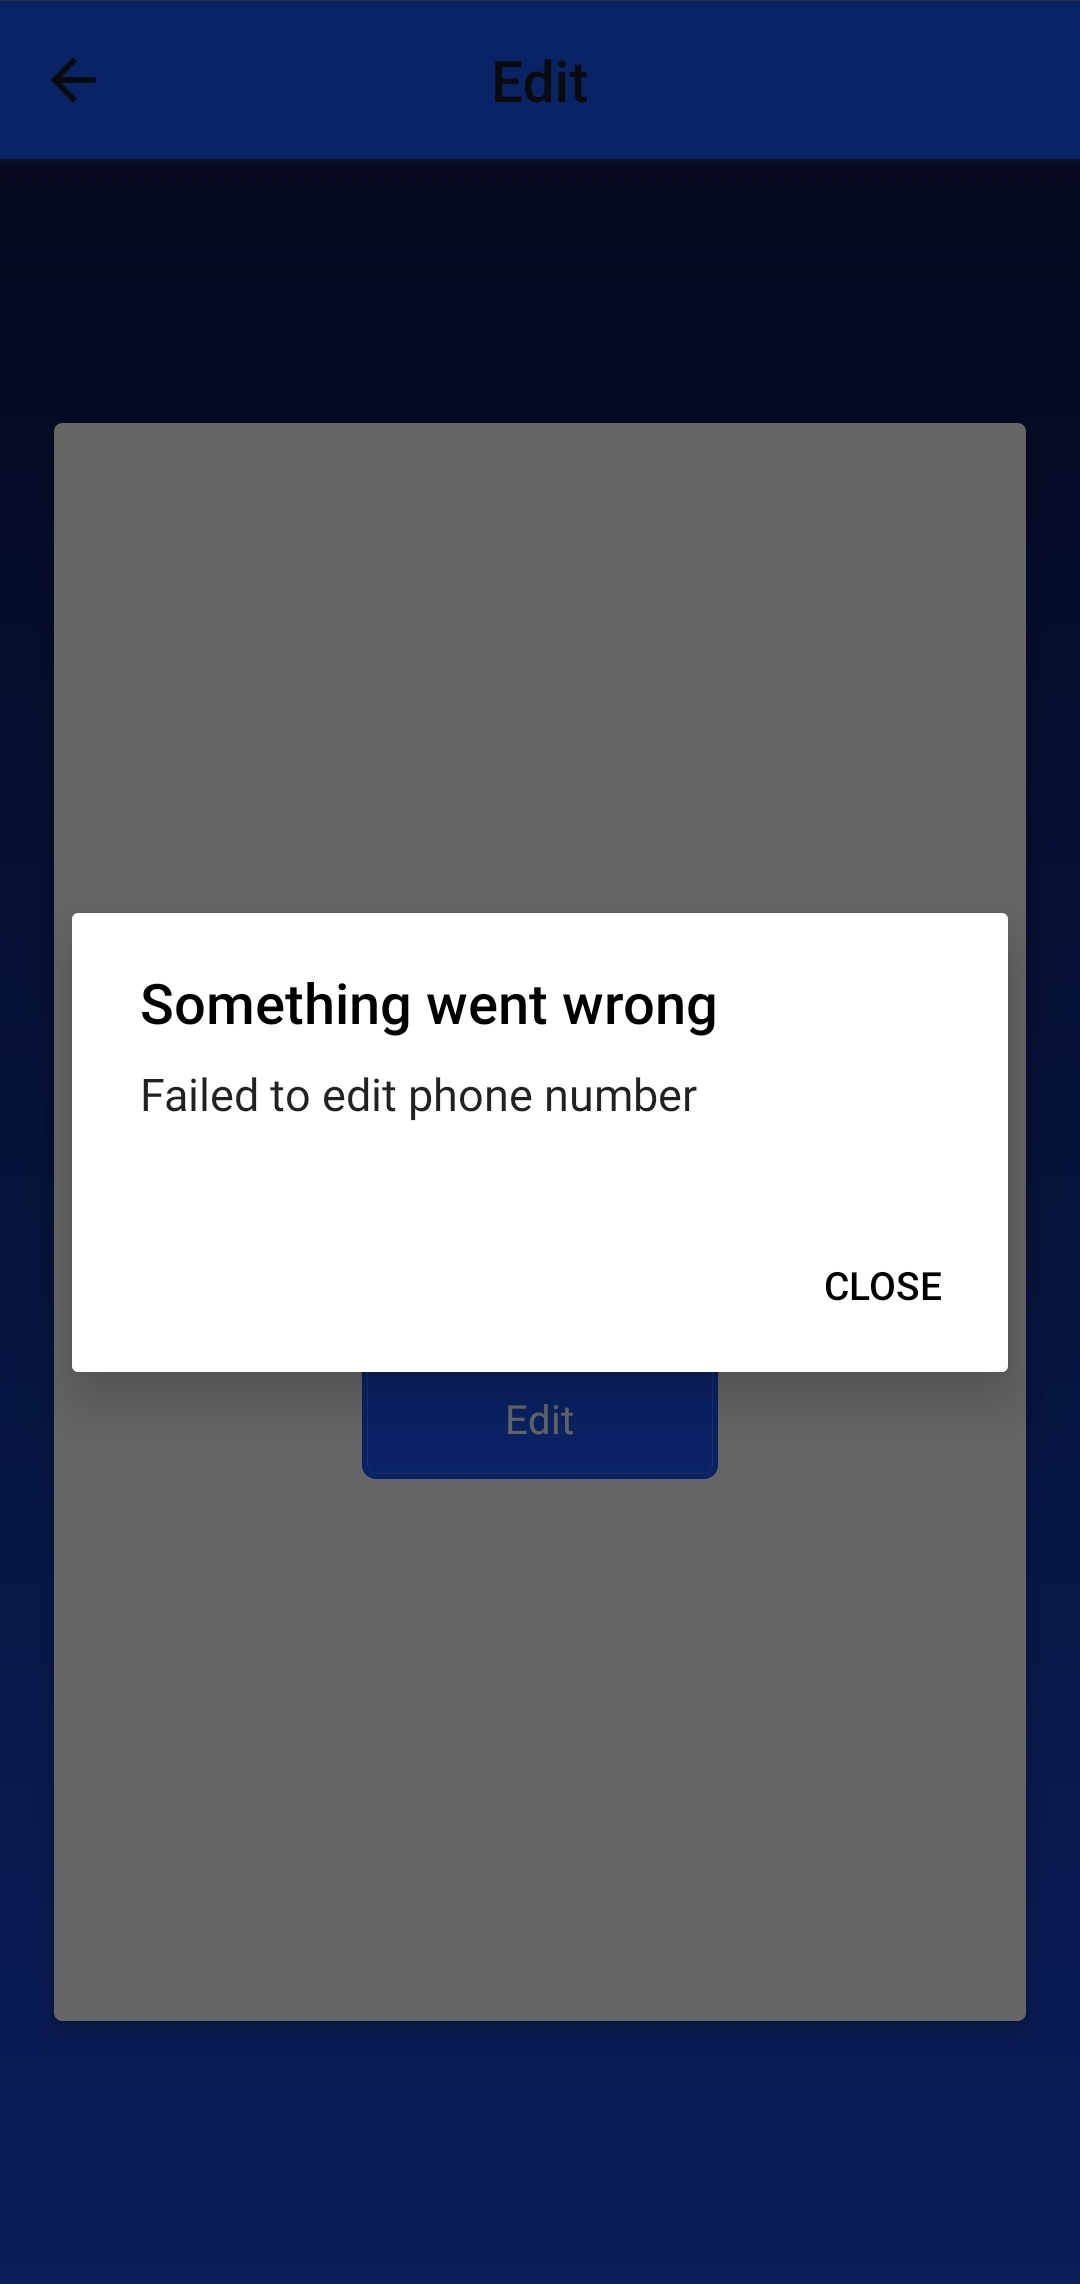
The UI if the edit attempt failed will look like this:
The last thing is to implement this on the server by making a request to receive the response of the SubscriberCheck. Create a file in the helpers directory called patchSubscriberCheck.js and paste the following:
const fetch = require('node-fetch')const { createAccessToken } = require('./createAccessToken')exports.patchSubscriberCheck = async (checkId, code) => {const accessToken = await createAccessToken()const body = JSON.stringify([{ op: "add", "path": "/code", value: code }])const subscriberCheckResponse = await fetch(`https://{data_residency}.api.tru.id/subscriber_check/v0.2/checks/${checkId}`,{method: 'PATCH',body,headers: {Authorization: `Bearer ${accessToken}`,'Content-Type': 'application/json-patch+json',},},)let patchResponseif (subscriberCheckResponse.status === 200) {return {match: data.match,simChanged: !data.no_sim_change}} else if (subscriberCheckResponse.status === 404) {return JSON.stringify({ error: "Check not found" })} else {throw new Error(`Unexpected API response ${subscriberCheckResponse.status}`,subscriberCheckResponse.toString(),)}}
Here, a PATCH request is made to the SubscriberCheck resource using the check_id and code passed in as a route parameter. A new access token is then created using the helper function by passing in the subscriber_check scope.
The PATCH request returns a match and no_sim_change property which indicates whether there was a match or not and if the SIM changed recently.
In index.js, add the relevant import to the top:
const { patchSubscriberCheck } = require('./helpers/patchSubscriberCheck')
The server needs the endpoint /api/edit as a GET request. This GET request needs to use the old phone number, new phone, and check ID from the URL as a query parameter.
The SubscriberCheck result then verifies if there is a match and that the SIM card has not been changed within the last seven days. So long as these requirements are met, the user's phone number is updated and stored in Redis.
The endpoint then responds with a 200 - OK HTTP status, and the body containing match and simChanged values.
Add the new endpoint for the server in server/index.js:
app.get('/api/edit', async (req, res) => {// get the `check_id` from the query parameterconst { check_id: checkId, old_phone_number, new_phone_number } = req.querytry {// get the SubscriberCheck responseconst { match, simChanged } = await patchSubscriberCheck(checkId, code)if (match && !simChanged) {const users = await get('users')if (users) {const currentUsers = JSON.parse(users)//update the users phone numberconst updatedUsers = currentUsers.map((el) => {if (el.phone_number === old_phone_number) {el.phone_number = new_phone_number}return el})redisClient.setex('users',60 * 60 * 24 * 7,JSON.stringify(updatedUsers),)}res.status(200).send({ data: { match, simChanged, phoneNumber: new_phone_number } })} else {res.status(400).send({})}} catch (e) {console.log(JSON.stringify(e))res.status(500).send({ message: e.message })}})
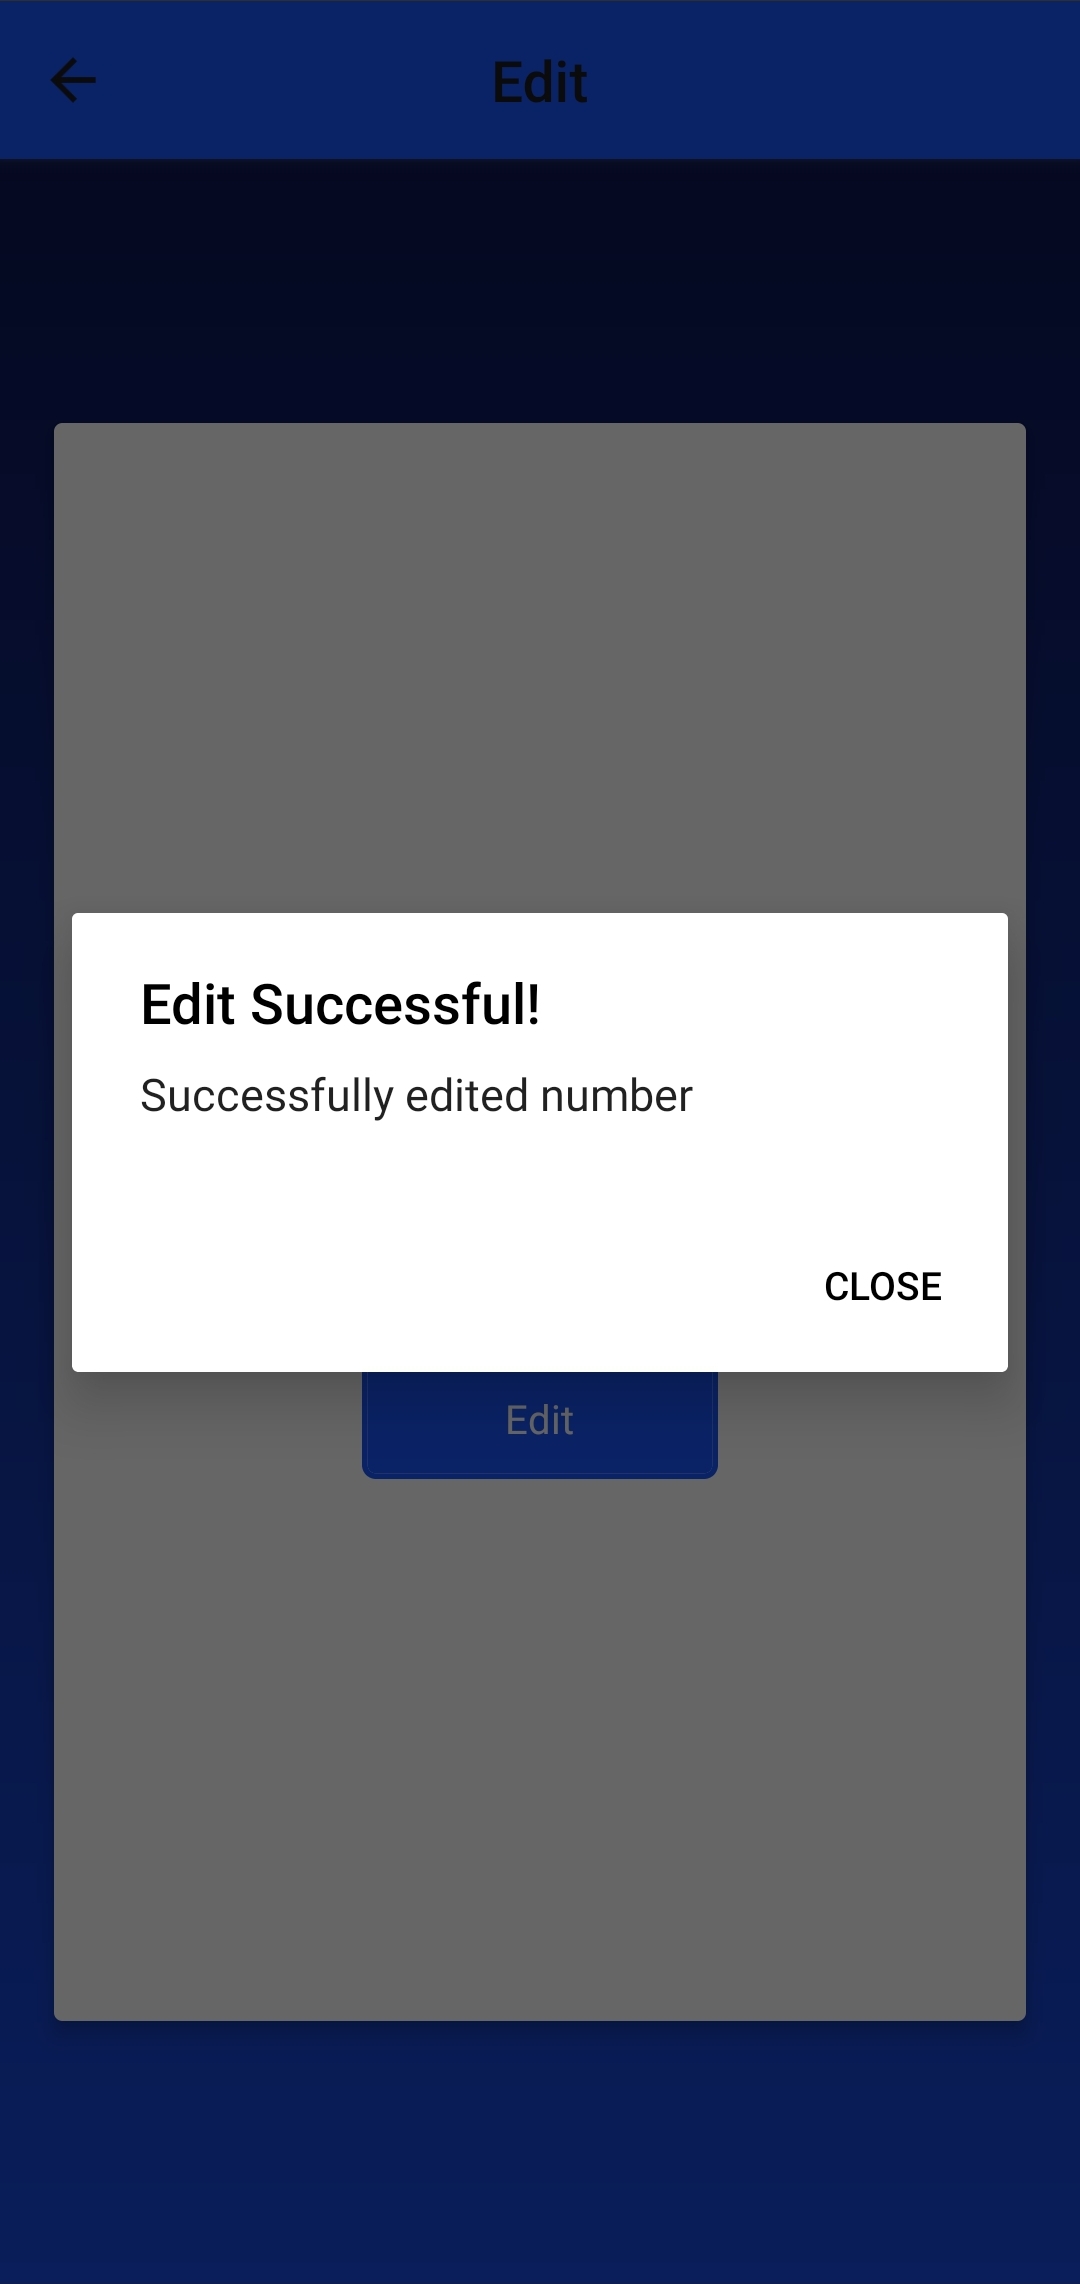
The UI if the edit attempt succeeds will look like this:
There you have it: you'll successfully implemented step-up authentication using the tru.ID SIMCheck and SubscriberCheck APIs in your React Native app!

