

Passwordless Authentication verifies a user's identity without using passwords or other knowledge-based information. A possession factor (e.g., a code sent to a phone number or email address) is generally used when carrying out this type of authentication. Once a credential is entered, a unique token is sent to the user – for example, an SMS, email, or voice OTP (one-time password). This functions as the ‘possession’.
However, this method is flawed, as someone with malicious intent could gain access to the token. tru.ID's PhoneCheck API is a more secure method of passwordless authentication.
The tru.ID PhoneCheck API confirms the ownership of a mobile phone number by verifying the possession of an active SIM card with the same number. The verification happens when the app, using a mobile data session, creates a unique Check URL. tru.ID then sends a request to the mobile network operator (MNO) to resolve a match between the phone number and the mobile data session.
If you wish to skip the tutorial but want to see the finished code sample, you can find it on GitHub.
Looking to implement authentication, not registration? We have tutorials covering passwordless authentication for Android, for the mobile web using JavaScript, or for both authentication and SIM swap detection with React Native.
Before you begin
You'll need the following to complete this tutorial:
- A tru.ID Account
- A mobile phone with a SIM card and mobile data connection
- Node.js
- ngrok
Getting started
Clone the GitHub repository and check out the starter-files branch to follow this tutorial using the command below in your Terminal:
git clone -b starter-files https://github.com/tru-ID/passwordless-auth-phonecheck
If you want to see the finished code in the main branch, then run:
git clone -b main https://github.com/tru-ID/passwordless-auth-phonecheck.git
npm install -g @tru_id/cli
tru login <YOUR_IDENTITY_PROVIDER> (this is one of google, github, or microsoft) using the Identity Provider you used when signing up. This command will open a new browser window and ask you to confirm your login. A successful login will show something similar to the below:Success. Tokens were written to /Users/user/.config/@tru_id/cli/config.json. You can now close the browser
config.json file contains some information you won't need to modify. This config file includes your Workspace Data Residency (EU, IN, US), your Workspace ID, and token information such as your scope.Create a new tru.ID project within the root directory with the following command:tru projects:create passwordless-auth-phonecheck --project-dir .
Running the Server
Before starting the server application, you'll need to install any dependencies. Run the commands below to install any dependencies and start the server:
cd servernpm installnpm start
A ngrok connection is needed to expose your server application to the Internet so your mobile application can communicate with it. This tutorial will use ngrok for this functionality, so run the following command:
ngrok http 4000
The command above will use ngrok to create a tunnel to your server, which will be publicly accessible to the Internet. This tunnel allows your mobile application to communicate with the provided URL. You can see an example of this URL below:
https://0d834043fe8d.ngrok.io -> http://localhost:4000
Starting the mobile application
To run the mobile application, first, you'll need to open a new Terminal instance and install the mobile dependencies with the following commands:
cd mobile && npm install
Note: If you receive the error
Error: spawn ./gradlew EACCESin your Terminal, navigate tomobile/android/and runchmod +x gradlew. This error occurs becausegradlewneeds to be executable to run the application.
If you wish to test the mobile application on Android, run the command below:
npm run android
Or, if you wish to test the mobile application on iOS, run the command below:
npx pod-installnpm run ios
Once the installation process is complete, the mobile application will start on your mobile device. You will see an example of the application in its current state as shown below:
Application structure
If you check out the contents of the starter-files repository you cloned at the beginning of this tutorial, you'll see a file structure that should match the example shown below:
.│ .prettierrc│ README.md│├───mobile│ │ app.json│ │ babel.config.js│ │ index.js│ │ metro.config.js│ │ package.json│ ├───src│ │ │ App.js│ │ │ Context.js│ │ │ Screens.js│ │ ││ │ └───images│ │ tru-logo.png│└───serverindex.jspackage.json
The mobile directory is the part that contains all that's currently required to run a basic mobile application. Within the mobile directory is a subdirectory called src containing the React Native code that we will update later in this tutorial.
Inside the server directory, you'll see two files, index.js and package.json. index.js defines the API endpoints the mobile application will consume, while package.json contains the third-party libraries this server application requires to run.
Get the user's phone number from the UI
The first step to receiving and handling the user's phone number is to add the UI and state management. The user will be required to input their phone number via a TextInput and submit it using a TouchableOpacity. We'll also add a UI and state for checking if any work is in progress via a loading variable and render an ActivityIndicator if any work is in progress.
In your project, open the file mobile/src/Screens.js and update the const screens method with the following:
const Screens = () => {const base_url = 'https://serverngrokurl.ngrok.io'const { screen, setScreen } = useContext(AuthContext)const [phoneNumber, setPhoneNumber] = useState('')const [loading, setLoading] = useState(false)const registerHandler = async () => {}return (<LinearGradientcolors={['rgba(25, 85, 255, 40)', 'rgba(10, 10, 50, 66)']}useAngle={true}angle={0}style={{flex: 1,}}>{screen === 'register' ? (<SafeAreaView style={styles.container}><View style={styles.box}><Imagestyle={styles.logo}source={require('./images/tru-logo.png')}/><Text style={styles.heading}>Register</Text><TextInputstyle={styles.textInput}placeholder="Number ex. +448023432345"placeholderTextColor="#d3d3d3"keyboardType="phone-pad"value={phoneNumber}editable={!loading}onChangeText={(value) =>setPhoneNumber(value.replace(/\s+/g, ''))}/>{loading ? (<ActivityIndicatorstyle={styles.spinner}size="large"color="#00ff00"/>) : (<TouchableOpacity onPress={registerHandler} style={styles.button}><Text style={styles.buttonText}>Register</Text></TouchableOpacity>)}</View></SafeAreaView>) : (<SafeAreaView style={styles.container}><View style={styles.box}><Text style={styles.heading}>Home 🏡</Text></View></SafeAreaView>)}</LinearGradient>)}
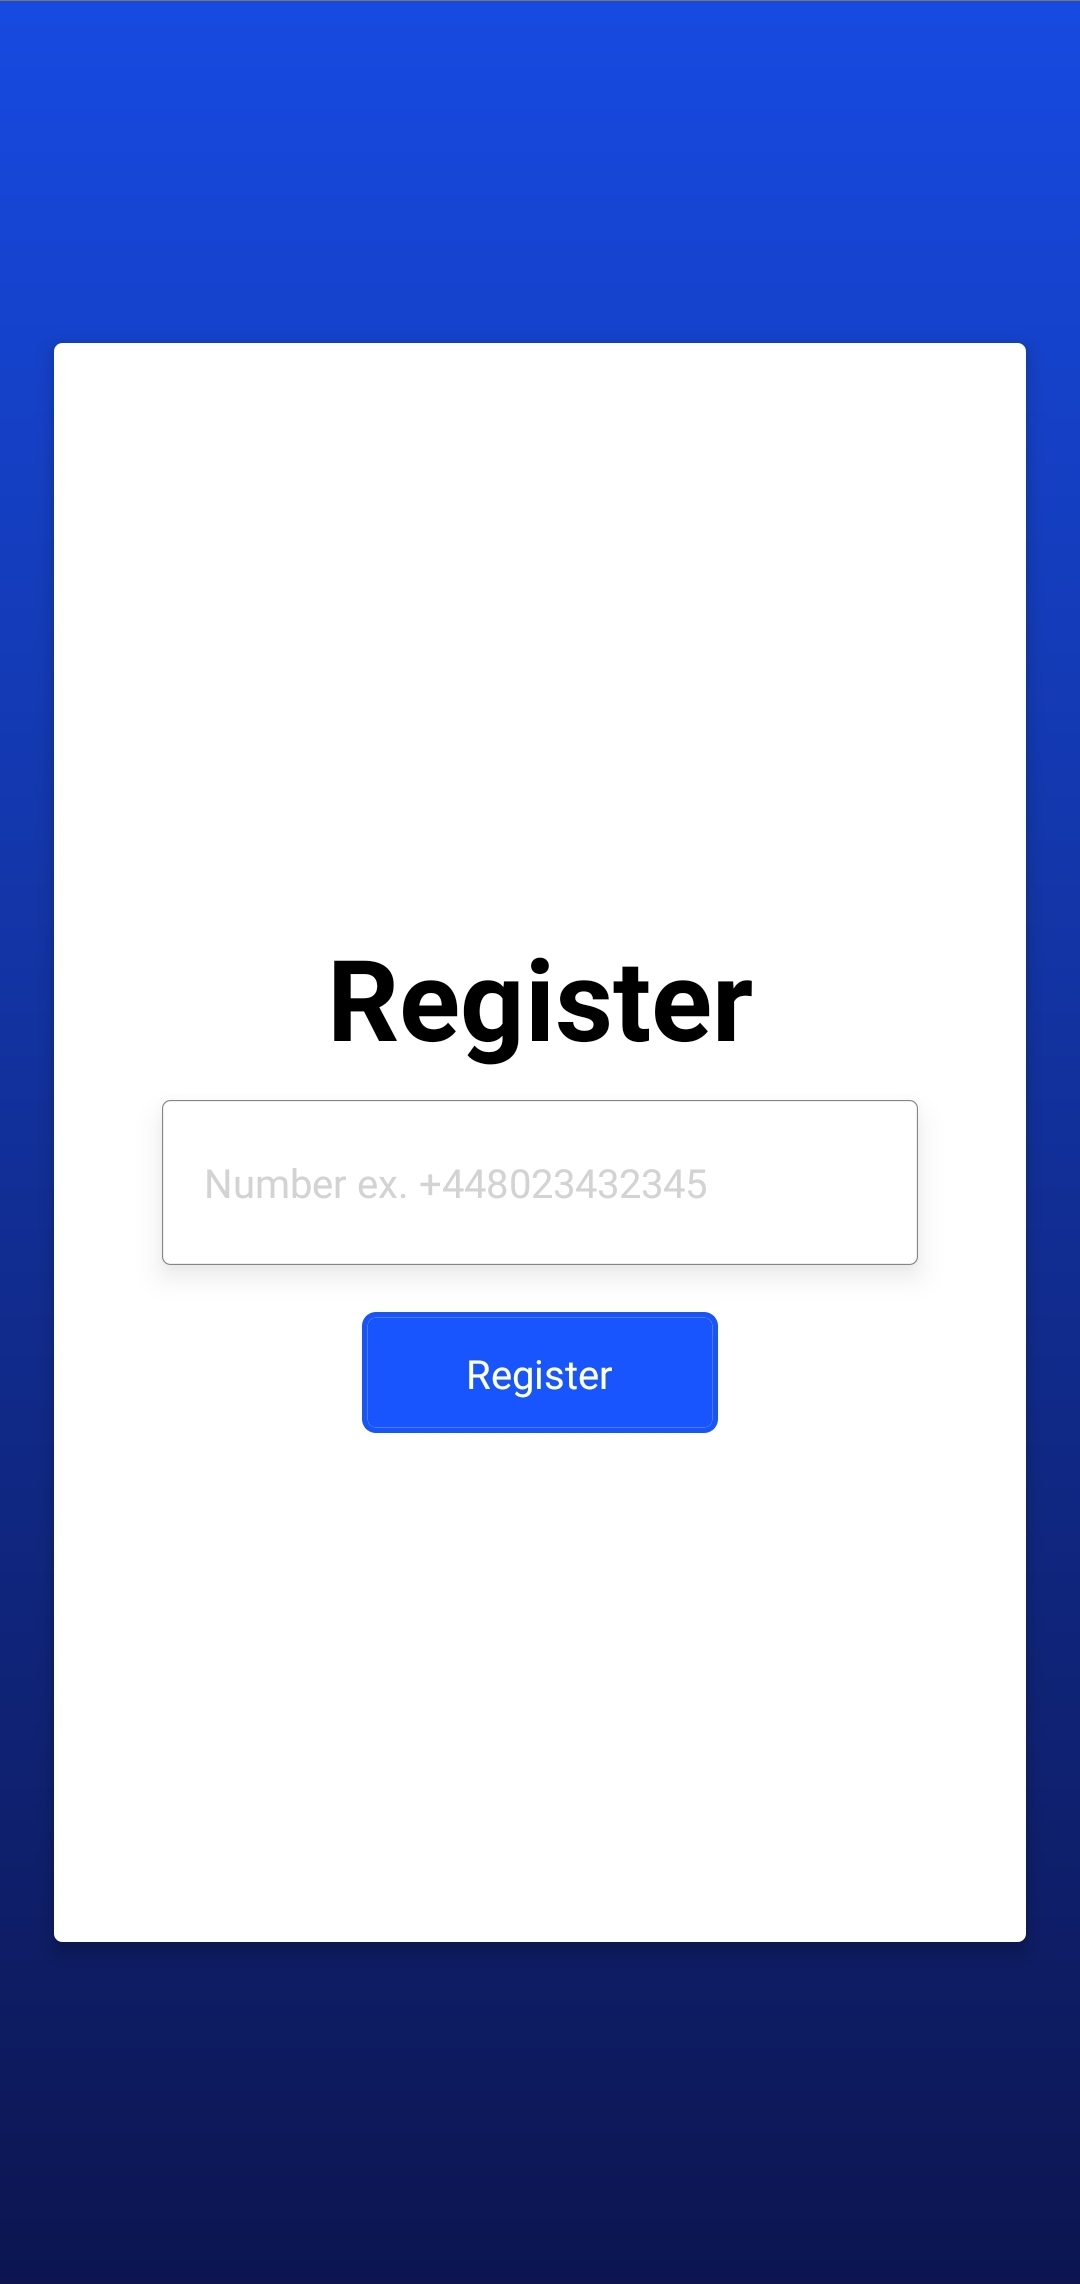
If you run the mobile application on your device again, you'll see that the UI has changed slightly. You will see a screen similar to the image displayed below:
Submit the user's phone number
You'll need to update the base_url's value in the mobile/src/Screens.js file with your valid ngrok URL for the mobile application to communicate with the server application. You'll find the base_url at the beginning of the Screens.js file, as shown in the example below:
const Screens = () => {const base_url = 'https://serverngrokurl.ngrok.io'...
When triggered, we will need a reusable error handler function to render any errors on the screen. Inside your Screens.js file, above the line const registerHandler = () => {}, add the following code to create a new function called errorHandler:
const errorHandler = ({ title, message }) => {return Alert.alert(title, message, [{text: 'Close',onPress: () => console.log('Alert closed'),},])}
The above errorHandler function will take two parameters (title, message) and raise a new alert on the screen if the function gets called. We're now going to populate the empty registerHandler to make a POST request to the endpoint /api/register on our server. If we catch an error, it will call our previously added function errorHandler.
Before we submit the user's phone number, we would like to check if the user's MNO supports the PhoneCheck API; for this, we'll install the tru.ID React Native SDK and use the isReachable function.
Let's install it. In your Terminal, navigate to the mobile directory and run the following command:
npm install @tru_id/tru-sdk-react-native
Back in the Screens.js file, add the import for the tru.ID SDK at the top:
import TruSdkReactNative from '@tru_id/tru-sdk-react-native'
Replace the empty const registerHandler = () => {} with the following code:
const registerHandler = async () => {const body = { phone_number: phoneNumber }setLoading(true)console.log('creating PhoneCheck for', body)try {const reachabilityResponse =await TruSdkReactNative.openWithDataCellular('https://{DATA_RESIDENCY}.api.tru.id/public/coverage/v0.1/device_ip');console.log(reachabilityResponse);let isMNOSupported = falseif ('error' in reachabilityResponse) {errorHandler({title: 'Something went wrong.',message: 'MNO not supported',})setLoading(false)return} else if ('http_status' in reachabilityResponse) {let httpStatus = reachabilityResponse.http_status;if (httpStatus === 200 && reachabilityResponse.response_body !== undefined) {let body = reachabilityResponse.response_body;console.log('product => ' + JSON.stringify(body.products[0]));isMNOSupported = true;} else if (httpStatus === 400 || httpStatus === 412 || reachabilityResponse.response_body !== undefined) {errorHandler({title: 'Something went wrong.',message: 'MNO not supported',})setLoading(false)return}}let isPhoneCheckSupported = falseif (isMNOSupported === true) {reachabilityResponse.response_body.products.forEach((product) => {console.log('supported products are', product)if (product.product_name === 'Phone Check') {isPhoneCheckSupported = trueconsole.log('Phone Check is here!')}})}if (!isPhoneCheckSupported) {setLoading(false)errorHandler({title: 'Something went wrong.',message: 'PhoneCheck is not supported on MNO',})return}} catch (e) {setLoading(false)errorHandler({ title: 'Something went wrong', message: e.message })}}
Be sure to replace the {DATA_RESIDENCY} part in the URL https://{DATA_RESIDENCY}.api.tru.id/public/coverage/v0.1/device_ip with the data residency you wish to use, currently tru.ID supports the EU (Europe), IN (India), and the US.
The user will begin the authentication process by clicking the TouchableOpacity (button). This event sets the loading state to true, which gives the user a visual cue that the application is making an HTTP network request. This visual queue is a loading indicator.
Here we call the tru.ID Coverage API, which returns a list of supported products by the MNO. If we get a 400, the MNO is not supported, and we inform the user.
If the status is not 412, we loop through the returned list of products, and if any match PhoneCheck, we set isPhoneCheckSupported to true.
If isPhoneCheckSupported is false, we inform the user and stop execution.
Next, we need to submit the user's input at the bottom of your try {} area; just before the catch (e) { line, add the following in your registerHandler:
const response = await fetch(`${base_url}/api/register`, {method: 'POST',body: JSON.stringify(body),headers: {'Content-Type': 'application/json',},})const data = await response.json()console.log(data)
The above example makes a POST request to the endpoint on our server /api/register, with our phoneNumber as the request's body.
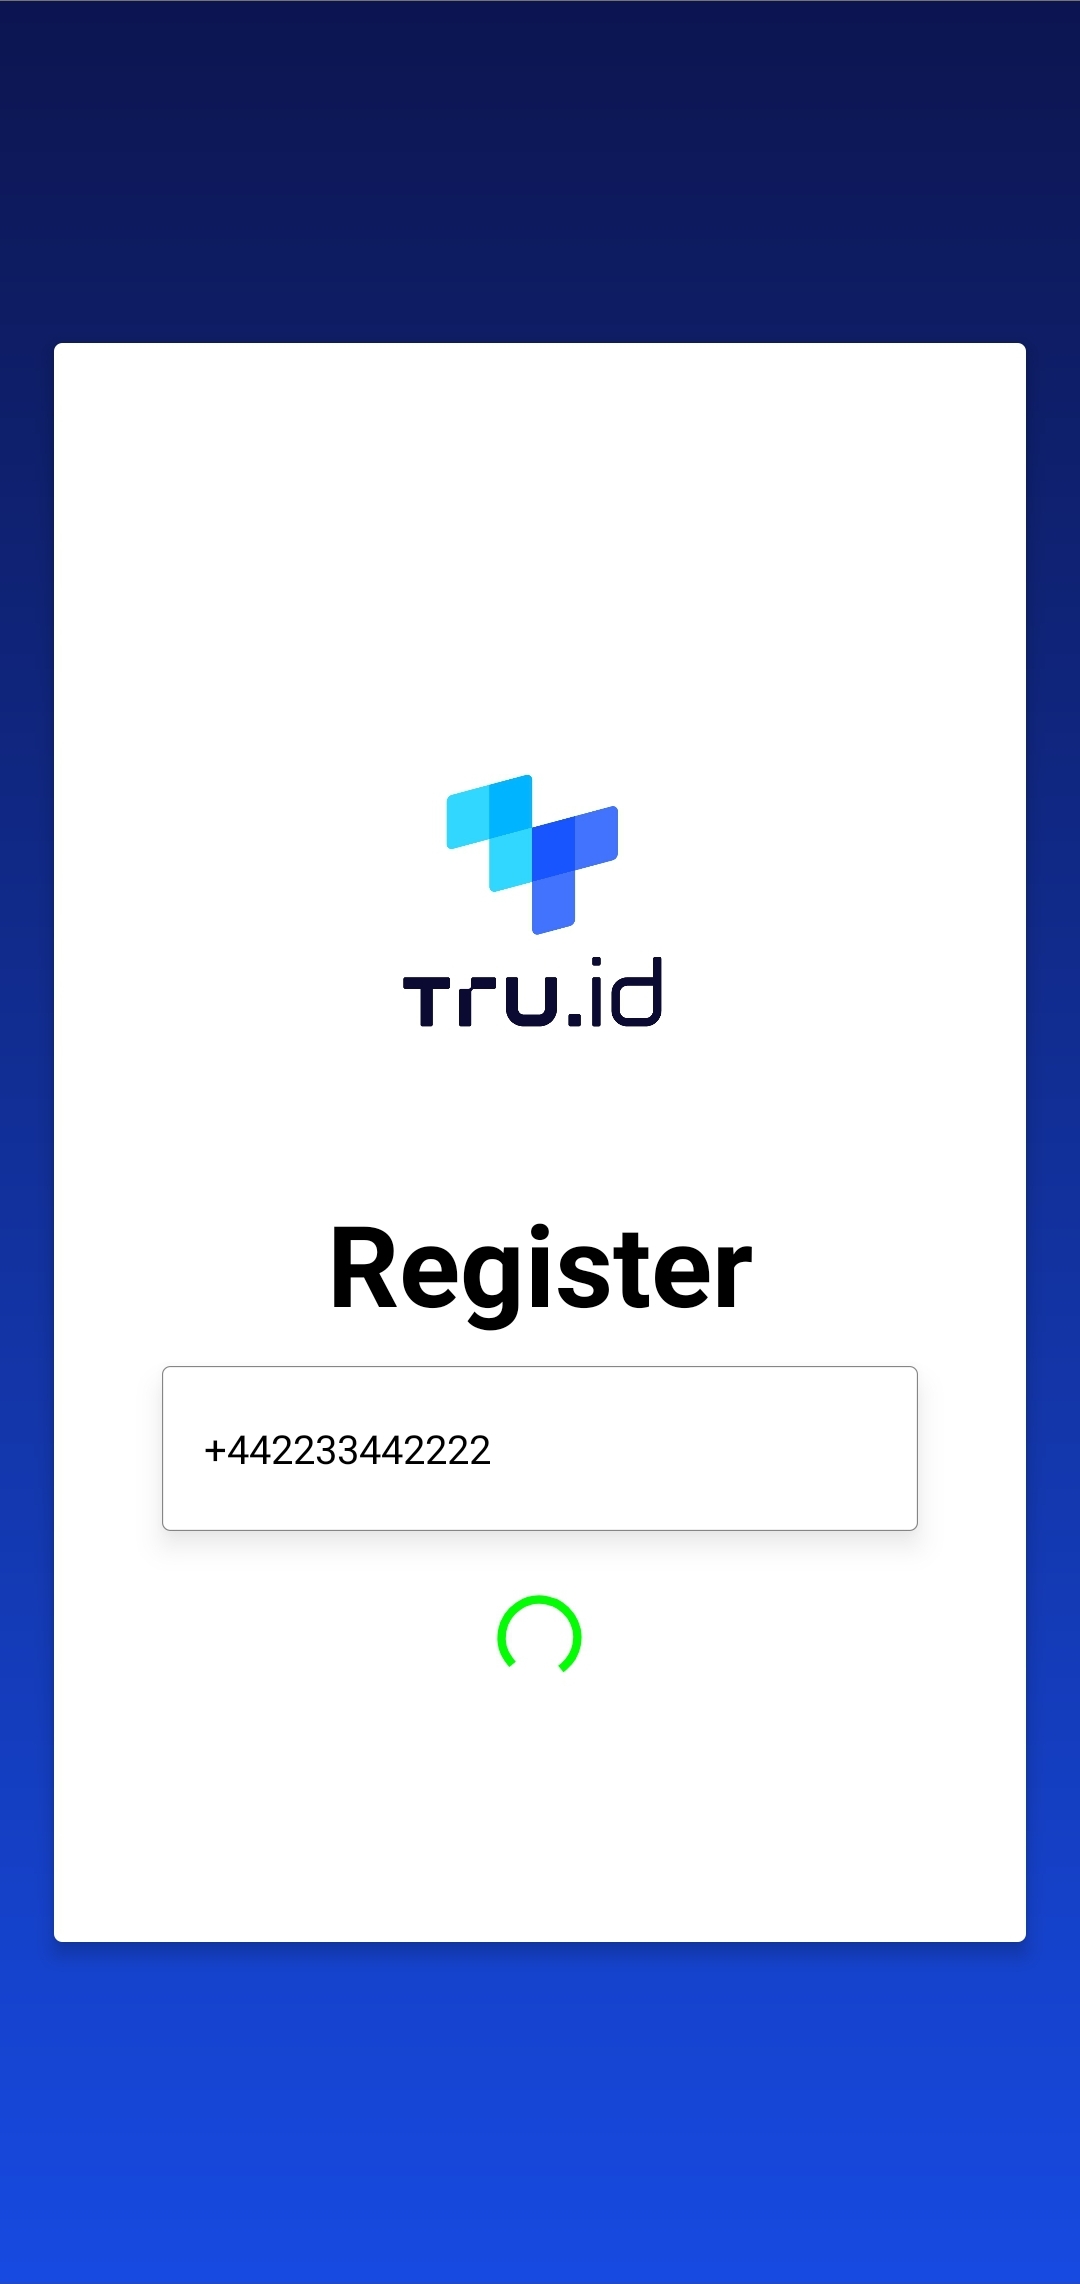
The image below shows an example of this point in the registration process; when the number is entered, and the button (TouchableOpacity component) clicked, it is replaced with a loading indicator.
Create the PhoneCheck
To create the PhoneCheck, we need to carry out the following two steps:
- Create a tru.ID access token on the server.
- Create a PhoneCheck using the newly generated access token, getting back
check_urlandcheck_idproperties in our response and sending them to the client.
To create an access token on the server, we need to install the third-party package, node-fetch. So in a new Terminal instance, navigate to the server directory within your project, and run the following command:
npm install --save node-fetch@2
node-fetch provides an easy way to make HTTP network requests in our Node applications.
Create the access token
To create the access token, create a new directory inside the server directory called helpers, and within helpers, create a new file called createAccessToken.js. This file will contain the functionality to create a new access token for our mobile application. Copy the following code into the new file:
const fetch = require('node-fetch')const truIdConfig = require('../../tru.json')exports.createAccessToken = async () => {// make request body acceptable by application/x-www-form-urlencodedconst clientId = truIdConfig.credentials[0].client_idconst clientSecret = truIdConfig.credentials[0].client_secretconst basicAuth = Buffer.from(`${clientId}:${clientSecret}`).toString('base64',)const resp = await fetch(`https://{DATA_RESIDENCY}.api.tru.id/oauth2/v1/token`,{method: 'POST',body: 'grant_type=client_credentials&scope=phone_check',headers: {'Content-Type': 'application/x-www-form-urlencoded',Authorization: `Basic ${basicAuth}`,},},)const { access_token } = await resp.json()return access_token}
To create an access token, we make a form URL encoded POST request to the https://{DATA_RESIDENCY}.api.tru.id/oauth2/v1/token endpoint. This endpoint uses basic auth, requiring an Authorization header.
The header value is your tru.ID project client_id and client_secret, read from the tru.json file, concatenated with a colon (:) and Base64 encoded.
The body is set to have a grant_type of client_credentials and scope of phone_check. This body instructs the tru.ID OAuth2 provider that the created Access Token should have permissions to use PhoneCheck resources.
Next, we have to create the PhoneCheck. To do that, create a file within the helpers directory called createPhoneCheck.js and paste the following:
const fetch = require('node-fetch')const { createAccessToken } = require('./createAccessToken')exports.createPhoneCheck = async (phoneNumber) => {let checkUrllet checkIdlet numberSupported = trueconst accessToken = await createAccessToken()const body = JSON.stringify({ phone_number: phoneNumber })const response = await fetch(`https://{DATA_RESIDENCY}.api.tru.id/phone_check/v0.2/checks`,{method: 'POST',body,headers: {Authorization: `Bearer ${accessToken}`,'Content-Type': 'application/json',},},)if (response.status === 201) {const data = await response.json()console.log(data)checkUrl = data._links.check_url.hrefcheckId = data.check_id} else if (response.status === 400) {console.log('number not supported')numberSupported = false} else {throw new Error(`Unexpected API response ${response.status}`,response.toString(),)}return { checkId, checkUrl, numberSupported }}
To create the PhoneCheck request, we pass a phone number in an E.164 format. We then create an access token using our helper function and make a POST request to the PhoneCheck endpoint using the phoneNumber and the accessToken to create a PhoneCheck resource.
If we receive a status code of 201 - created, we know the POST was successful, and we save the values of check_url and check_id.
If we receive a 400 - Bad Request status code, we know the number is not supported and set numberSupported to false. If something else goes wrong, we throw an error.
First, at the top of server/index.js, add the following to the list of imports:
const { createPhoneCheck } = require('./helpers/createPhoneCheck')
Next, update app.post('/api/register') to the following:
app.post('/api/register', async (req, res) => {const { phone_number: phoneNumber } = req.bodytry {// create PhoneCheck resourceconst { checkId, checkUrl, numberSupported } = await createPhoneCheck(phoneNumber,)if (!numberSupported) {res.status(400).send({ message: 'number not supported' })} else {res.status(201).send({data: { checkId, checkUrl },message: 'PhoneCheck created',})}} catch (e) {res.status(500).send({ message: e.message })}})
Request The Check URL
Our next step is to send a request from the mobile application to the server to run the CheckUrl functionality to ensure the request is over a mobile data connection. This process will be carried out in our mobile application using the tru.ID React Native SDK.
Now, we can request the Check URL using the SDK. In mobile/src/Screens.js, inside the registerHandler, just above the } catch(e) { line, add the following to trigger this check request:
console.log(`PhoneCheck [Start] ->`);const checkResponse = await TruSdkReactNative.openWithDataCellular(data.data.checkUrl);console.log(`PhoneCheck [Done] ->`);
This new line runs the openWithDataCellular function in the SDK, passing in the checkUrl variable, which is the phone number.
Get the PhoneCheck result
Now that we've successfully opened the Check URL, the last step is to get the PhoneCheck result.
Update the registerHandler function, continuing from the lines you've just added, add the following:
if ('error' in checkResponse) {console.log(`Error in openWithDataCellular: ${checkResponse.error_description}`);} else if ('http_status' in checkResponse) {const httpStatus = checkResponse.http_status;if (httpStatus === 200 && checkResponse.response_body !== undefined) {console.log(`Requesting PhoneCheck URL`);if ('error' in checkResponse.response_body) {const body = checkResponse.response_body;console.log(`Error: ${body.error_description}`);} else {const body = checkResponse.response_body;try {const checkStatusRes = await fetch(`${base_url}/api/exchange-code`, {method: 'POST',body: JSON.stringify({check_id: body.check_id,code: body.code,reference_id: null,}),headers: {'Content-Type': 'application/json',},})const data = await checkStatusRes.json()console.log('[CHECK RESULT]:', data);if (data.data.match) {console.log(`✅ successful PhoneCheck match`);setLoading(false)setPhoneNumber('')setScreen('home')} else {console.log(`❌ failed PhoneCheck match`);setLoading(false)errorHandler({title: 'Registration Failed',message: 'PhoneCheck match failed. Please contact support',})}} catch (error) {console.log(`Error: ${error.message}`);console.log(JSON.stringify(error, null, 2));errorHandler({title: 'Error retrieving check result',message: error.message,})return;}}} else {const body = resp.response_body;console.log(`Error: ${body.detail}`);}}
Here we make a GET request to /api/exchange-code, passing in a JSON body with the check_id and code read in the last redirect response.
We then check if we have a match; if we do, we navigate to our home UI.
Finally, we need to implement these changes server-side. For this, create a helper method for getting the PhoneCheck response. To do this, in helpers, create a file named patchPhoneCheck.js and enter the following:
const fetch = require('node-fetch')const { createAccessToken } = require('./createAccessToken')exports.patchPhoneCheck = async (checkId, code) => {const accessToken = await createAccessToken()const body = JSON.stringify([{ op: "add", "path": "/code", value: code }])const phoneCheckResponse = await fetch(`https://{DATA_RESIDENCY}.api.tru.id/phone_check/v0.2/checks/${checkId}`,{method: 'PATCH',body,headers: {Authorization: `Bearer ${accessToken}`,'Content-Type': 'application/json-patch+json',},},)let patchResponselet patchResponseStatus = phoneCheckResponse.status;if (phoneCheckResponse.status === 200) {patchResponse = await phoneCheckResponse.json()} else if (phoneCheckResponse.status === 404) {patchResponse = JSON.stringify({ error: "Check not found" })} else {throw new Error(`Unexpected API response ${phoneCheckResponse.status}`,phoneCheckResponse.toString(),)}return { patchResponseStatus, patchResponse }}
Here, we make a POST request to the PhoneCheck resource. We then create a new access token using our helper function.
The POST request returns a match property indicating whether there was a match.
In server/index.js add the relevant import to the top:
const { patchPhoneCheck } = require('./helpers/patchPhoneCheck')
Next, update the empty app.post('/api/exchange-code') to contain the following:
app.post('/api/exchange-code', async (req, res) => {// get the `check_id` from the query parameterconst { check_id: checkId, code: code } = req.bodytry {// get the PhoneCheck responseconst { patchResponseStatus, patchResponse } = await patchPhoneCheck(checkId, code)console.log(patchResponseStatus, patchResponse)res.status(patchResponseStatus).send({ data: patchResponse })} catch (e) {console.log(JSON.stringify(e))res.status(500).send({ message: e.message })}})
The above code retrieves the check_id and code, it then passes that into the function patchPhoneCheck(). The API endpoint will return a 200 HTTP status with the match body if successful. However, if an issue occurs, we catch any exceptions and return a 500 HTTP status along with the exception message.
The image below is an example of what you will be presented if the phone number and SIM card match, so a successful PhoneCheck is made:

If you've made it this far, you have successfully created a React Native application with passwordless registration built using our PhoneCheck service.

