
Companion apps are mobile apps that synchronize data with another application attempting to verify a user’s credentials using their identity.
A typical real-world example is Google's companion app. When a user attempts to sign in to Google, it allows them to verify this with their phone. The companion app sends the user a notification informing them that an attempt has been made to sign in and requests they enter the code prompted on the other app's wait screen. While Google's companion app is generally a secure means of verification, it is flawed as the user’s app still uses a code that could be used by a malicious actor remotely.
A companion app is an identity provider, which allows you to add login and sign-up to your applications. However, companion apps still require users to type out a verification code they receive, which can be used on multiple devices. tru.ID’s PhoneCheck API limits the verification to one device, reducing the risk of malicious actors bypassing security protocols.
The tru.ID PhoneCheck API confirms the ownership of a mobile phone number by verifying the possession of an active SIM card with the same number. The request uses a mobile data session request to a unique Check URL to make the verification request. tru.ID then resolves whether there is a match with the phone number and mobile network operator.
This tutorial is a follow-up from Passwordless Registration with tru.ID PhoneCheck & React Native.
If you just want to dive into the code, you can find it on GitHub.
Before you begin
To follow along with this tutorial, you'll need:
- A mobile phone with an active data SIM card
- Node.js > 10
- A Firebase Account
- Redis
- Ngrok
- For metro bundler, you’ll need node version > 10
In your terminal, clone the starter-files branch with the following command:
git clone -b starter-files https://github.com/tru-ID/mobile-companion
If you're only interested in the finished code in main, then run:
git clone -b main https://github.com/tru-ID/mobile-companion.git
npm install -g @tru_id/cli
tru login <YOUR_IDENTITY_PROVIDER> (this is one of google, github, or microsoft) using the Identity Provider you used when signing up. This command will open a new browser window and ask you to confirm your login. A successful login will show something similar to the below:Success. Tokens were written to /Users/user/.config/@tru_id/cli/config.json. You can now close the browser
config.json file contains some information you won't need to modify. This config file includes your Workspace Data Residency (EU, IN, US), your Workspace ID, and token information such as your scope.Create a new tru.ID project within the root directory with the following command:tru projects:create mobile-companion --project-dir .
mobile-companion directory and run the following command to clone the dev-server:git clone git@github.com:tru-ID/dev-server.git
dev-server directory, run the following command to create a.env copy of .env.example:cp .env.example .env
.env file, update the values of TRU_ID_CLIENT_ID andTRU_ID_CLIENT_SECRET with your client_id and client_secret in yourtru.json file.dev-server to the Internet for your mobile application to access your backend server. For this tutorial, we're using ngrok, which we've included in the dev-server functionality. So to start with, uncomment the following and populate them with your ngrok credentials:NGROK_ENABLED=true#NGROK_SUBDOMAIN=a-subdomain # Uncommenting this is optional. It is only available if you have a paid ngrok account.NGROK_AUTHTOKEN=<YOUR_NGROK_AUTHTOKEN> # This is found in the ngrok dashboard: https://dashboard.ngrok.com/get-started/your-authtokenNGROK_REGION=eu # This is where your ngrok URL will be hosted. If you're using tru.ID's `eu` data residency; leave it as is. Otherwise, you could specify `in` or `us`.
dev-server directory, run the following two commands:npm install # Installs all third-party dependencies in package.jsonnpm run dev # Starts the server
Setting up Firebase Cloud Messaging on the server
This project uses the Firebase Admin SDK for Firebase Cloud Messaging Server Integration and already comes with the SDK installed.
Follow the steps here to set up your credentials.
Setting up Firebase Cloud Messaging on mobile
This project uses React Native Firebase Cloud Messaging, so, first, navigate to the mobile directory and, in your terminal, install both the app and messaging dependencies with the following command:
npm install --save @react-native-firebase/app @react-native-firebase/messaging
Please follow the React Native Firebase official documentation for getting set up with Android and iOS before proceeding with this tutorial.
Starting your project
This project involves three servers or applications: the mobile application, backend server, and web server. The first one we'll get running is the backend server. In your terminal, run the following commands to navigate to the server directory, and then install the dependencies required:
cd server && npm install
Next, ensure Redis is running. Then run the following command in your terminal:
npm start
You'll need ngrok to expose your development server to the Internet so your mobile phone application can access it. In your terminal, run the following command to create a ngrok tunnel on port 4000:
ngrok http 4000
Your unique ngrok URL will be shown in the terminal and look like the example below:
https://0d834043fe8d.ngrok.io -> http://localhost:4000
Note this ngrok URL because you will need to enter it in several parts of your code later in the tutorial.
Now it's time to get the second of three services running. To start the web project, open a new terminal and install dependencies via:
cd web && npm install
Now run your web server with the following command:
npm start
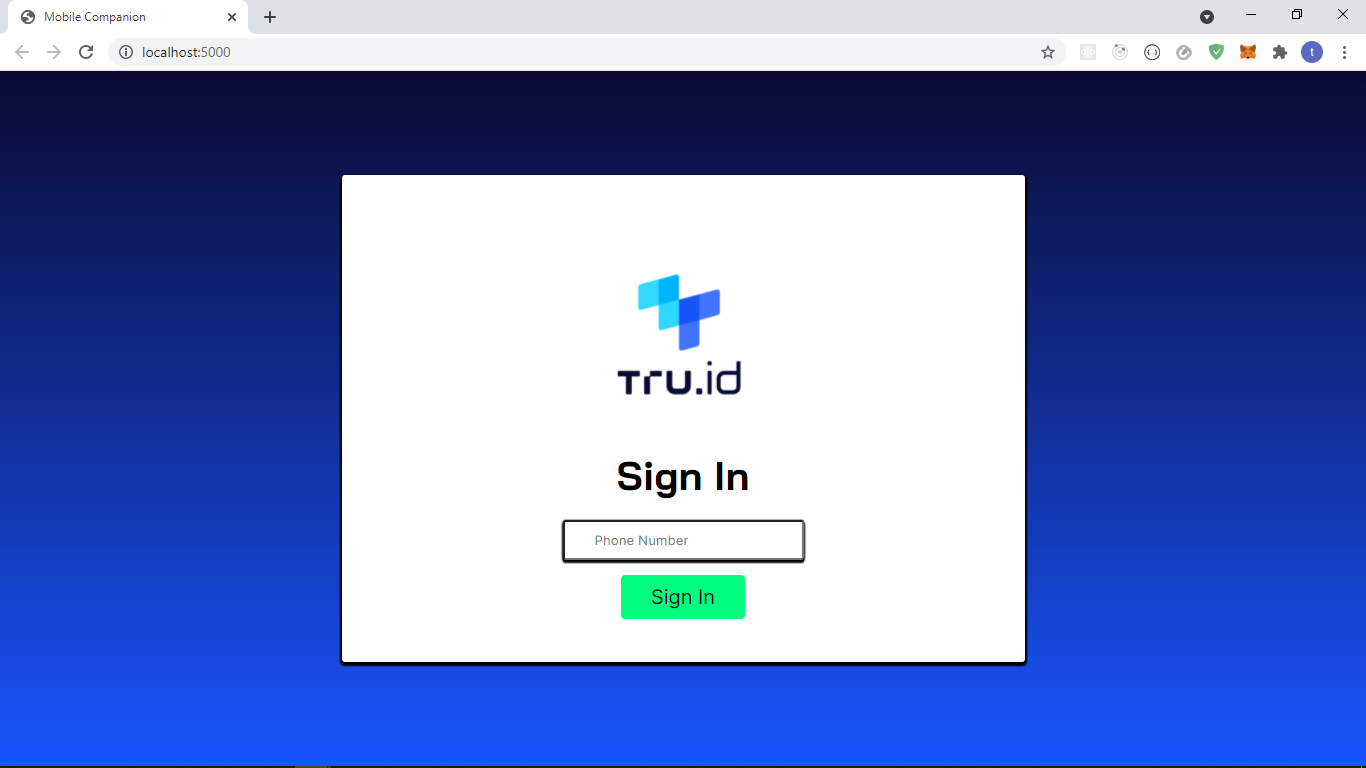
If you navigate to http://localhost:5000, you'll be presented with a screen as shown below:
Now, it's time to run the third service. To start the mobile application, open a new terminal and install dependencies via:
cd mobile && npm install
Next, depending on which device you're testing this on, run one of the following commands:
Note make sure you're using a physical mobile device with an active data connection and that there is a connection between the device and your computer before running any of the commands below.
npm run android# or for iOSnpx pod-installnpm run ios
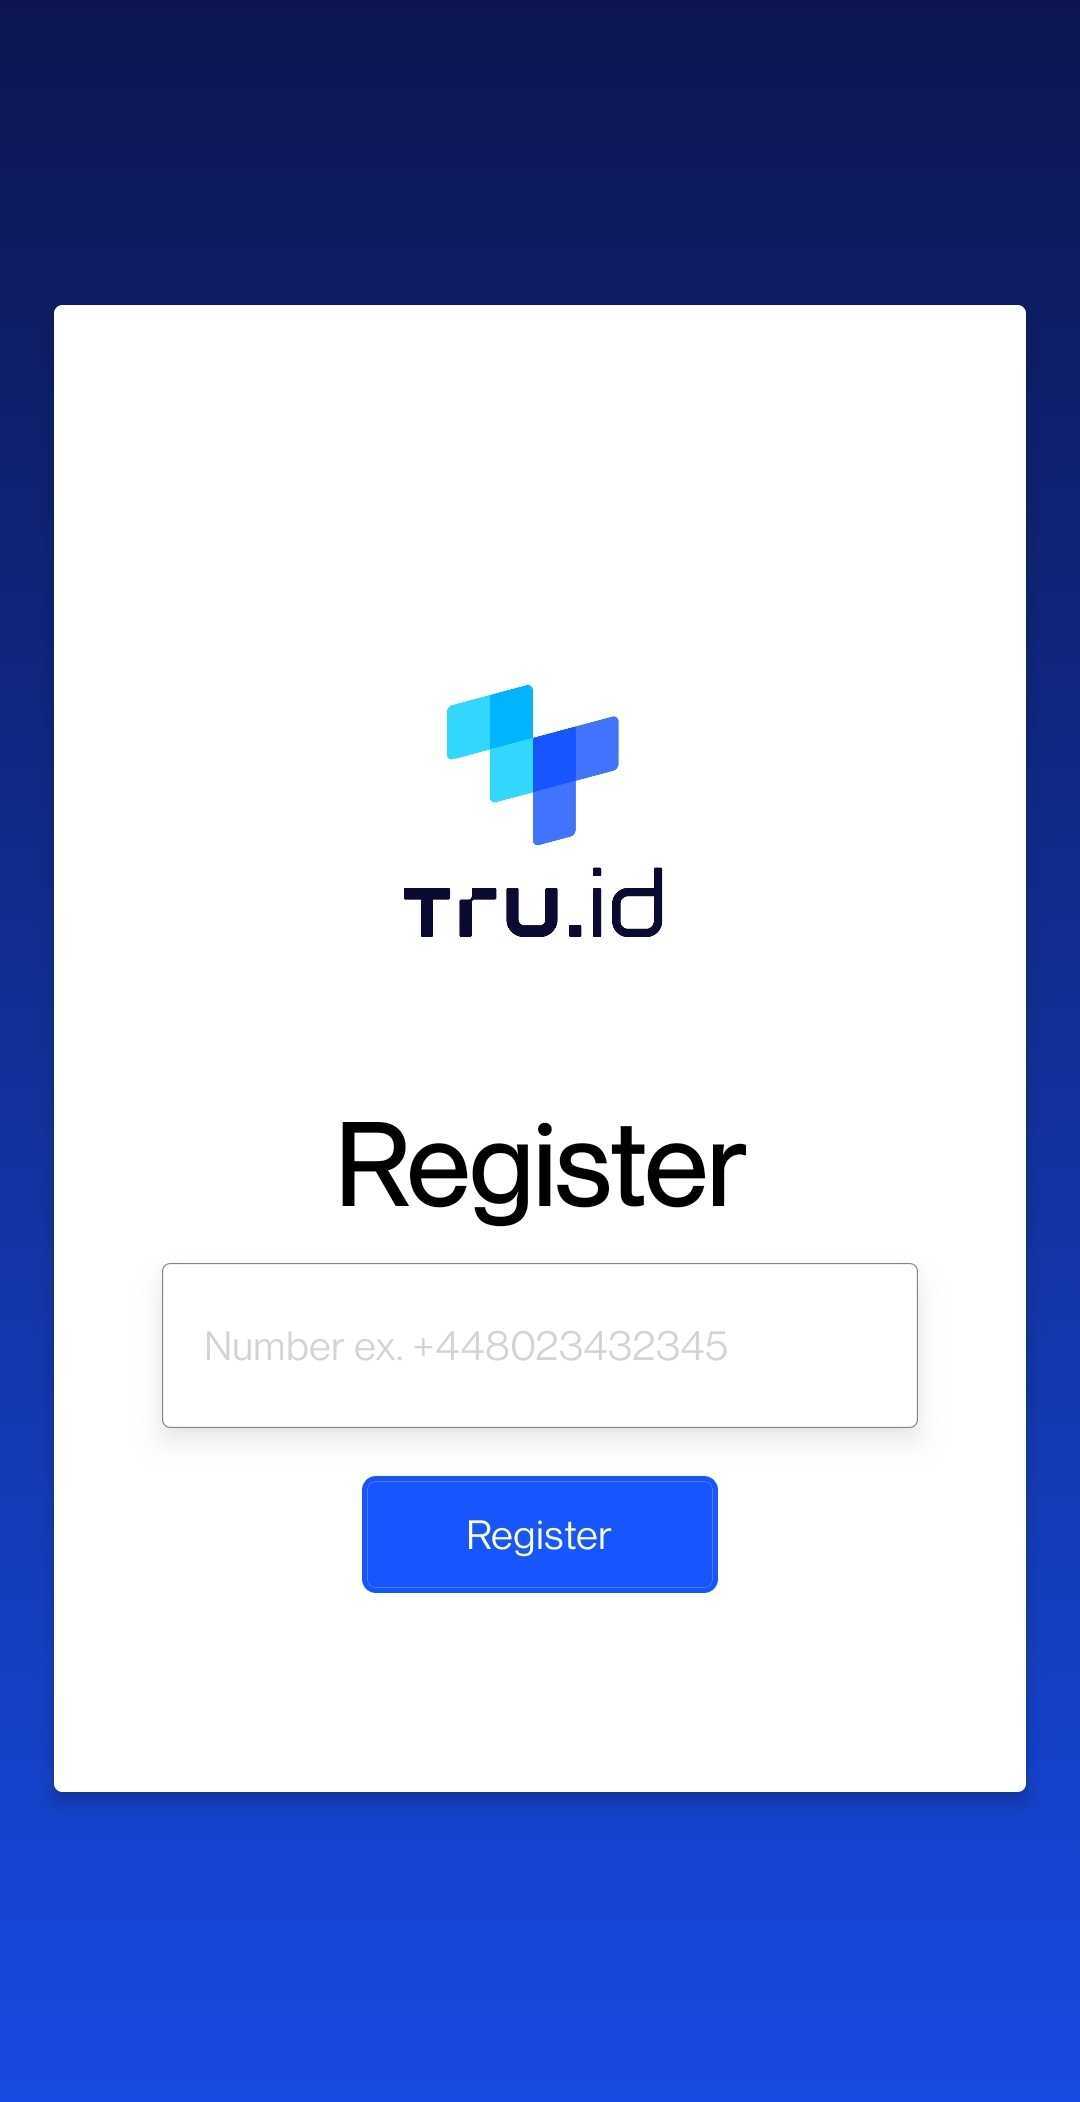
On completion of the command you've run, if you check your mobile device, an application will load which appears similar to the one shown in the image below:
Application structure
The contents will look similar to the following:
.│ .prettierrc│ README.md│├───mobile│ │ app.json│ │ babel.config.js│ │ index.js│ │ metro.config.js│ │ package.json│ ││ ├───src│ │ │ App.js│ │ │ Context.js│ │ │ Screens.js│ │ ││ │ └───images│ │ tru-logo.png│├───server│ │ index.js│ │ package.json│ ││ └───helpers│ createAccessToken.js│ createPhoneCheck.js│ getPhoneCheckResult.js│└───web│ index.html│ package.json│├───images│ tru-logo.png│├───src│ │ index.js│ ││ ├───helpers│ │ loader.js│ │ variables.js│ ││ └───views│ index.js│└───stylesstyles.css
The mobile directory contains an index.js file, which is the main entry point for the mobile app, and renders the file src/App.js.
Within the src directory, there is a file called Context.js. This file creates the application context for conditionally rendering UIs. There is also a Screens.js file that returns two UIs conditionally via context and an App.js file to render Screens.js.
The web directory has the entry point index.html, with the key contents of this file being:
- a
<form> - an
<input type="tel" />for the user's phone number - a
<button>to submit the form
There is a ' loader.js ' file within the src/helpers directory, used to toggle a loading spinner for user feedback, and a variables.js file containing references to the above key DOM nodes used throughout this tutorial.
src/index.js is the main JavaScript entry point to handle the pages' rendering and form submissions.
The server directory contains the entry point index.js where the API endpoints are defined.
There is also a helpers directory, which contains the following:
createAccessToken.jsfor creating a tru.ID access token- a
createPhoneCheck.jsfile for creating a PhoneCheck resource - a
getPhoneCheckResponse.jsfile for getting the PhoneCheck response
Companion App workflow
The companion app workflow is as follows:
- User attempts to sign in on the web with E.164 Format Phone Number via
POSTrequest to/api/login. - A lookup is performed to verify the user exists. If the user exists, the user's
login_id, acheck_statusofUNKNOWN, and the mobile device ID is returned to the web client. - Web app makes a
GETrequest polling/api/login/:login_id. This endpoint performs a lookup to confirm whether the user exists by comparing thelogin_id. - If the user exists, a push notification is sent to the mobile client. Users who click on the push notification receive a prompt asking to confirm a login attempt.
- If the user approves the request, a PhoneCheck is created, and the server returns the
check_urlto the mobile client. Thecheck_statusis then updated toAPPROVED. If the user does not approve the PhoneCheck, the login is unsuccessful. - The mobile client opens the
check_urlusing the tru.ID React Native SDK. - If the mobile client successfully opens the
check_url, a patch request is made to/api/login/:login_id,thecheck_statusgets updated toMATCH_PENDING, and the API retrieves the PhoneCheck response. - If there is a match (i.e.
match === true), then thecheck_statusis updated toMATCH_SUCCESS. If there is no match (i.e.match === false), thecheck_statusis updated toMATCH_FAILURE. - On the next polling request, if
MATCH_SUCCESS, the user is logged in on the web. IfMATCH_FAILURE, the user failed to log in.
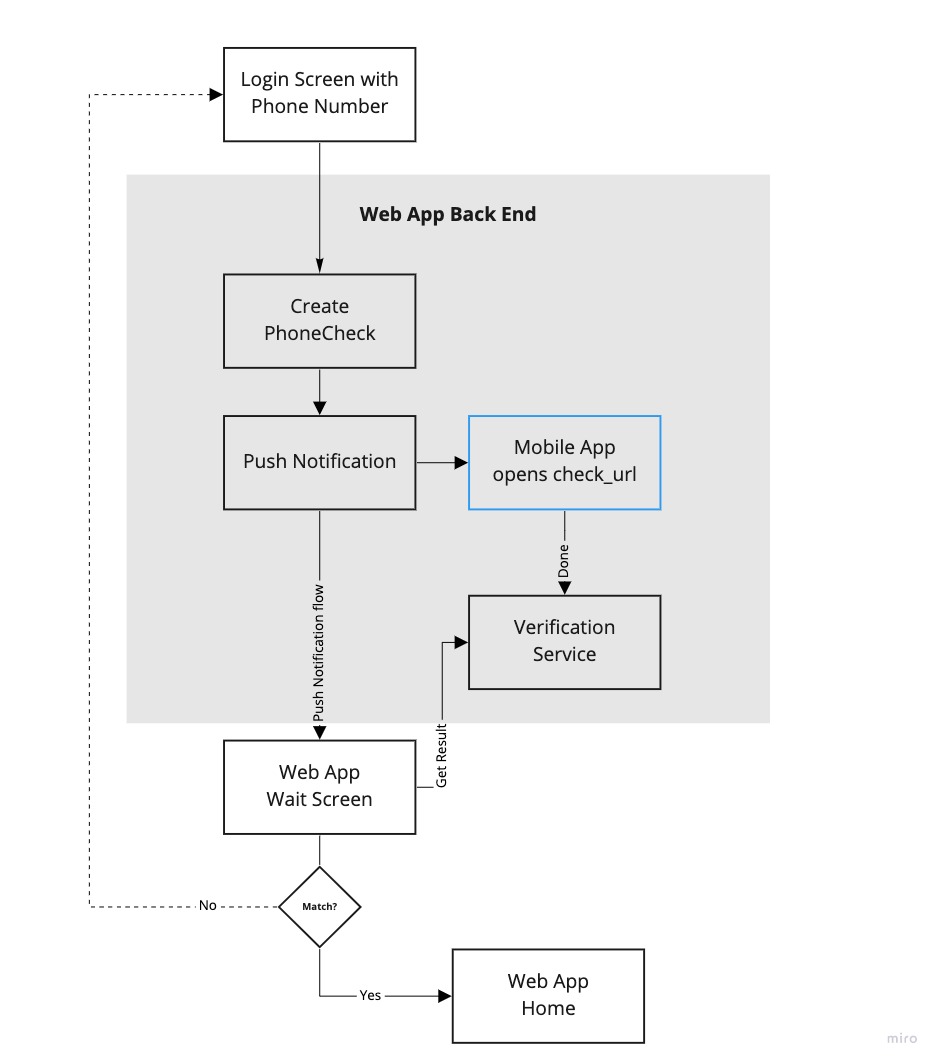
The flowchart shown below is another representation of the flow for verification:
Registering a user
The first step in this tutorial is to register a user on mobile, as shown in Passwordless Registration with tru.ID PhoneCheck & React Native.
In the mobile/src/Screens.js file, update the value of the base_url variable to your server ngrok URL.
Refresh the mobile app, then input a phone number in E.164 format to register.
Your UI will look this:

Receiving push notifications and persisting users
The next step is to allow the device to receive push notifications and persist a user. To allow the application to receive push notifications, it needs to get the Firebase Cloud Messaging Registration Token when a user has successfully registered. Registration happens when the user's phone number and unique device ID generate a token.
To get the device ID, install react-native-device-info, allowing the application to retrieve the unique device info. You'll also need a method for storing the session; this tutorial uses @react-native-async-storage/async-storage.
Open a new terminal and enter the following command:
cd mobile && npm install --save react-native-device-info @react-native-async-storage/async-storage
Now that you've installed the library, add the relevant imports at the top of mobile/src/Screens.js:
import DeviceInfo from 'react-native-device-info'import messaging from '@react-native-firebase/messaging'import AsyncStorage from '@react-native-async-storage/async-storage'
Create a function called requestUserPermission beneath the errorHandler function. This function requests permission to send push notifications on iOS:
// request permission on iOSconst requestUserPermission = async () => {const authStatus = await messaging().requestPermission()const enabled =authStatus === messaging.AuthorizationStatus.AUTHORIZED ||authStatus === messaging.AuthorizationStatus.PROVISIONALif (enabled) {console.log('Authorization status:', authStatus)}}
Next, beneath the function requestUserPermission, create another function to retrieve the registration token and persist.
// this function checks if we've stored the Device registration token in async storage and sends it to the server if we don't have it.const getFCMDeviceToken = async (token = null, deviceId) => {const FCMRegistrationToken = await AsyncStorage.getItem('FCMDeviceToken')if (!FCMRegistrationToken && !token) {const registrationToken = await messaging().getToken()const body = {fcm_token: registrationToken,phone_number: phoneNumber,device_id: deviceId,}const response = await fetch(`${base_url}/api/tokens`, {method: 'POST',body: JSON.stringify(body),headers: {'Content-Type': 'application/json',},})// if something went wrong, inform the user!response.ok &&errorHandler({title: 'Something went wrong',message: 'Please relaunch app.',})} else if (token) {const body = {fcm_token: token,phone_number: phoneNumber,device_id: deviceId,}const response = await fetch(`${base_url}/api/tokens`, {method: 'POST',body: JSON.stringify(body),headers: {'Content-Type': 'application/json',},})// if something went wrong, inform the user!response.ok &&errorHandler({title: 'Something went wrong',message: 'Please relaunch app.',})}}
The code above takes two parameters:
- a value
token, which is defaulted tonull, - the device ID, if it is passed.
The function checks whether a token is stored for this device using AsyncStorage. If the token is null, no token was passed into the function, and if there is no token stored, a registration token gets created. This registration token, the device ID, and the user's phone number get sent to the server's endpoint api/tokens.
If the function has a token passed in, the token, device ID, and the user's phone number is returned.
In both cases, the user gets informed if something is wrong with the response.
Next in this tutorial, the two functions need calling. At the top of mobile/src/Screens.js, find the line that imports React and other React components. Within the {}, add useEffect, as shown below:
import React, { useContext, useState, useEffect } from 'react'
Above the line const registerHandler = async () => {, add the following two calls of the userEffect() function:
// useEffect for requesting permission on iOSuseEffect(() => {requestUserPermission()}, [])// useEffect for getting FCM tokenuseEffect(() => {const deviceId = DeviceInfo.getUniqueId()if (screen === 'login') {getFCMDeviceToken(null, deviceId)}return () =>messaging().onTokenRefresh((token) => {getFCMDeviceToken(token, deviceId)})}, [screen])
Of these two useEffect calls, the first requests user permission to display notifications when the application is mounted.
The second retrieves the device ID, and if the user sees the login screen, it calls getFCMDeviceToken, passing in null and the deviceId as its parameters. The function calls the cleanup function, which listens for any change in the token. The token gets passed into the getFCMDeviceToken function when a change happens.
The server now needs a new route to handle receiving and persisting the token. The data persisted is stored using Redis.
Create a file in the server/helpers directory called redisClient.js and enter the following code to initialize the Redis client, which will run on port 6379:
const redis = require('redis')const redisClient = redis.createClient(6379)exports.redisClient = redisClient
In the file server/index.js, add the following two imports, followed by the creation of a constant called get, which connects the Redis server to the server:
const { promisify } = require('util')const { redisClient } = require('./helpers/redisClient')const get = promisify(redisClient.get).bind(redisClient)
This server also requires another third-party library that generates unique IDs for the users; this library is called uuidv4. In your terminal, run the following command:
cd server && npm install --save uuidv4
Now, at the top of the file server/index.js, add this library as an import:
const { uuid } = require('uuidv4')
It's time to create the /api/tokens endpoint used to persist users. Find the line: app.post('/api/register'), and above it, add the following new endpoint:
// save Mobile Client FCM token, phone number & device id to Redisapp.post('/api/tokens', async (req, res) => {const { fcm_token, phone_number, device_id } = req.bodyconst users = await get('users')// check if there is a mobile tokenif (users) {const oldUsers = JSON.parse(users)// check if we have a user with that phone number, get it, and also filter out the existing user from or array// POINT BEING THE USER WANTS TO RE-REGISTER WITH THE SAME PHONE NUMBERconst existingUser = oldUsers.find((el) => el.phone_number === phone_number)const updatedUsers = oldUsers.filter((el) => el.phone_number !== phone_number,)// check if we have users. If we do, update the fcm_token and device_idif (existingUser) {existingUser.fcm_token = fcm_tokenexistingUser.device_id = device_id// add the updated user back and set the users to RedisupdatedUsers.push(existingUser)redisClient.setex('users', 60 * 60 * 24 * 7, JSON.stringify(updatedUsers))return res.status(201).send({ message: 'successfully saved user to redis' })}const userProperties = {fcm_token,phone_number,device_id,login_id: uuid(),check_id: null,check_url: null,check_status: 'UNKNOWN',}oldUsers.push(userProperties)redisClient.setex('users', 60 * 60 * 24 * 7, JSON.stringify(oldUsers))} else {const userProperties = {fcm_token,phone_number,device_id,login_id: uuid(),check_id: null,check_url: null,check_status: 'UNKNOWN',}const users = []users.push(userProperties)redisClient.setex('users', 60 * 60 * 24 * 7, JSON.stringify(users))}return res.status(201).send({ message: 'successfully saved user to redis' })})
Here, the code extracts the fcm_token, phone_number, and device_id from the request body, using the Redis store to compare this user with users already saved in order to check whether the user already exists. If the user does exist, their object gets converted from JSON into an array.
The next step is to check whether the user is attempting to register again. If yes, the fcm_token and device_id are updated and stored in Redis. A 201 - created HTTP status gets returned to the mobile client. However, if there isn't an existing user, it is created and stored in Redis with the same HTTP status.
If there are no users, the function creates a new user array to store this new user in Redis. Again, if this is the case, a 201 - created HTTP response gets sent back to the mobile client.
Get the phone number from the web app
In the web directory, navigate to src/index.js and add the following (be sure to update the value of baseURL to your ngrok URL):
import { form, input } from './helpers/variables.js'import { toggleLoading } from './helpers/loader.js'const baseURL = 'https://serverngrokurl.ngrok.io'form.addEventListener('submit', async (e) => {// prevent page from refreshinge.preventDefault()toggleLoading(true)const body = { phone_number: input.value }try {const response = await fetch(`${baseURL}/api/login`, {body: JSON.stringify(body),method: 'POST',headers: {'Content-Type': 'application/json',},})const { data } = await response.json()} catch (e) {console.log(JSON.stringify(e))Toastify({text: `${e.message}`,duration: 3000,close: true,className: 'toast',backgroundColor: '#f00',gravity: 'top',position: 'center',stopOnFocus: true,}).showToast()}})
The example above listens for the event of the user clicking on the Submit button on the web application. This action then takes the phone_number input by the user and submits it to the ${baseURL}/api/login (the server) as a POST request. The response from the POST request gets stored in a constant called data. If there is an error, it is displayed in a pop-up using the component Toast.
Be sure to refresh the web app in your browser before testing.
The API endpoint doesn't yet exist in the server, so navigate over to the server/index.js file, and find the line app.post('/api/login', async (req, res) => {}). Replace this line with the following:
app.post('/api/login', async (req, res) => {const { phone_number: phoneNumber } = req.bodytry {const users = await get('users')if (users) {const currentUsers = JSON.parse(users)const currentUser = currentUsers.find((el) => el.phone_number === phoneNumber,)// set `check_status` to `UNKNOWN`const updatedUsers = currentUsers.map((el) => {if (el.phone_number === phoneNumber) {el.check_status = 'UNKNOWN'el.check_id = nullel.check_url = null}return el})redisClient.setex('users', 60 * 60 * 24 * 7, JSON.stringify(updatedUsers))currentUser? res.status(201).send({data: {login_id: currentUser.login_id,check_id: null,check_url: null,check_status: 'UNKNOWN',},}): res.status(404).send({ message: 'User does not exist' })}} catch (e) {console.log(JSON.stringify(e))res.status(400).send({ message: e.message })}})
In the code above, the phone number gets pulled from the request body, and users are retrieved from the Redis server. If the Redis server has users stored in it, they are converted from JSON into an array and checked to determine whether their phone numbers match. If there is a match, the user's check_status is set to UNKNOWN and returned to the client.
Polling our server for a match
The next step is to poll the server for a match. Polling means making continuous requests until a condition is met. To implement polling, in web/src/helpers/, create a polling.js file and paste the following:
import { toggleLoading } from './loader.js'import { clearForm, successUI } from '../views/index.js'const pollingFunction = (baseURL, loginId) => {let pollCount = 1console.log(pollCount)const interval = setInterval(async () => {try {const response = await fetch(`${baseURL}/api/login/${loginId}?poll_count=${pollCount}`,)const data = await response.json()console.log(data)if (data) {pollCount += 1}if (data.data.check_status === 'MATCH_SUCCESS') {clearInterval(interval)toggleLoading(false)clearForm()successUI()} else if (data.data.check_status === 'MATCH_FAILED') {clearInterval(interval)toggleLoading(false)Toastify({text: `Login Failed`,duration: 3000,close: true,className: 'toast',backgroundColor: '#f00',gravity: 'top',position: 'center',stopOnFocus: true,}).showToast()return} else if (data.data.check_status === 'DENIED') {clearInterval(interval)toggleLoading(false)Toastify({text: `Login Request Denied`,duration: 3000,close: true,className: 'toast',backgroundColor: '#f00',gravity: 'top',position: 'center',stopOnFocus: true,}).showToast()}} catch (e) {Toastify({text: `${e.message}`,duration: 3000,close: true,className: 'toast',backgroundColor: '#f00',gravity: 'top',position: 'center',stopOnFocus: true,}).showToast()}}, 5000)}export { pollingFunction }
Here, a function is created that receives the baseURL and loginId as parameters. This function then makes a GET request to /api/login:login_id, passing in the loginId and pollCount every 5 seconds.
The pollCount gets increased on every request. If the check_status is MATCH_SUCCESS, the polling function ends, and the UI is updated. If the check_status is MATCH_FAILURE (for example, there isn't a match), then the polling function is stopped, and a Toast notification is rendered, telling the user their login attempt failed. Another possible outcome is that check_status is DENIED; the polling function stops running, and the UI is updated to inform the user.
Now, in web/src/index.js, the polling function needs calling. First, add the following import to the top of this file:
import { pollingFunction } from './helpers/polling.js'
Find the line: const { data } = await response.json(), and add the following below it:
pollingFunction(baseURL, data.login_id)
The polling function is called with the following parameters: baseURL and login_id. Refresh the webpage so that the changes are reflected in the browser.
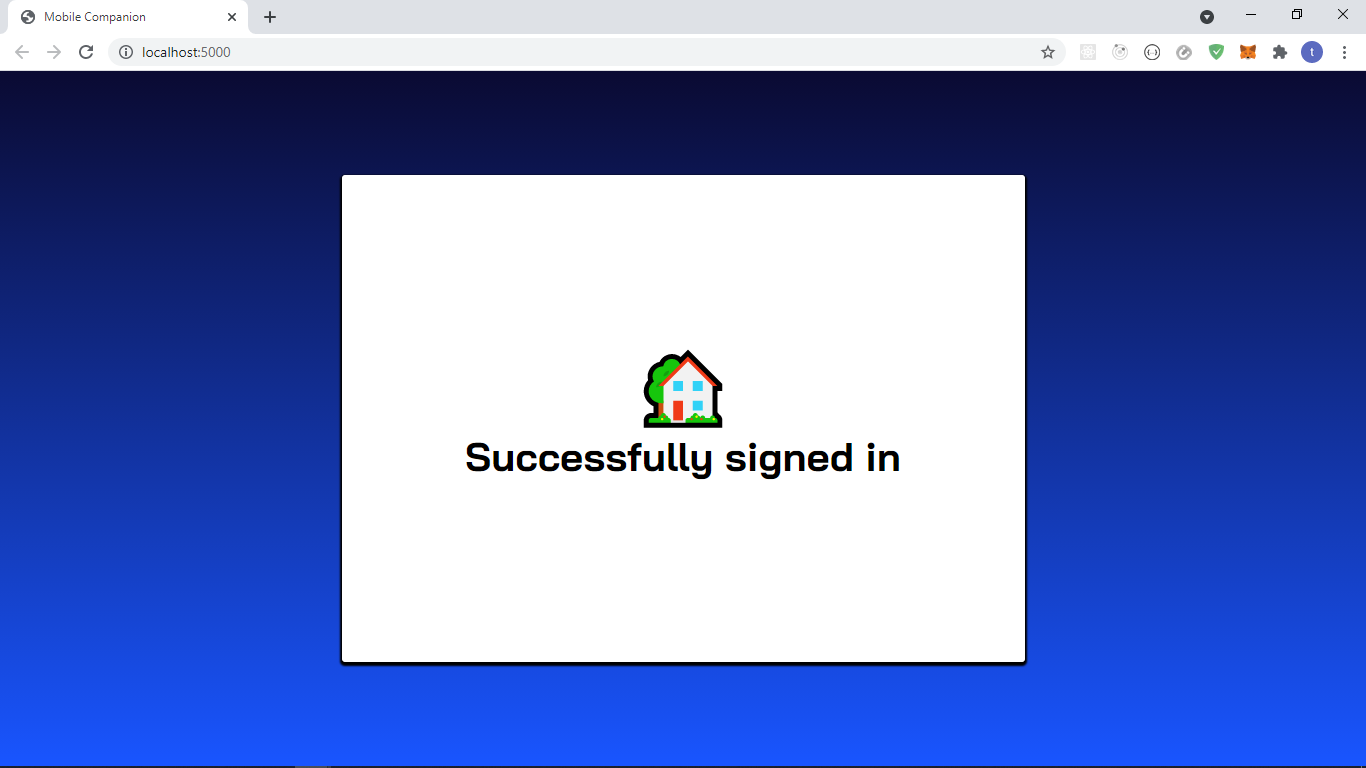
The web UI, when there is a successful match, will look as shown in the image below:
Now, this request needs handling on the server-side. In server/index.js file, find the line const app = express(), and below this, add the following:
const admin = require('firebase-admin')var serviceAccount = require('../service-account.json')admin.initializeApp({credential: admin.credential.cert(serviceAccount),})
Now find the line app.get('/api/login/:login_id', async (req, res) => {}) and replace it with following:
app.get('/api/login/:login_id', async (req, res) => {const { login_id } = req.paramsconst { poll_count } = req.querytry {const users = await get('users')const currentUsers = JSON.parse(users)const user = currentUsers.find((el) => el.login_id === login_id)console.log(user)if (poll_count === '1' && user.login_id) {const message = {data: {phone_number: user.phone_number,login_id: user.login_id,},notification: {title: 'Sign In Attempt.',body: 'Open to sign in.',},token: user.fcm_token,}const response = await admin.messaging().send(message)console.log('Sent push notification to',user.device_id,'containing',response,)}// if the check_status` === "MATCH_SUCCESS" return the user. Needed so the polling function does not continually call our helpersif (user.check_status === 'MATCH_SUCCESS') {res.status(200).send({ data: user })return} else if (user.check_status === 'MATCH_FAILED') {res.status(200).send({ data: user })return}// IF `check_status` === "MATCH_PENDING". Get the PhoneCheck responseelse if (user.check_status === 'MATCH_PENDING') {// get the PhoneCheck responseconst { match } = await getPhoneCheck(user.check_id)if (match) {const updatedUsers = currentUsers.map((el) => {if (el.login_id === login_id) {el.check_status = 'MATCH_SUCCESS'}return el})redisClient.setex('users',60 * 60 * 24 * 7,JSON.stringify(updatedUsers),)const result = { ...user, check_status: 'MATCH_SUCCESS' }res.status(200).send({ data: result })return} else {const updatedUsers = currentUsers.map((el) => {if (el.login_id === login_id) {el.check_status = 'MATCH_FAILED'}return el})redisClient.setex('users',60 * 60 * 24 * 7,JSON.stringify(updatedUsers),)const result = { ...user, check_status: 'MATCH_FAILED' }res.status(200).send({ data: result })return}} else if (user.check_status === 'DENIED') {res.status(200).send({ data: user })return}// return defaults to the clientconst result = {...user,check_status: 'UNKNOWN',check_id: null,check_url: null,}res.status(200).send({ data: result })} catch (e) {res.status(500).send({ message: e.message })}})
The code retrieves the login_id and poll_count from this example's request and query parameters. The next step is using the login_id to determine whether a user already exists. If the poll_count is 1 and the user exists, the mobile app receives a push notification.
If the poll_count is greater than 1, the application checks for a match, which then determines the following action:
If there is a match, the code sets the user's check_status to MATCH_SUCCESS, and the client receives the updated user object.
If there isn't a match, the code sets the user's check_status to MATCH_FAILED, and the client receives the updated user object.
Finally, if check_status equals DENIED, the user is sent back to the client without being updated.
Receiving push notifications
The following functionality is needed to receive the push notifications and display these notifications in the mobile application.
There are two types of push notifications used in this tutorial:
- Foreground notifications: messages received when the app is open or active.
- Background notifications: messages received when the app is closed or in a quit state.
This tutorial uses foreground notifications, so in mobile/src/Screens.js, find the return. Above this line, add the following useEffect:
// useEffect for handling foreground messagesuseEffect(() => {const unsubscribe = messaging().onMessage(async (remoteMessage) => {setTitle('Signing In...')Toast.show({type: 'info',position: 'top',text1: remoteMessage.notification.title,text2: remoteMessage.notification.body,onPress: () => notificationHandler(remoteMessage.data.login_id),})})return unsubscribe}, [])
In this example, the application is listening for any foreground notifications. When one is received, it renders a toast notification, passing in the notification object's title and body.
If the user presses the toast notification, the application calls notificationHandler and passes the login_id.
The next step is to create the notificationHandler function. Find the line: const getFCMDeviceToken = async (token = null, deviceId) => {, and above this, add the following:
const notificationHandler = (loginId) => {return Alert.alert('Login Attempt Initiated',"Someone is attempting to log in; please confirm it's you.",[{text: 'Approve',onPress: () => approvedHandler(loginId),},{text: 'Deny',onPress: () => deniedHandler(loginId),},],)}
In this snippet, the notificationHandler receives the parameter loginId. Using this parameter, an alert is created, informing the user that someone is attempting to log in.
The user can either approve or deny this request.
Next, the approvedHandler and deniedHandler functions need to be created. Find your notificationHandler, and below this add the following:
const approvedHandler = async (loginId) => {// user approved the login, so send the PATCH request informing the serverconst body = { value: 'APPROVED' }try {const response = await fetch(`${base_url}/api/login/${loginId}`, {method: 'PATCH',body: JSON.stringify(body),headers: {'Content-Type': 'application/json',},})const data = await response.json()// open check URLawait TruSDK.openCheckUrl(data.data.check_url)// successfully opened Check URL so send PATCH request informing the server that a match is pendingawait fetch(`${base_url}/api/login/${loginId}`, {method: 'PATCH',body: JSON.stringify({ value: 'MATCH_PENDING' }),headers: {'Content-Type': 'application/json',},})setTitle('Home 🏡')} catch (e) {errorHandler({title: 'Something went wrong',message: 'Please relaunch app.',})}}const deniedHandler = async (loginId) => {const body = { value: 'DENIED' }const response = await fetch(`${base_url}/api/login/${loginId}`, {method: 'PATCH',body: JSON.stringify(body),headers: {'Content-Type': 'application/json',},})// if something went wrong, inform the user!response.ok &&errorHandler({title: 'Something went wrong',message: 'Please relaunch app.',})setTitle('Home 🏡')}
The approvedHandler function receives the loginId and makes a PATCH request to /api/login/:login_id, which is not yet implemented, with a payload containing a value set to APPROVED. We then open the check URL retrieved from the response using the tru.ID React Native SDK.
If the application successfully opens the check URL, another PATCH request gets made with the payload containing a value set to MATCH_PENDING.
The deniedHandler function makes a PATCH request to '/api/login/:login_id', with a payload containing a value which is set to DENIED.
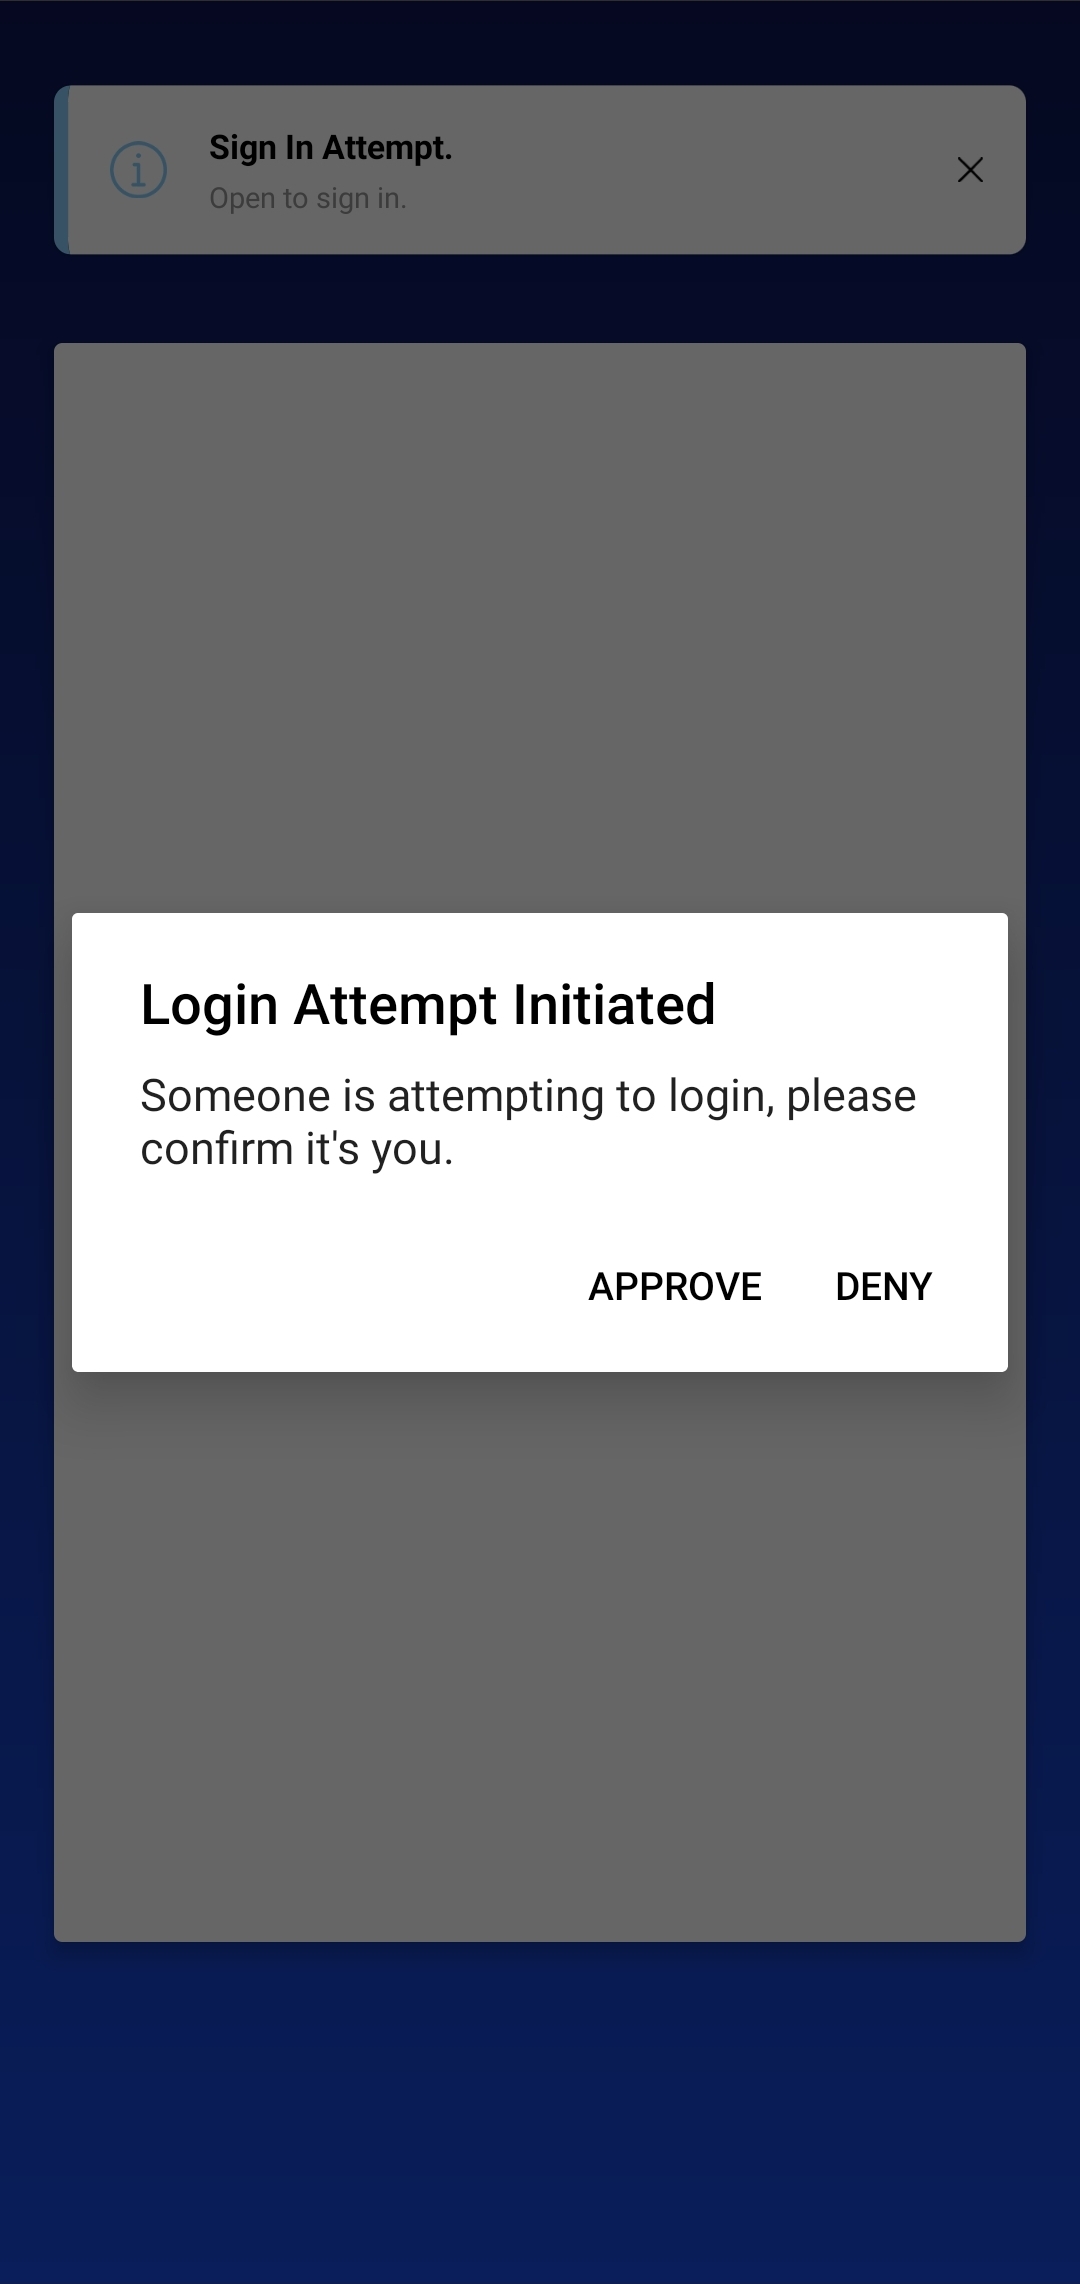
The image below shows an example of the UI when the mobile device receives the foreground notification, and the user clicks on it:
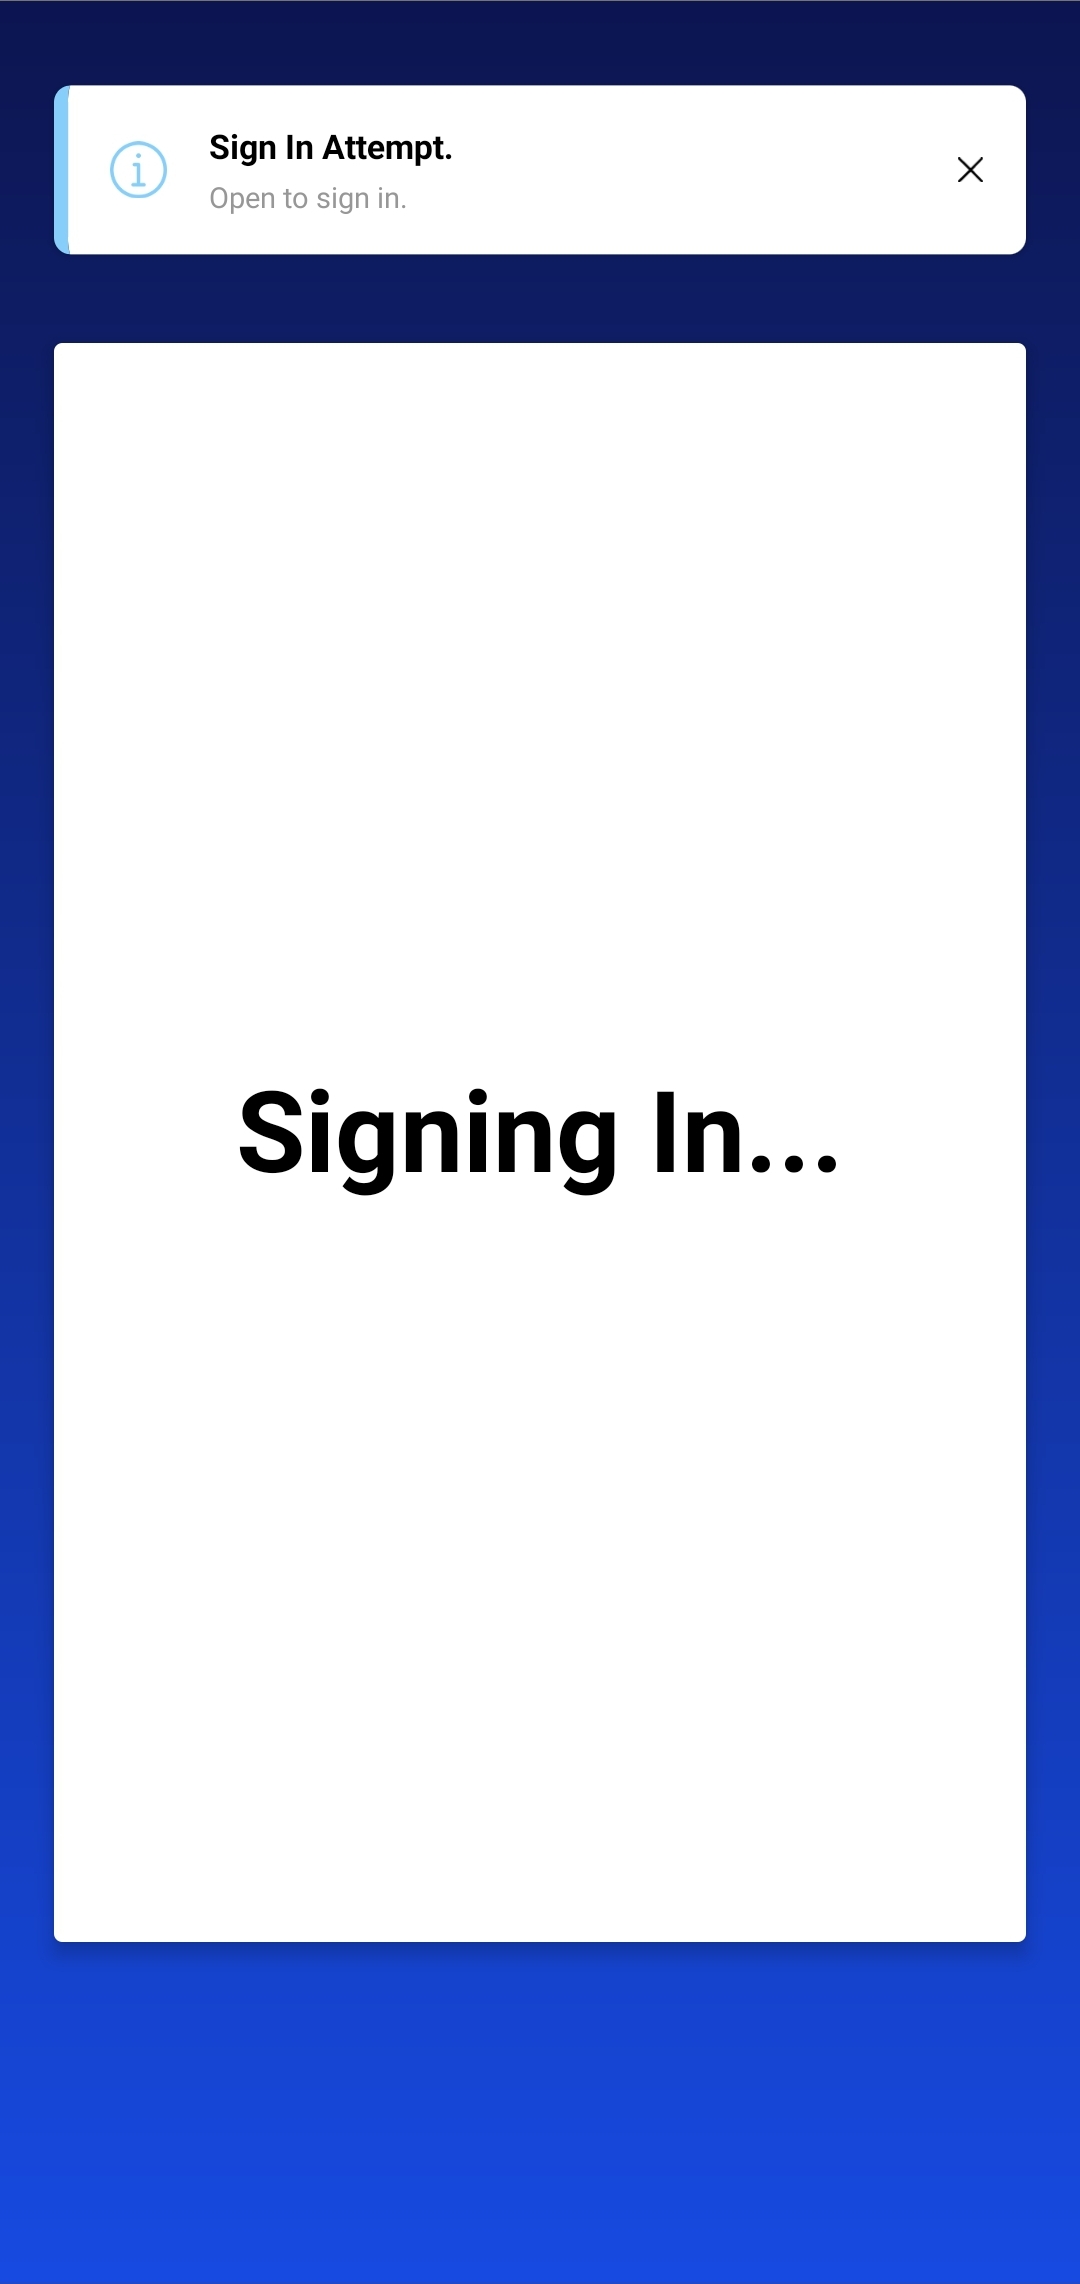
The image below shows an example of the mobile application when a match is successful:
The last step is to create a function that takes the login_id and the value of the request. This function tells the application whether the request was a match or not. To do this, add the following code in server/index.js. Find the line: app.patch('/api/login/:login_id', async (req, res) => {}), and replace it with the following:
app.patch('/api/login/:login_id', async (req, res) => {const { login_id } = req.paramsconst { value } = req.bodytry {if (value === 'APPROVED') {// create an access tokenconst accessToken = await createAccessToken()const users = await get('users')const currentUsers = JSON.parse(users)const user = currentUsers.find((el) => el.login_id === login_id)const { checkId, checkUrl } = await createPhoneCheck(user.phone_number,accessToken,)// update `check_status` , `check_id` and `check_url`const updatedUsers = currentUsers.map((el) => {if (el.login_id === login_id) {el.check_status = 'APPROVED'el.check_id = checkIdel.check_url = checkUrl}return el})redisClient.setex('users', 60 * 60 * 24 * 7, JSON.stringify(updatedUsers))res.status(200).send({data: {login_id: user.login_id,check_id: checkId,check_url: checkUrl,check_status: 'APPROVED',},})return} else if (value === 'MATCH_PENDING') {const users = await get('users')const currentUsers = JSON.parse(users)const user = currentUsers.find((el) => el.login_id === login_id)// update `check_status` , `check_id` and `check_url`const updatedUsers = currentUsers.map((el) => {if (el.login_id === login_id) {el.check_status = 'MATCH_PENDING'}return el})redisClient.setex('users', 60 * 60 * 24 * 7, JSON.stringify(updatedUsers))res.status(200).send({data: {login_id: user.login_id,check_id: user.check_id,check_url: user.check_url,check_status: 'MATCH_PENDING',},})return} else if (value === 'DENIED') {const users = await get('users')const currentUsers = JSON.parse(users)const user = currentUsers.find((el) => el.login_id === login_id)// update `check_status` , `check_id` and `check_url`const updatedUsers = currentUsers.map((el) => {if (el.login_id === login_id) {el.check_status = 'DENIED'el.check_url = nullel.check_id = null}return el})redisClient.setex('users', 60 * 60 * 24 * 7, JSON.stringify(updatedUsers))res.status(200).send({data: {login_id: user.login_id,check_id: null,check_url: null,check_status: 'DENIED',},})}} catch (e) {res.status(500).send({ message: e.message })}})
Reload all apps to test the workflow from start to finish.
Wrapping up
There you have it: you’ve successfully built a passwordless mobile companion app with tru.ID PhoneCheck.

