

This tutorial will cover how to add SIM swap detection using tru.ID SIMCheck to a React Native application authenticated with Firebase Phone Auth.
The tru.ID SIMCheck API provides information on when a SIM card associated with a mobile phone number was last changed. This step provides an extra layer of security in your application login flows and can be used to detect attempted SIM swap fraud. It can be used to augment existing 2FA or anti-fraud workflows.
If you want to dive into the code, you can find it on GitHub.
Getting Started
In your terminal, clone the starter-files branch with the following command:
git clone -b starter-files https://github.com/tru-ID/firebase-phone-auth-sim-swap-detection.git
If the finished code is what you're interested in, then the command below will clone the repository with the main branch as the active branch:
git clone -b main https://github.com/tru-ID/firebase-phone-auth-sim-swap-detection.git
npm install -g @tru_id/cli
tru login <YOUR_IDENTITY_PROVIDER> (this is one of google, github, or microsoft) using the Identity Provider you used when signing up. This command will open a new browser window and ask you to confirm your login. A successful login will show something similar to the below:Success. Tokens were written to /Users/user/.config/@tru_id/cli/config.json. You can now close the browser
config.json file contains some information you won't need to modify. This config file includes your Workspace Data Residency (EU, IN, US), your Workspace ID, and token information such as your scope.Create a new tru.ID project within the root directory with the following command:tru projects:create rn-firebase-auth --project-dir .
rn-firebase-auth directory and run the following command to clone the dev-server:git clone git@github.com:tru-ID/dev-server.git
dev-server directory, run the following command to create a.env copy of .env.example:cp .env.example .env
.env file, update the values of TRU_ID_CLIENT_ID andTRU_ID_CLIENT_SECRET with your client_id and client_secret in yourtru.json file.dev-server to the Internet for your mobile application to access your backend server. For this tutorial, we're using ngrok, which we've included in the dev-server functionality. So to start with, uncomment the following and populate them with your ngrok credentials:NGROK_ENABLED=true#NGROK_SUBDOMAIN=a-subdomain # Uncommenting this is optional. It is only available if you have a paid ngrok account.NGROK_AUTHTOKEN=<YOUR_NGROK_AUTHTOKEN> # This is found in the ngrok dashboard: https://dashboard.ngrok.com/get-started/your-authtokenNGROK_REGION=eu # This is where your ngrok URL will be hosted. If you're using tru.ID's `eu` data residency; leave it as is. Otherwise, you could specify `in` or `us`.
dev-server directory, run the following two commands:npm install # Installs all third-party dependencies in package.jsonnpm run dev # Starts the server
Setting up React Firebase Auth
This project uses React Native Firebase. So, first, install both the app and auth dependencies:
npm install --save @react-native-firebase/app @react-native-firebase/auth
Then follow the guides within the official documentation:
These instructions are quite complicated, but it's better to follow the official documentation by Google and Apple here. However, please raise an issue on our GitHub repo if you get stuck or have any questions.
We can start building the React Native application with all dependencies set up.
Starting Project
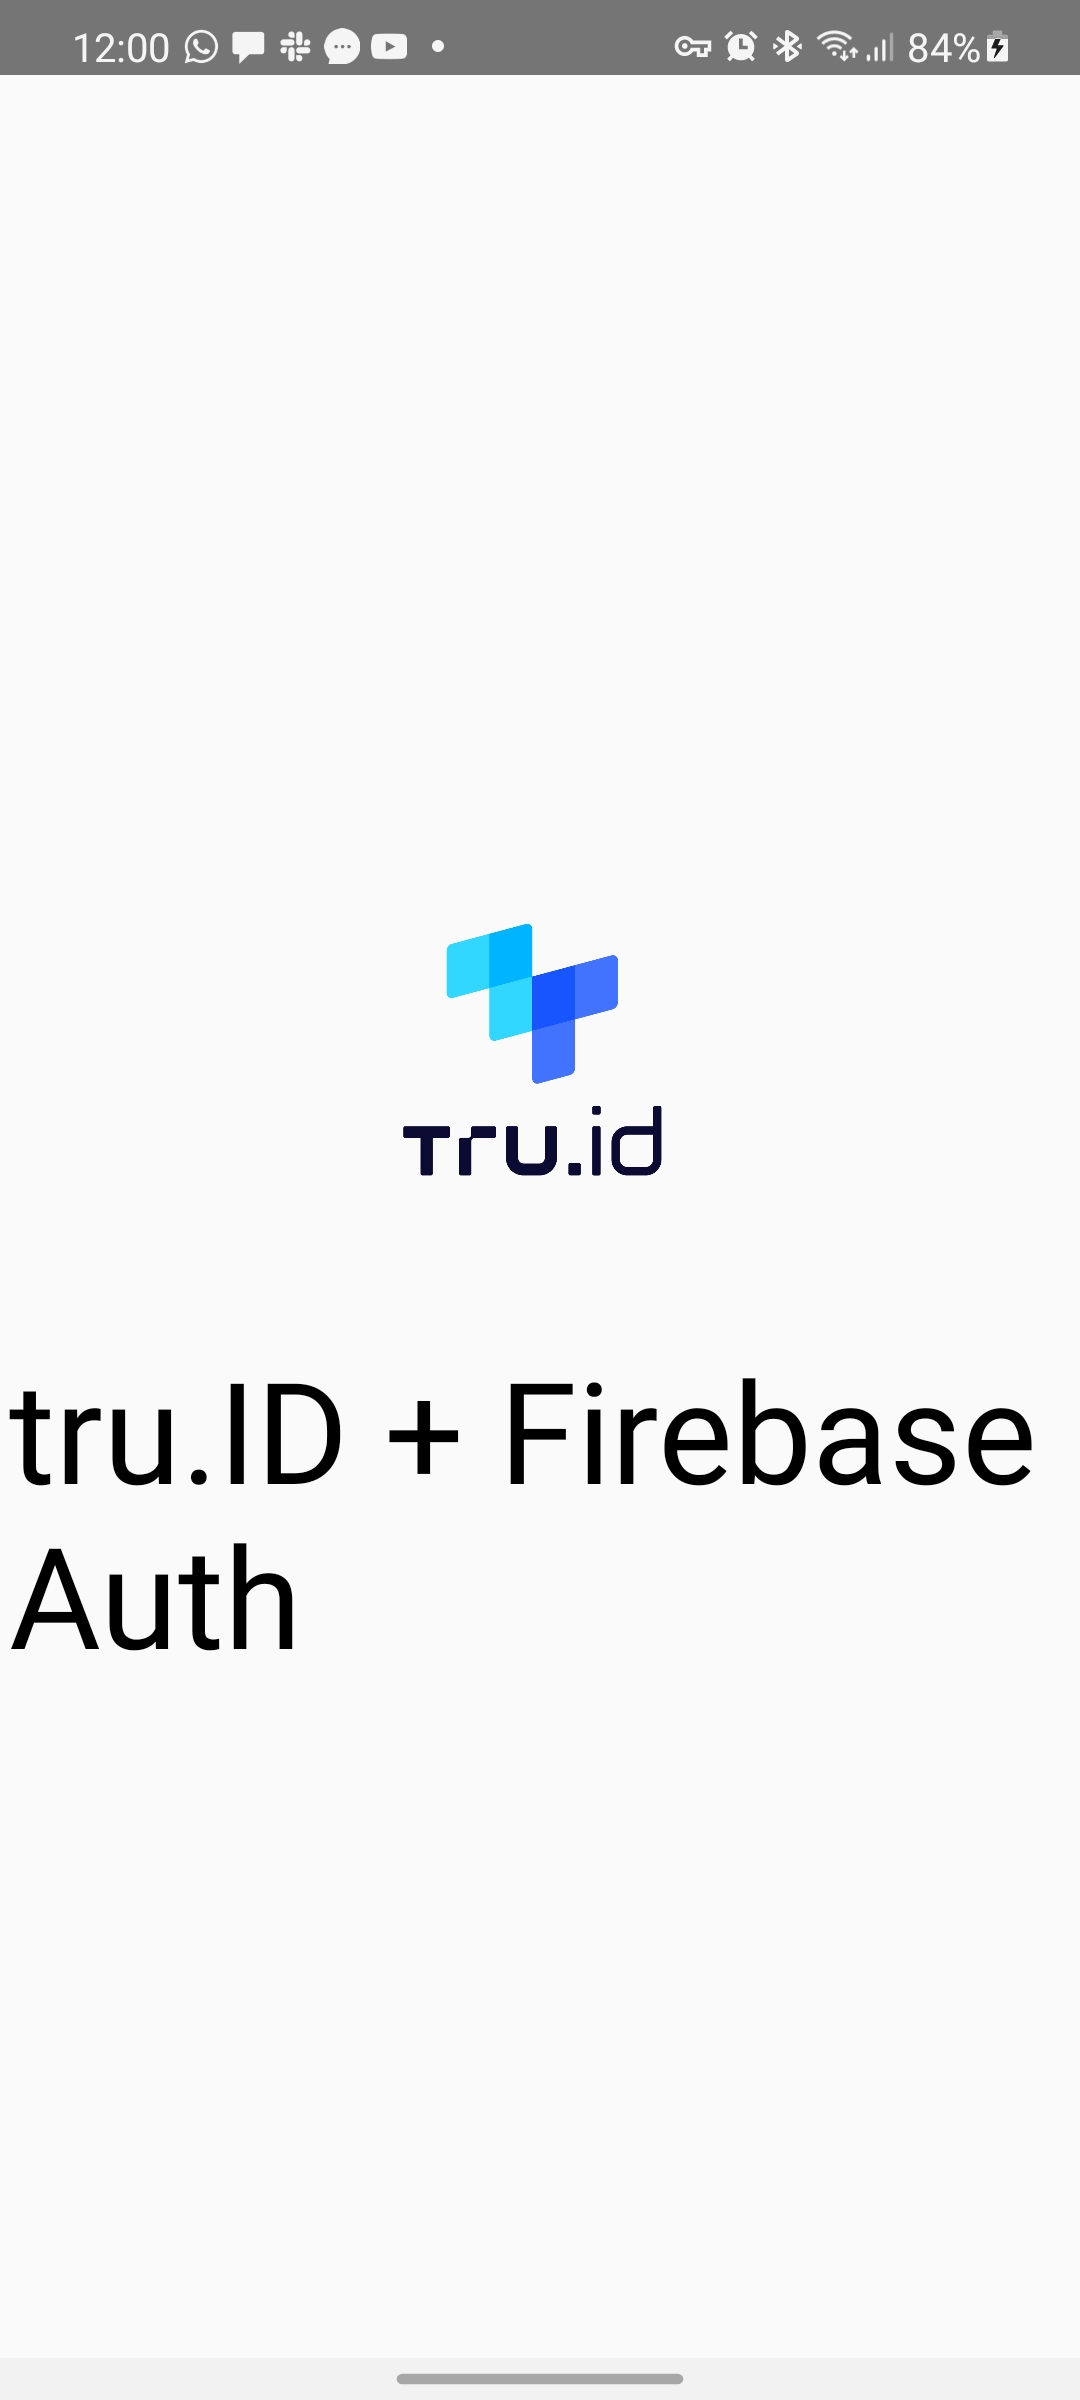
To start the project, ensure you have a physical device connected (see Running React Native on a physical device guide ) then run:
npm run android#ornpm run ios
Your app will look like this:
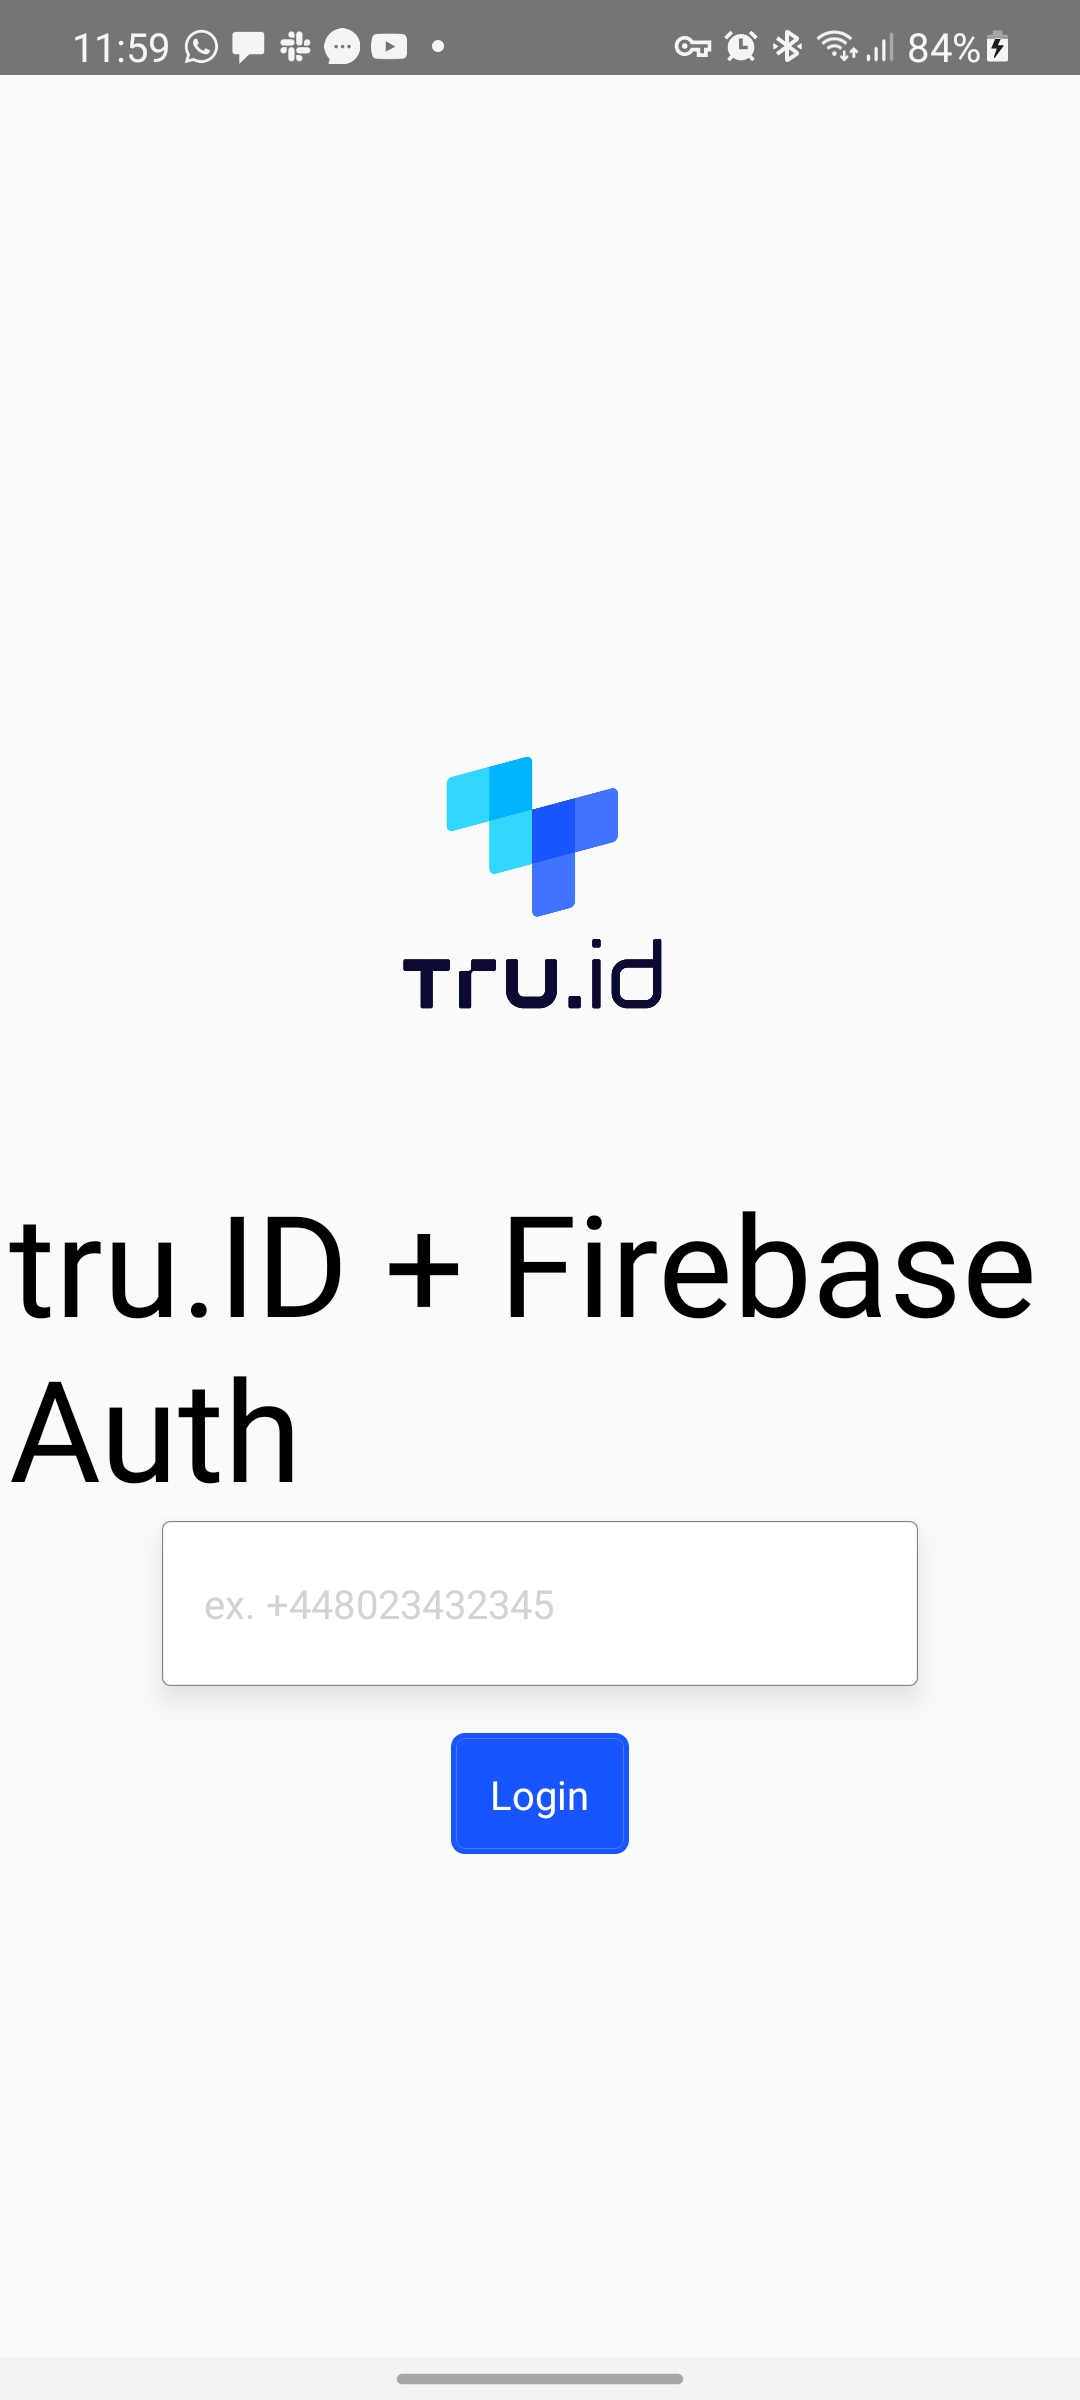
Get the User's Phone Number on the Mobile Device
Let's start by adding the UI and state management required for the user to input (TextInput) and submit their phone number (TouchableOpacity). We'll also conditionally render UI components depending on whether we have sent an OTP (One Time Passcode) to the user or not.
const App = () => {const [phoneNumber, setPhoneNumber] = React.useState('')const [loading, setLoading] = React.useState(false)const [sentCode, setSentCode] = React.useState(null)const [code, setCode] = React.useState('')// Replace `{YOUR_NGROK_URL}` with Ngrok URL in the format : https://{subdomain}.{region}.ngrok.ioconst URL = '{YOUR_NGROK_URL}'// we'll handle the SIMCheck API Call and Firebase Phone Authentication in the function belowconst onPressHandler = async () => {}// we'll handle verifying the received OTP in the function belowconst confirmationHandler = async () => {}return (<SafeAreaView style={styles.backgroundStyle}><StatusBar barStyle="light-content" /><Image style={styles.logo} source={require('./images/tru-logo.png')} /><Text style={styles.heading}>tru.ID + Firebase Auth</Text>{sentCode ? (<View style={styles.center}><TextInputstyle={styles.textInput}placeholder="OTP"placeholderTextColor="#d3d3d3"onChangeText={(text) => setCode(text)}value={code}/>{loading ? (<ActivityIndicatorstyle={styles.spinner}size="large"color="#00ff00"/>) : (<TouchableOpacityonPress={confirmationHandler}style={styles.button}><Text style={styles.buttonText}>Verify</Text></TouchableOpacity>)}</View>) : (<View style={styles.center}><TextInputstyle={styles.textInput}keyboardType="phone-pad"placeholder="ex. +448023432345"placeholderTextColor="#d3d3d3"onChangeText={(text) => setPhoneNumber(text.replace(/\s+/g, ''))}/>{loading ? (<ActivityIndicatorstyle={styles.spinner}size="large"color="#00ff00"/>) : (<TouchableOpacity onPress={onPressHandler} style={styles.button}><Text style={styles.buttonText}>Login</Text></TouchableOpacity>)}</View>)}</SafeAreaView>)}
That application UI will now look as follows:
Handling Phone Authentication
The user will begin phone authentication by touching the TouchableOpacity. This event is then handled by the onPressHandler function and starts the Firebase Phone Auth workflow.
Let's import the Firebase React Native Auth package we'll use at the top of app.js:
import auth from '@react-native-firebase/auth'
Next, let's create a reusable function to handle any errors above the onPressHandler function:
const errorHandler = ({ title, message }) => {return Alert.alert(title, message, [{text: 'Close',onPress: () => console.log('Alert closed'),},])}
This function takes in a title and message prop and renders an Alert to the screen using those props.
Now we can update the onPressHandler function:
const onPressHandler = async () => {setLoading(true)try {console.log('Firebase: signInWithPhoneNumber')const confirmation = await auth().signInWithPhoneNumber(phoneNumber)console.log('Firebase: signInWithPhoneNumber result', confirmation)setLoading(false)setSentCode(confirmation)} catch (e) {setLoading(false)errorHandler({title: 'Something went wrong',message: e.message,})}}
Here we set loading to true, which gives the user a visual cue that a process (an HTTP network request) has kicked off.
We then attempt to sign in with the user's phone number via Firebase using the auth().signInWithPhoneNumber() function.
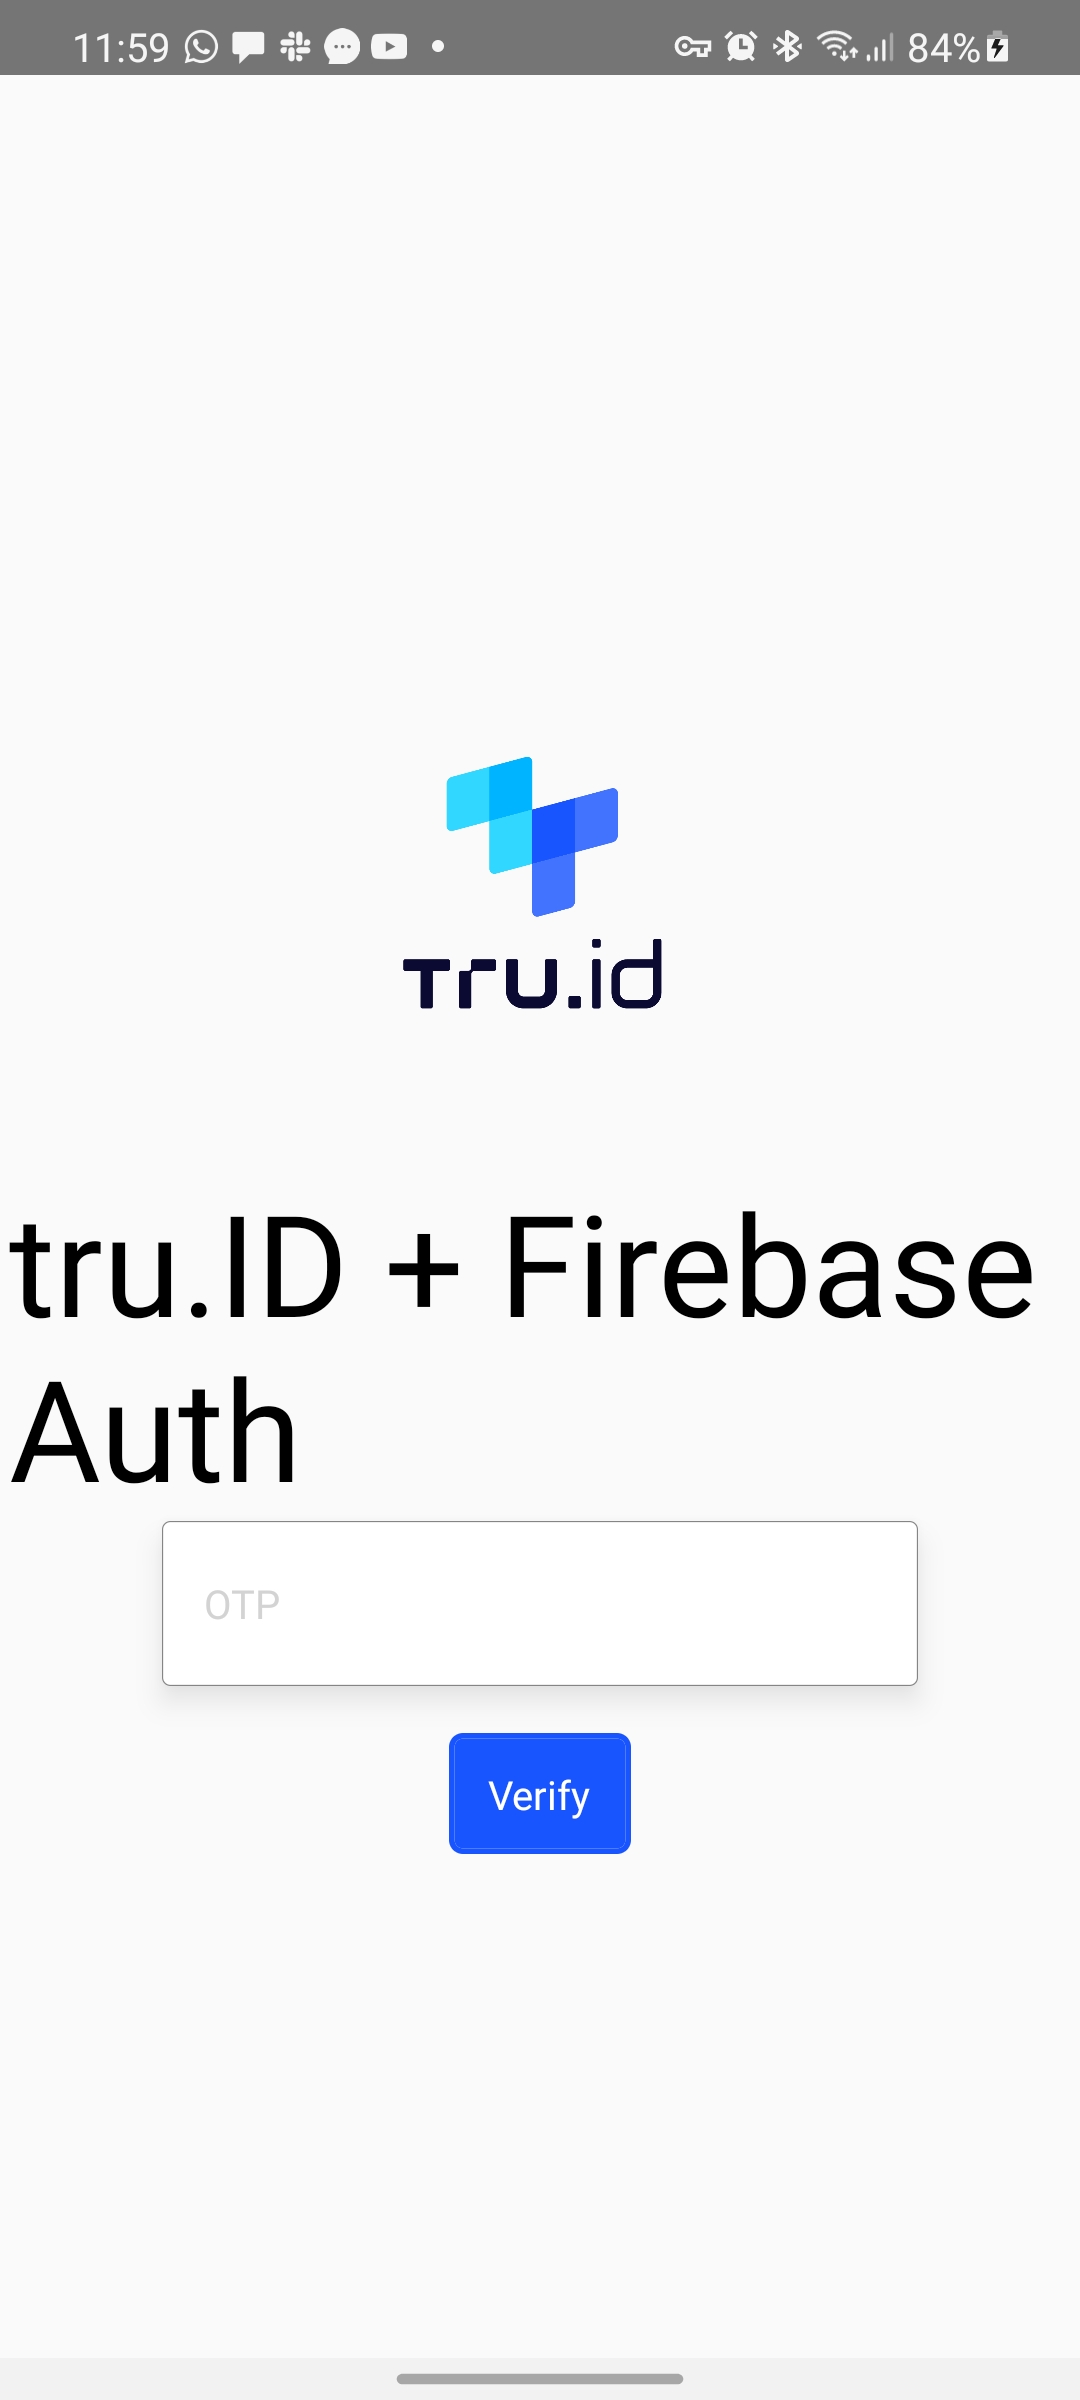
If we have successfully sent an OTP, we set loading to false and call setCode, passing the signInWithPhoneNumber response. setCode will trigger the logic in the re-render to return the view with the OTP screen.
If an error occurs, we render an Alert to the user with the error message.
Your app will look like this:
Handling OTP Validation
The next step is to handle the OTP the user inputs in the confirmationHandler function, which is called when the user submits the OTP:
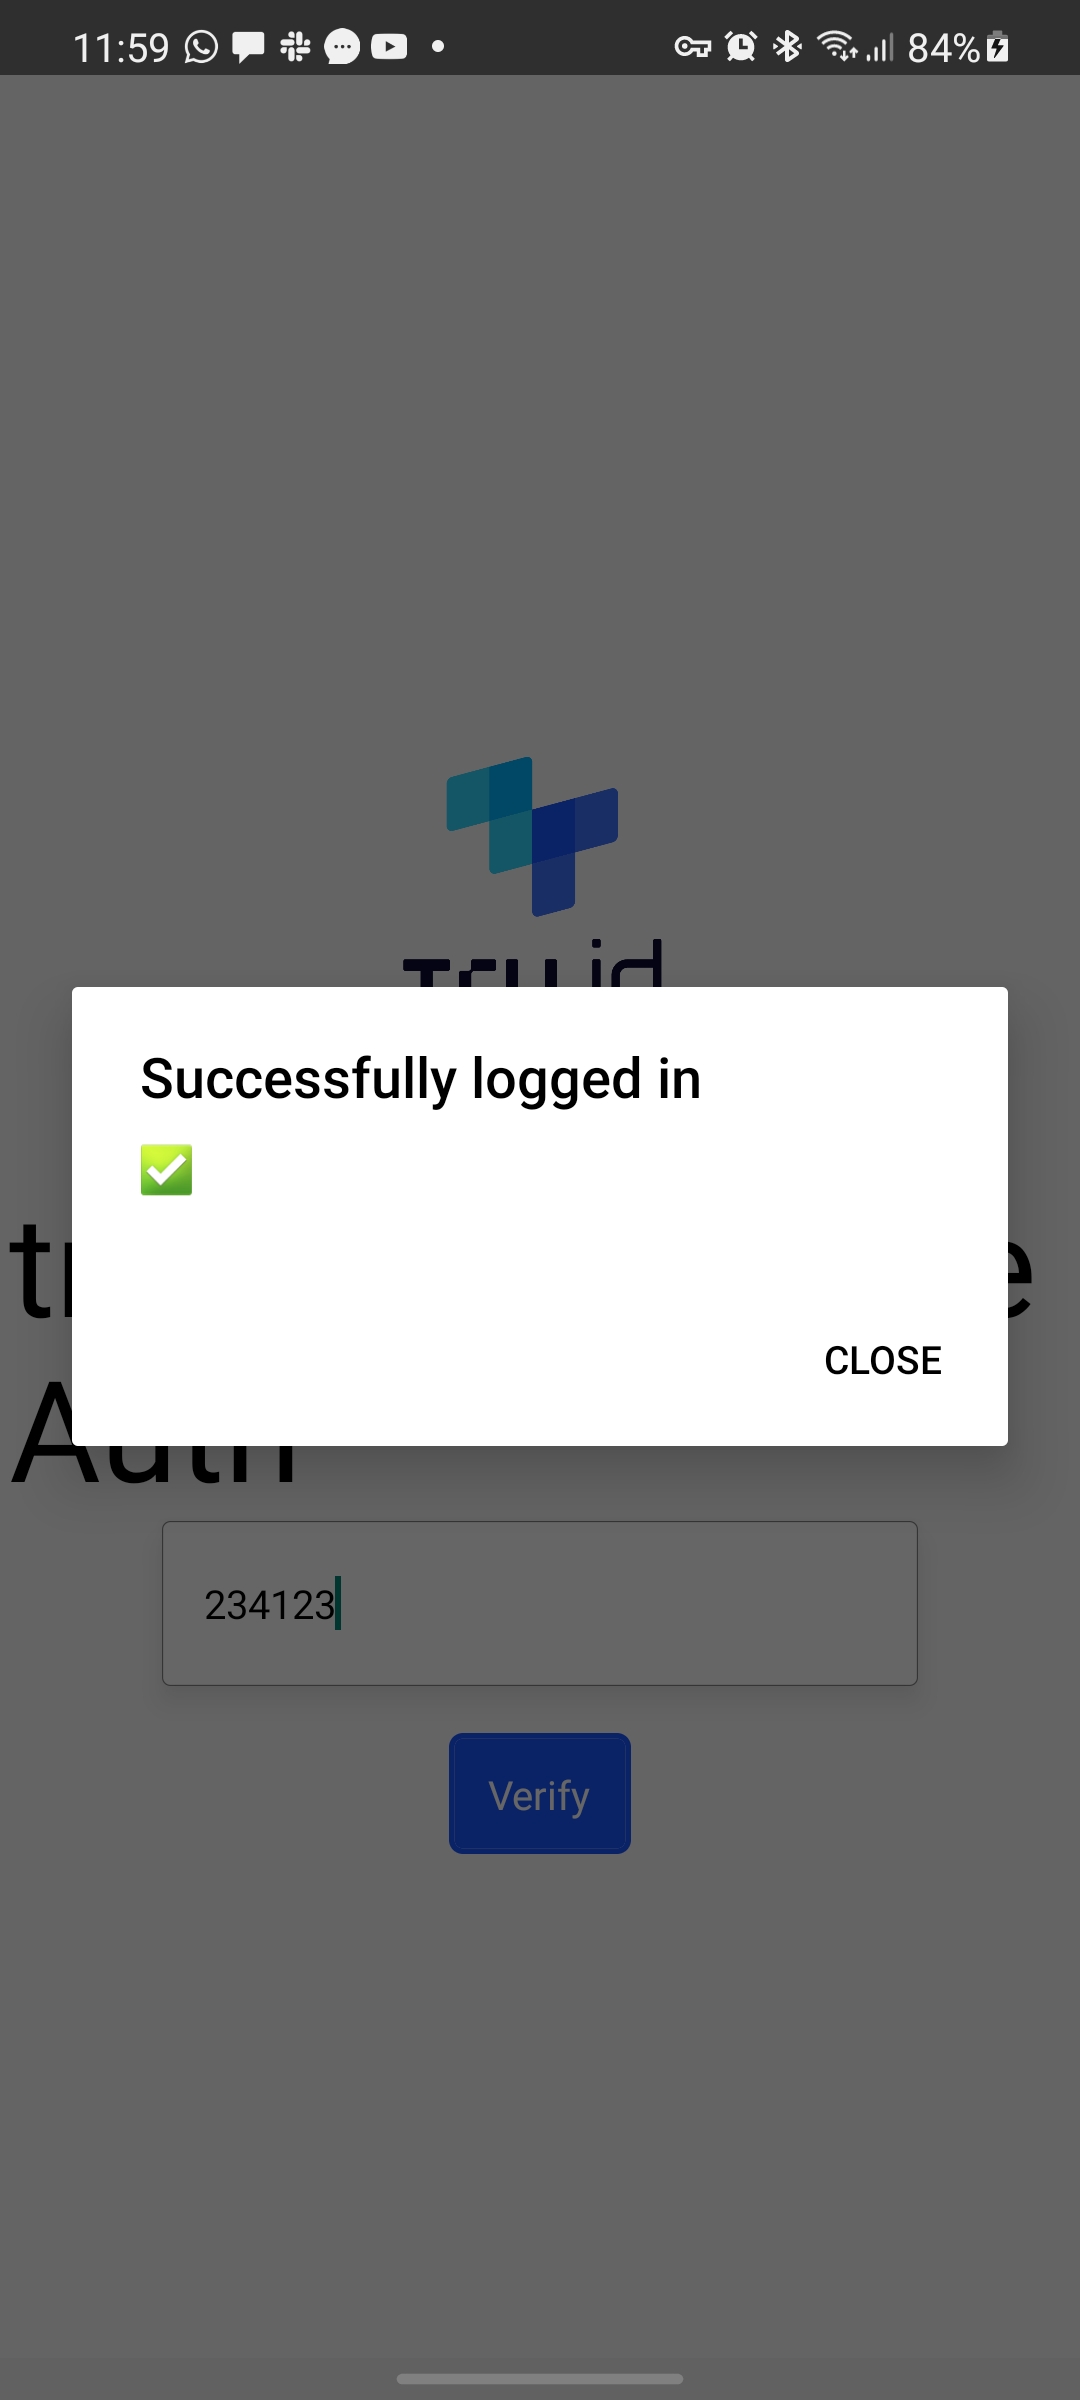
const confirmationHandler = async () => {try {setLoading(true)const resp = await sentCode.confirm(code)setLoading(false)if (resp) {Alert.alert('Successfully logged in', '✅', [{text: 'Close',onPress: () => console.log('Alert closed'),},])}} catch (e) {console.error(e)setLoading(false)// set `sentCode` to null resetting the UIsetSentCode(null)errorHandler({title: 'Something went wrong',message: e.message,})}}
Once again, we set loading to true to indicate some work is going on in the background. Then we use the sentCode object – set from the response from sending the OTP – and access the confirm function to validate the OTP the user entered.
If there's a response, which means the OTP the user entered is valid, we alert the user with a success message. If something went wrong (i.e., an error occurred), we set setCode to null, which resets the UI and informs the user.
When the OTP is valid, the app will look as follows:
Augmenting the existing workflow to add SIM Swap Detection
The last thing we have to do is add SIM Swap detection to the application's workflow using SIMCheck.
The first thing we want to do is check if the user's MNO supports the SIMCheck API. To do this, we'll use the tru.ID React Native SDK. In your Terminal, navigate to the project directory and run the following command to install the SDK:
npm install @tru_id/tru-sdk-react-native
Open App.js and add the import to the top of the file:
import TruSdkReactNative from '@tru_id/tru-sdk-react-native'
To check if the Mobile Network Operator (MNO) supports the SIMCheck API, we'll use the Reachability API. Update the onPressHandler to:
const onPressHandler = async () => {try {const reachabilityResponse = await TruSdkReactNative.openWithDataCellular('https://{DATA_RESIDENCY}.api.tru.id/public/coverage/v0.1/device_ip');console.log(reachabilityResponse);let isMNOSupported = falseif ('error' in reachabilityResponse) {errorHandler({title: 'Something went wrong.',message: 'MNO not supported',})setLoading(false)return} else if ('http_status' in reachabilityResponse) {let httpStatus = reachabilityResponse.http_status;if (httpStatus === 200 && reachabilityResponse.response_body !== undefined) {let body = reachabilityResponse.response_body;console.log('product => ' + JSON.stringify(body.products[0]));isMNOSupported = true;} else if (httpStatus === 400 || httpStatus === 412 || reachabilityResponse.response_body !== undefined) {errorHandler({title: 'Something went wrong.',message: 'MNO not supported',})setLoading(false)return}}let isPhoneCheckSupported = falseif (isMNOSupported === true) {reachabilityResponse.response_body.products.forEach((product) => {console.log('supported products are', product)if (product.product_name === 'Phone Check') {isPhoneCheckSupported = true}})}if (!isPhoneCheckSupported) {errorHandler({title: 'Something went wrong.',message: 'PhoneCheck is not supported on MNO',})return}console.log('Firebase: signInWithPhoneNumber')const confirmation = await auth().signInWithPhoneNumber(phoneNumber)console.log('Firebase: signInWithPhoneNumber result', confirmation)setLoading(false)setSentCode(confirmation)} catch (e) {setLoading(false)errorHandler({ title: 'Something went wrong', message: e.message })}}
Here we call Reachability API, which returns a list of MNO-supported products. If we get a 400, the MNO is not supported, and we inform the user.
If the status is not 412, we loop through the returned list of products, and if any match PhoneCheck, we set isPhoneCheckSupported to true.
If isPhoneCheckSupported is false, we inform the user and stop execution.
Now we can create our SIMCheck. For this, we'll need to make an HTTP POST request to the ngrok URL + /v0.1/sim-check, e.g. https://{subdomain}.{region}.ngrok.io/v0.1/sim-check. In a production environment, you'd use your own server, but we'll use the development server running from the CLI in this case.
Update the URL variable to the value of the development server ngrok URL you started at the beginning of the tutorial.
const URL = 'https://{subdomain}.{region}.ngrok.io'
Finally, update the onPressHandler to make a request to check for a SIM Swap before executing the Firebase Phone Auth flow:
const onPressHandler = async () => {...const body = { phone_number: phoneNumber }console.log('tru.ID: Creating SIMCheck for', body)const response = await fetch(`${URL}/v0.1/sim-check`, {method: 'POST',headers: {'Content-Type': 'application/json',},body: JSON.stringify(body),})const data = await response.json()console.log('tru.ID: SIMCheck created', data)if (data.no_sim_change === false) {setLoading(false)errorHandler({title: 'SIM Change Detected',message: 'SIM changed too recently. Please contact support.',})return}console.log('Firebase: signInWithPhoneNumber')...} catch (e) {...}}
Here we make a POST request to the sim-check endpoint, and if the user's SIM has changed recently, we display an Alert to the user. If the SIM hasn't changed, we perform the Firebase phone authentication.
Wrapping Up
There you have it: you’ve successfully integrated tru.ID SIMCheck with your React Native applications secured with Firebase Phone Authentication, and now you have SIM Swap detection for a more secure login flow.

