

Amazon Cognito is an identity provider which allows you to easily add login and sign-up to your applications, along with access control. However, there are problems with email and password, so it is imperative to be able to verify the user via a possession factor (i.e., phone number). If you cannot verify the phone number, it could indicate that the user is not who they claim to be. This problem is where the tru.ID PhoneCheck API comes in.
The tru.ID PhoneCheck API confirms the ownership of a mobile phone number by verifying the possession of an active SIM card with the same number. A mobile data session is created to a unique Check URL for this verification. tru.ID then resolves a match between the phone number you're verifying and the phone number that the mobile network operator identifies as the owner of the mobile data session.
If you just want to dive into the code, you can find it on GitHub.
Getting Started
In your terminal, clone the starter-files branch with the following command:
git clone -b starter-files https://github.com/tru-ID/amazon-cognito-sim-authentication.git
If the finished code is what you're interested in, then the command below will clone the repository with the main branch as the active branch:
git clone -b main https://github.com/tru-ID/amazon-cognito-sim-authentication.git
Install dependencies via:
npm install
npm install -g @tru_id/cli
tru login <YOUR_IDENTITY_PROVIDER> (this is one of google, github, or microsoft) using the Identity Provider you used when signing up. This command will open a new browser window and ask you to confirm your login. A successful login will show something similar to the below:Success. Tokens were written to /Users/user/.config/@tru_id/cli/config.json. You can now close the browser
config.json file contains some information you won't need to modify. This config file includes your Workspace Data Residency (EU, IN, US), your Workspace ID, and token information such as your scope.Create a new tru.ID project within the root directory with the following command:tru projects:create rn-amazon-auth --project-dir .
rn-amazon-auth directory and run the following command to clone the dev-server:git clone git@github.com:tru-ID/dev-server.git
dev-server directory, run the following command to create a.env copy of .env.example:cp .env.example .env
.env file, update the values of TRU_ID_CLIENT_ID andTRU_ID_CLIENT_SECRET with your client_id and client_secret in yourtru.json file.dev-server to the Internet for your mobile application to access your backend server. For this tutorial, we're using ngrok, which we've included in the dev-server functionality. So to start with, uncomment the following and populate them with your ngrok credentials:NGROK_ENABLED=true#NGROK_SUBDOMAIN=a-subdomain # Uncommenting this is optional. It is only available if you have a paid ngrok account.NGROK_AUTHTOKEN=<YOUR_NGROK_AUTHTOKEN> # This is found in the ngrok dashboard: https://dashboard.ngrok.com/get-started/your-authtokenNGROK_REGION=eu # This is where your ngrok URL will be hosted. If you're using tru.ID's `eu` data residency; leave it as is. Otherwise, you could specify `in` or `us`.
dev-server directory, run the following two commands:npm install # Installs all third-party dependencies in package.jsonnpm run dev # Starts the server
Setting up Amazon Cognito
Create or log into an AWS account.
Navigate to the AWS Management portal.
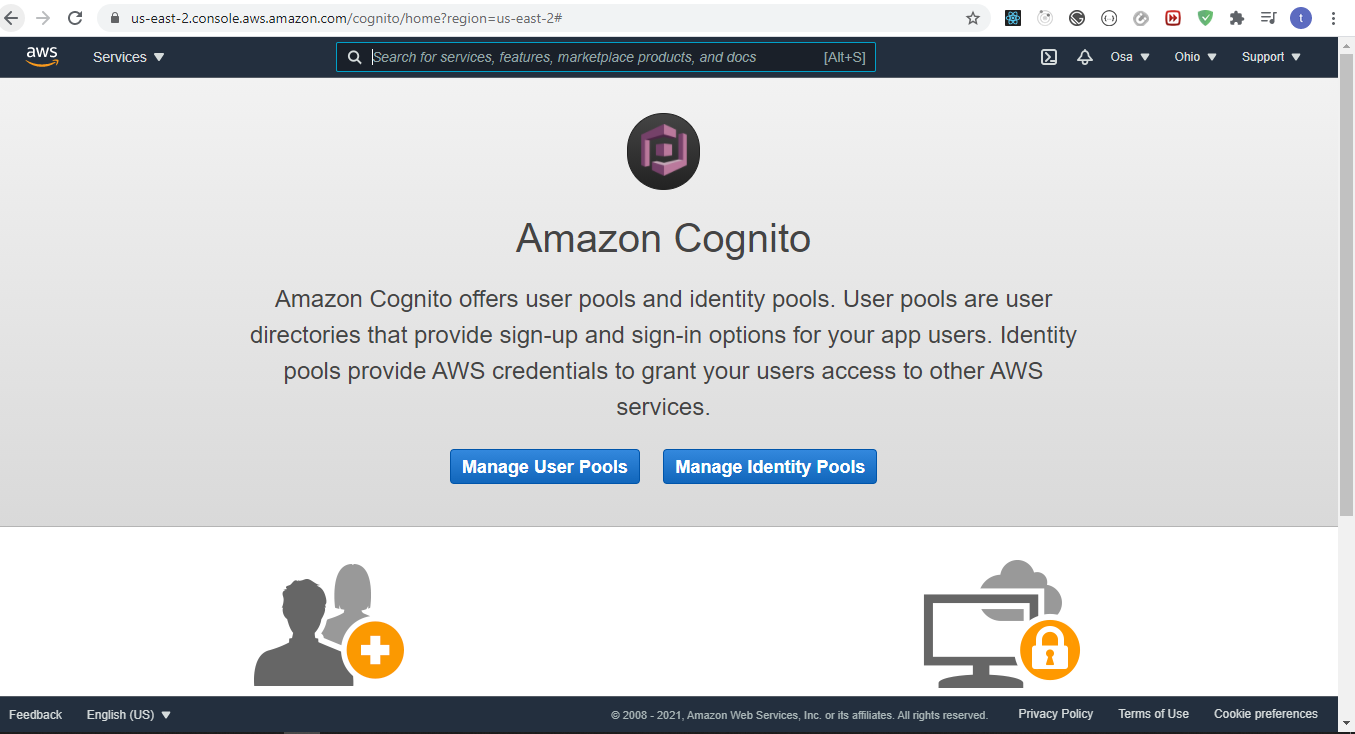
Search for ‘cognito’, and select the service as shown below.

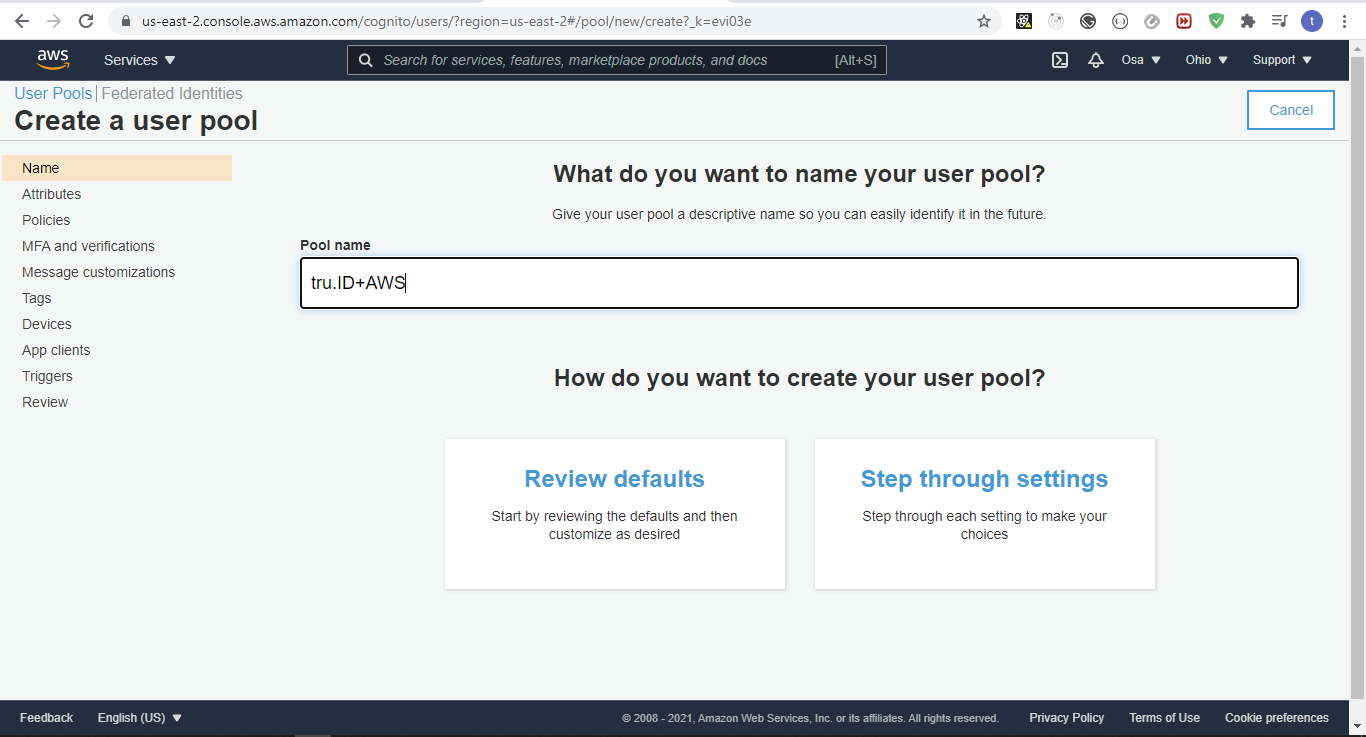
You'll be taken to the following page. Select ‘manage user pools’ and create a new user pool.
Give the pool a name and select ‘step through settings’ as shown below.
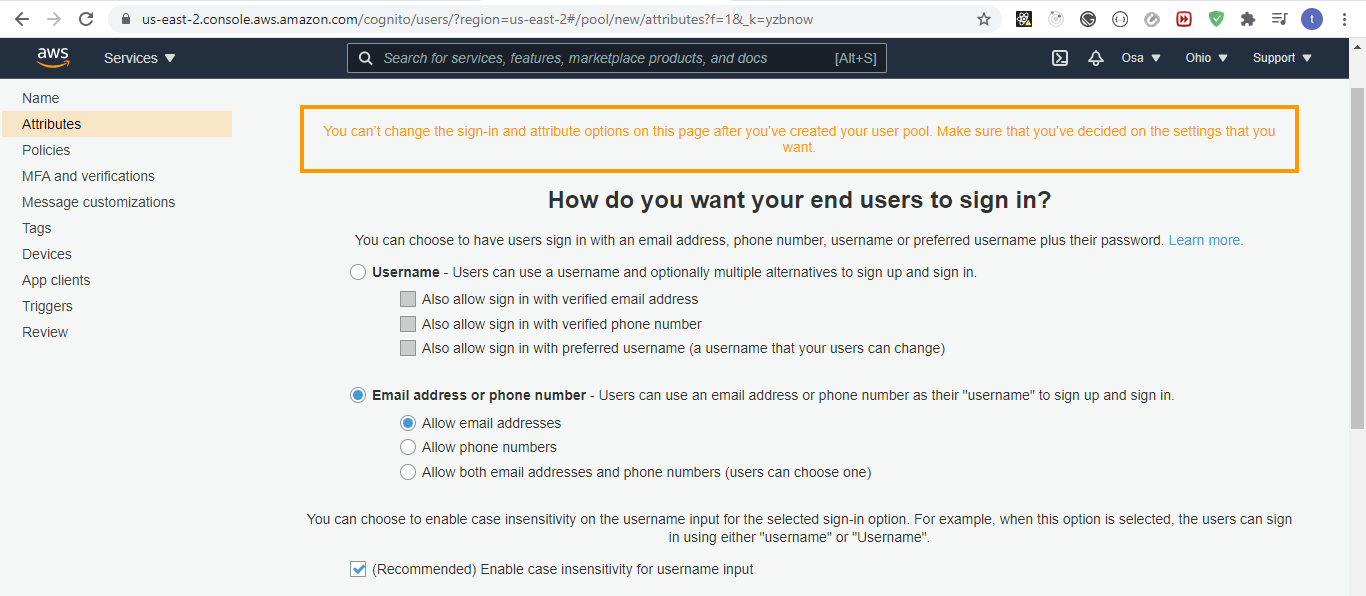
Under ‘attributes’, select ‘Email address or phone number’ as shown below.
Under the ‘Which standard attributes do you want to require?’ heading, select ‘phone number’. Click ‘Next Step’ to continue.
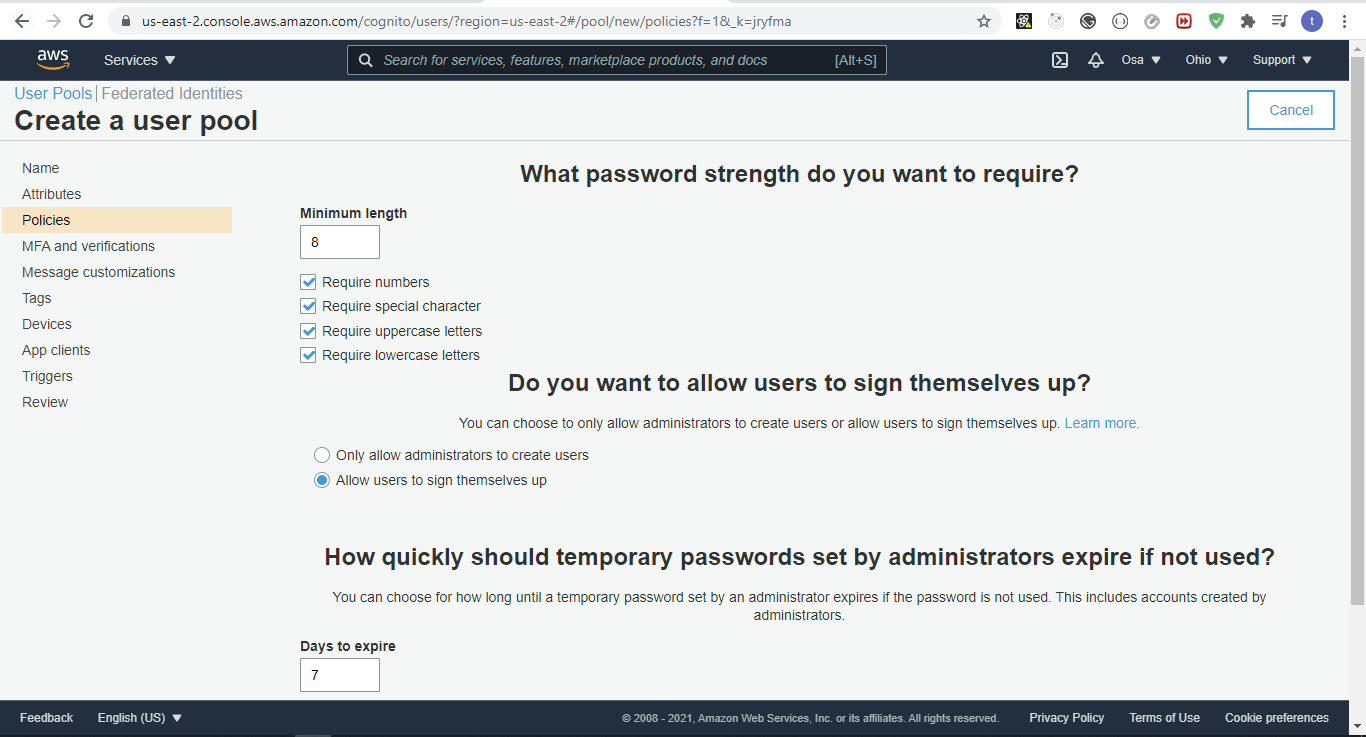
Under ‘policies’, keep the defaults, as shown below.
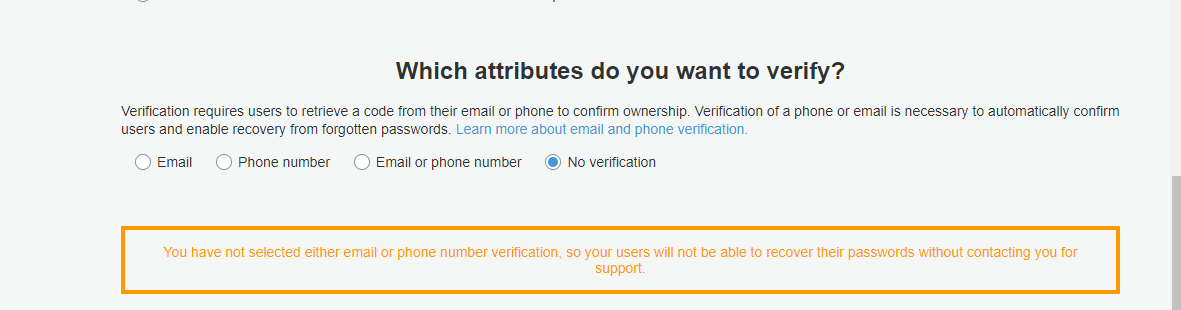
Under ‘MFA and verifications’, keep the defaults, except under the ‘Which attributes do you want to verify?’ heading. There, select ‘No verification’, as shown below.
Under 'Message customizations', keep the defaults and proceed to the next step.
Under 'Tags', simply proceed to the next step.
Under 'Devices', keep the default and proceed to the next step.
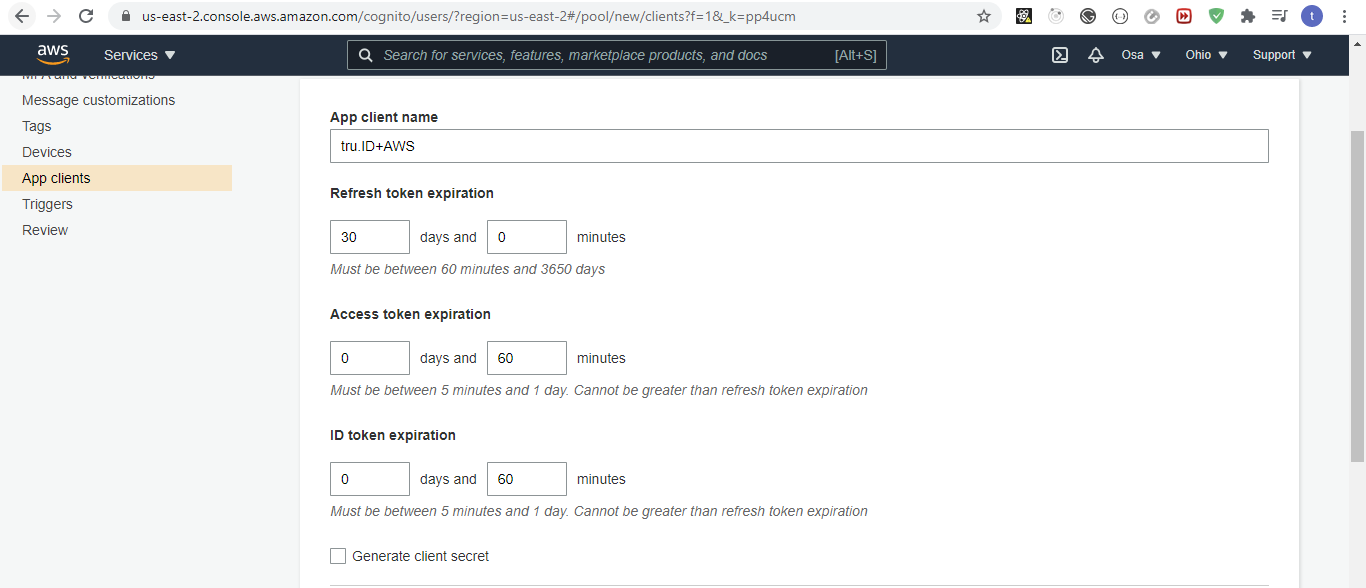
Under 'App clients', click 'Add an app client'. Give the App client a name. Be sure to deselect the 'Generate client secret' checkbox, the AWS SDK doesn't support apps that have a client secret, as shown below.
Below, under ‘Auth Flows Configuration’, be sure to check 'Enable username password-based authentication (ALLOW_USER_PASSWORD_AUTH)'.
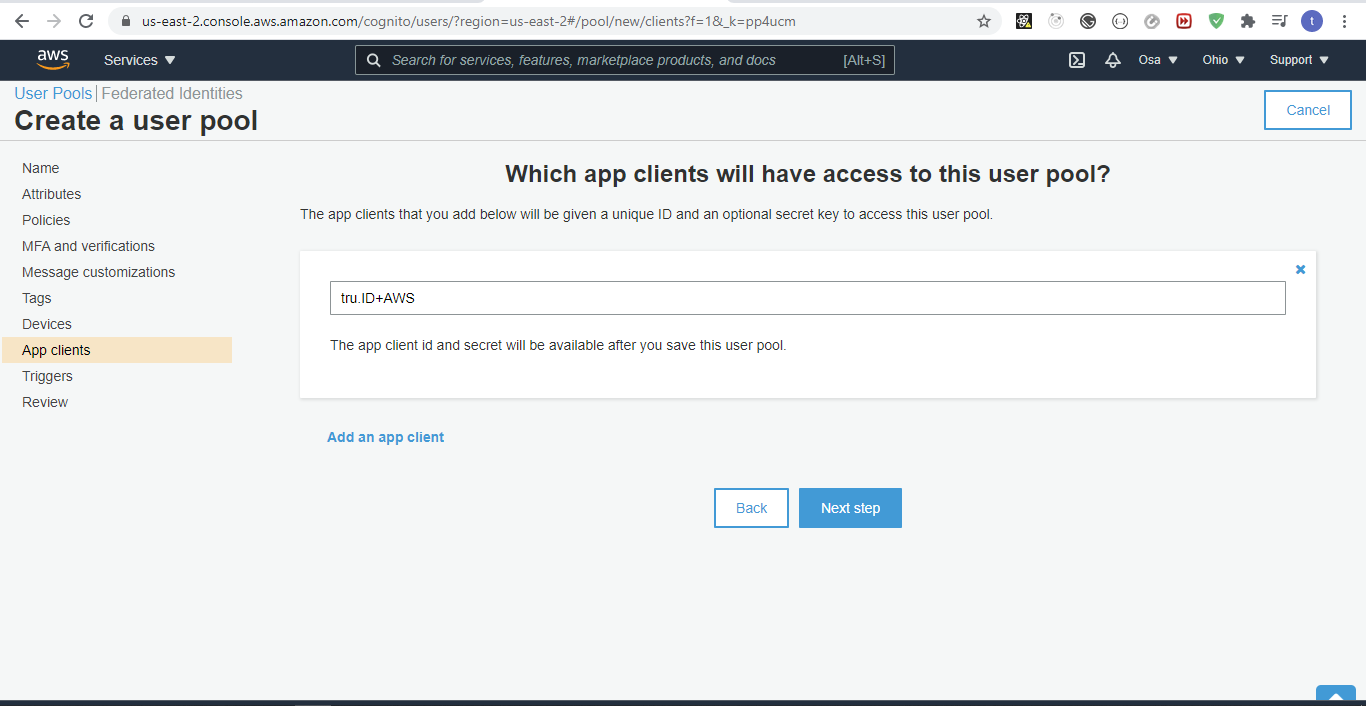
You will then be informed that you have added an app client, as shown below. Click 'Next step' to proceed.
Under 'Triggers', leave the defaults and proceed to the next step.
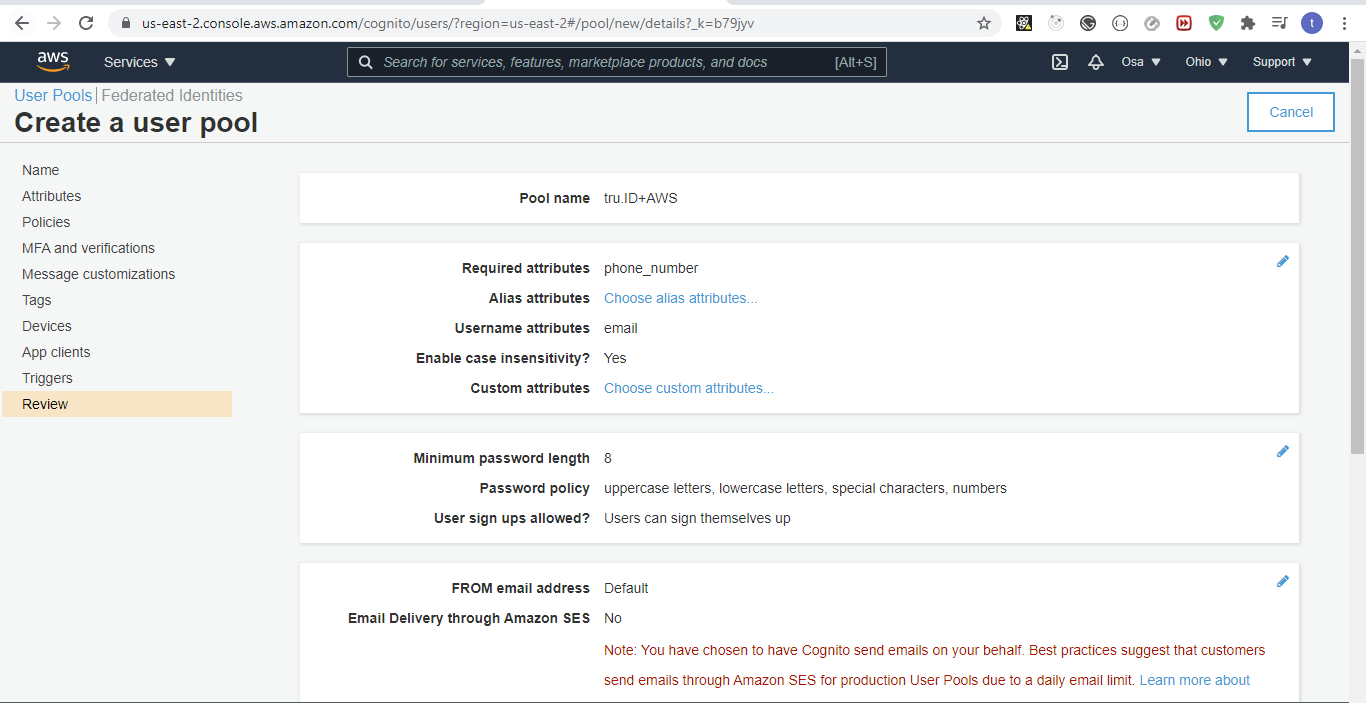
Finally, under 'Reviews', you will be shown a recap of all your settings and allowed to modify them and create the pool. Once you've looked over your settings, create the pool. An example is shown below.
You should then be given a Pool id and Pool ARN. Open the terminal and run the following:
cp .env.example .env
Replace AMAZON_USER_POOL_ID with the Pool id value and AMAZON_CLIENT_ID with the app client id obtained from the 'General Settings > 'App clients' value.
To start the project, ensure you have a physical device connected (see Running React Native on a physical device guide), then run:
npm run android#ornpm run ios
Your app will look like this on startup.


Get the User's Credentials on the Mobile Device
The first step is to add the state management and UI required to grab the credentials we set up in our AWS console, which are email (as username), password, and phone_number.
Head over to src/screens.js and replace the Screens definition with the following:
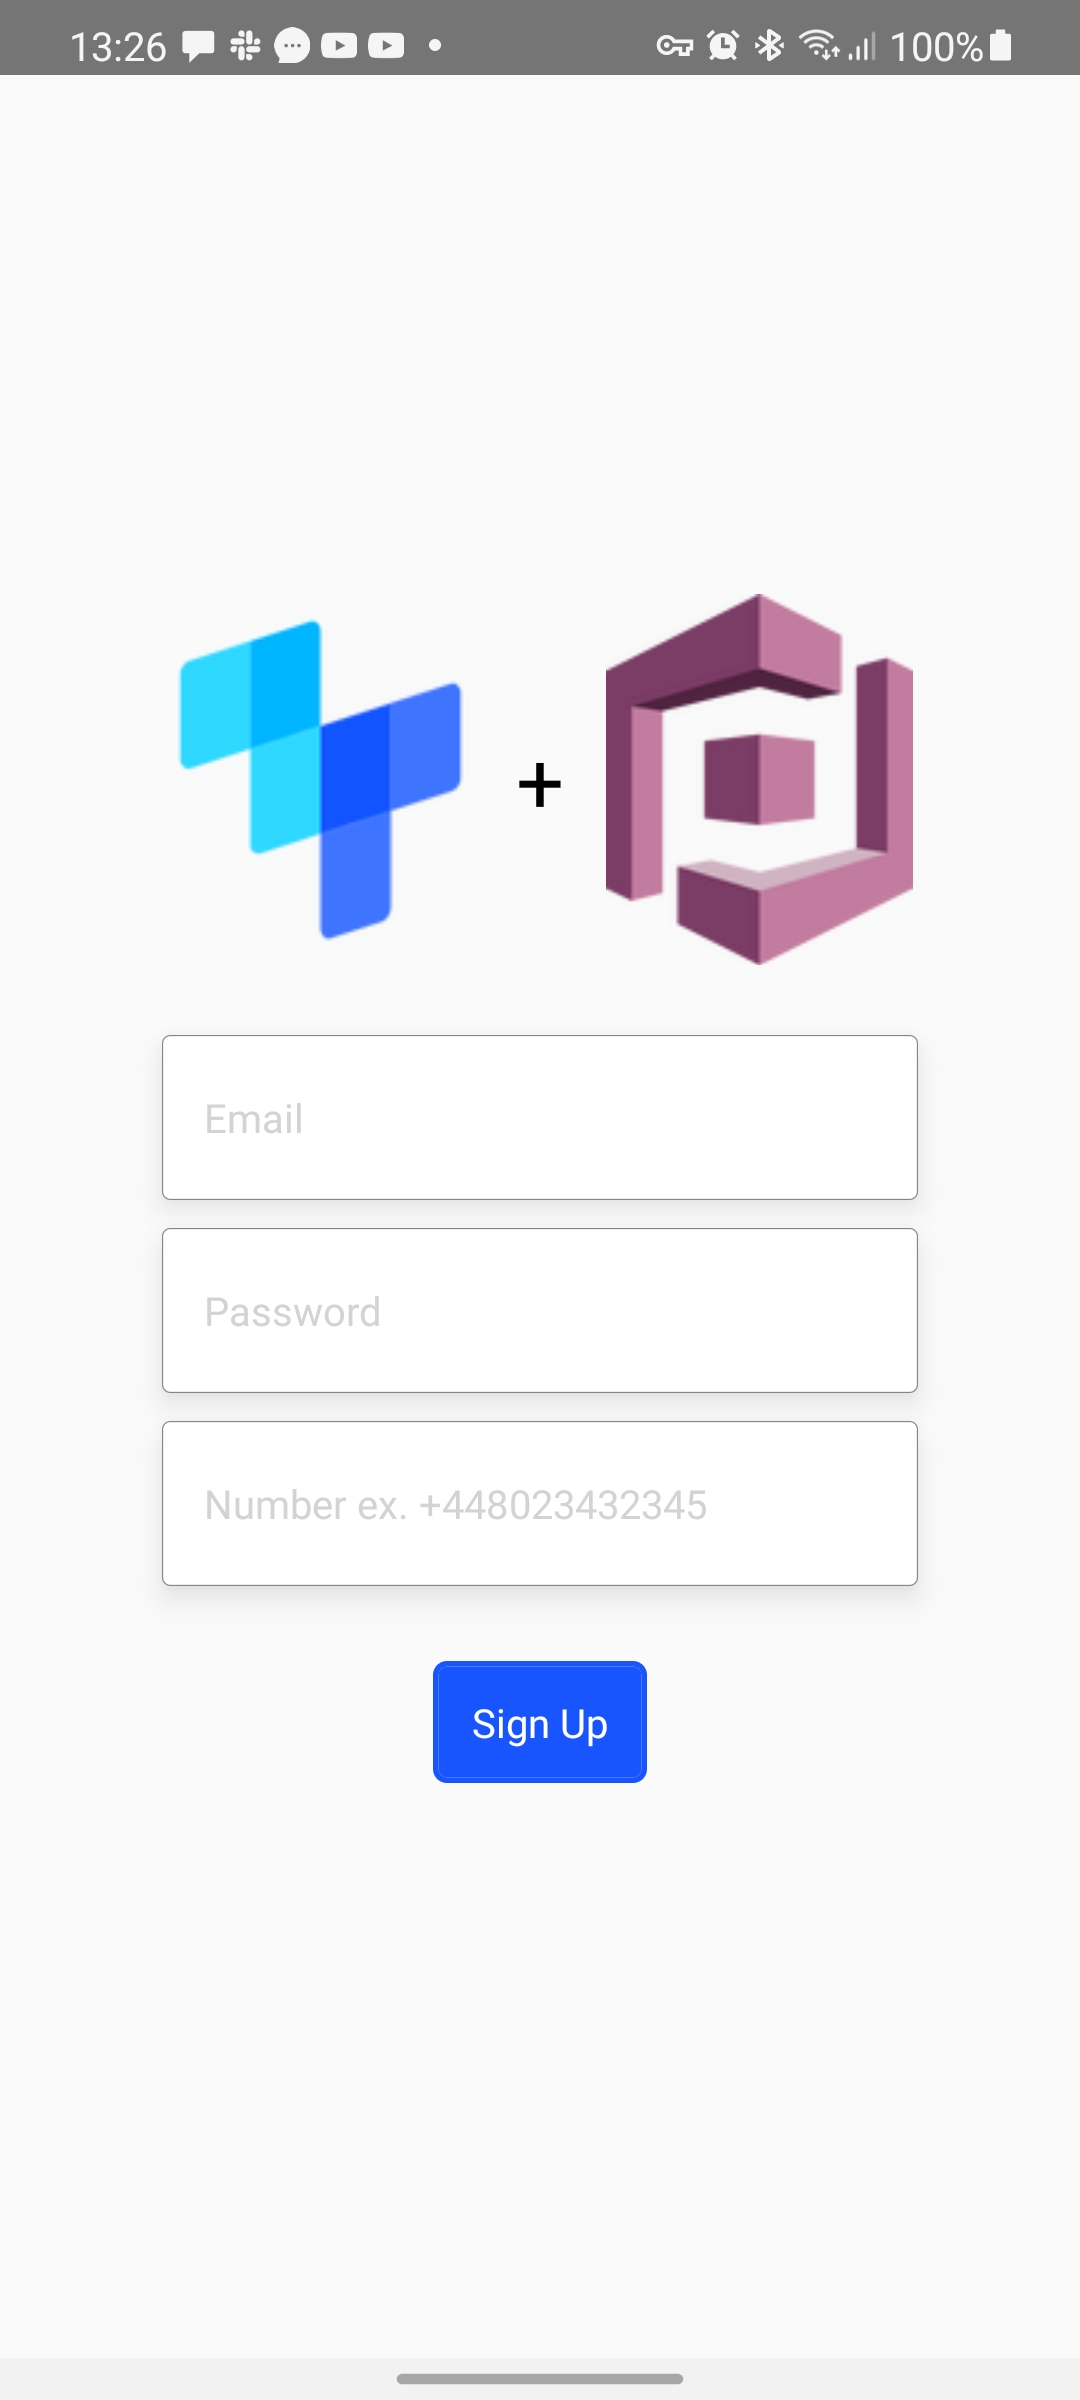
const Screens = () => {// replace with subdomain gotten from tru.ID ngrok URLconst baseURL = 'https://{subdomain}.{data_residency}.ngrok.io'const { setShowApp, showApp } = useContext(screenContext)const [email, setEmail] = useState('')const [password, setPassword] = useState('')const [phoneNumber, setPhoneNumber] = useState({Name: 'phone_number',Value: '',})const [loading, setLoading] = useState(false)const registerHandler = async () => {}return (<>{!showApp ? (<OnboardingNextButtonComponent={NextButton}DoneButtonComponent={DoneButton}bottomBarHighlight={false}onDone={() => setShowApp(true)}pages={[{backgroundColor: '#FF8C00',title: 'Blazingly Fast',subtitle: 'Up to 50x faster than alternatives.',image: <Image source={require('./images/man-on-phone.png')} />,},{backgroundColor: '#00FF7F',title: 'Get Started',subtitle: 'Create an account to get started.',image: <Image source={require('./images/woman-on-phone.png')} />,},]}/>) : (<View style={styles.container}><View style={styles.images}><Image source={require('./images/tru-id-logo.png')} /><Text style={styles.plus}>+</Text><Image source={require('./images/aws-cognito-logo.png')} /></View><View style={styles.form}><View style={styles.center}><TextInputstyle={styles.textInput}placeholder="Email"placeholderTextColor="#d3d3d3"keyboardType="email-address"value={email}editable={!loading}onChangeText={(Value) => setEmail(Value)}/><TextInputstyle={styles.textInput}placeholder="Password"placeholderTextColor="#d3d3d3"value={password}editable={!loading}onChangeText={(Value) => setPassword(Value)}secureTextEntry/><TextInputstyle={styles.textInput}placeholder="Number ex. +448023432345"placeholderTextColor="#d3d3d3"keyboardType="phone-pad"value={phoneNumber.Value}editable={!loading}onChangeText={(Value) =>setPhoneNumber((prevState) => ({...prevState,Value: Value.replace(/\s+/g, ''),}))}/>{loading ? (<ActivityIndicatorstyle={styles.spinner}size="large"color="#00ff00"/>) : (<TouchableOpacityonPress={registerHandler}style={styles.button}><Text style={styles.buttonText}>Sign Up</Text></TouchableOpacity>)}</View></View></View>)}</>)}
Our UI will look like this after the above changes:
Handling User Registration
The user will begin registration by touching the TouchableOpacity, which triggers an onPress event. This event is bound to the registerHandler function.
First, let's install the AWS Cognito identity JS package that we'll use in the registerHandler function.
npm install --save amazon-cognito-identity-js
Next, add relevant imports to the top of src/screens.js:
import { AMAZON_USER_POOL_ID, AMAZON_CLIENT_ID } from '@env'import {CognitoUserPool,CognitoUserAttribute,} from 'amazon-cognito-identity-js'
The first import allows us to use the environment variables we defined earlier in our application, and the second contains imports relevant to Amazon Cognito.
Next, let's create a reusable function to handle any errors above the registerHandler function:
const errorHandler = ({ title, message }) => {return Alert.alert(title, message, [{text: 'Close',onPress: () => console.log('Alert closed'),},])}
This function takes in a title and message prop and renders an Alert to the screen using those props.
Now we can update the registerHandler function:
const registerHandler = async () => {console.log('Register handler triggered')const cognitoAttributeList = []const userPool = new CognitoUserPool({UserPoolId: AMAZON_USER_POOL_ID,ClientId: AMAZON_CLIENT_ID,})console.log(userPool)// pass extra attribute `phoneNumber` state into `CognitoUserAttribute`const attributePhoneNumber = new CognitoUserAttribute(phoneNumber)// push Cognito User Attributes into `cognitoAttributeList`cognitoAttributeList.push(attributePhoneNumber)setLoading(true)console.log('AWS: signUp()')userPool.signUp(email,password,cognitoAttributeList,null,async (error, result) => {console.log(error, result)if (error) {setLoading(false)errorHandler({title: 'Something went wrong.',message: error.message,})return}console.log('AWS userPool signUp Result:', result)},)}
Here, we create a new instance of CognitoUserPool passing in our AMAZON_USER_POOL_ID and AMAZON_CLIENT_ID.
Next, we pass an extra attribute, phoneNumber, into a new instance of CognitoUserAttribute.
We then push Cognito User Attribute into cognitoAttributeList.
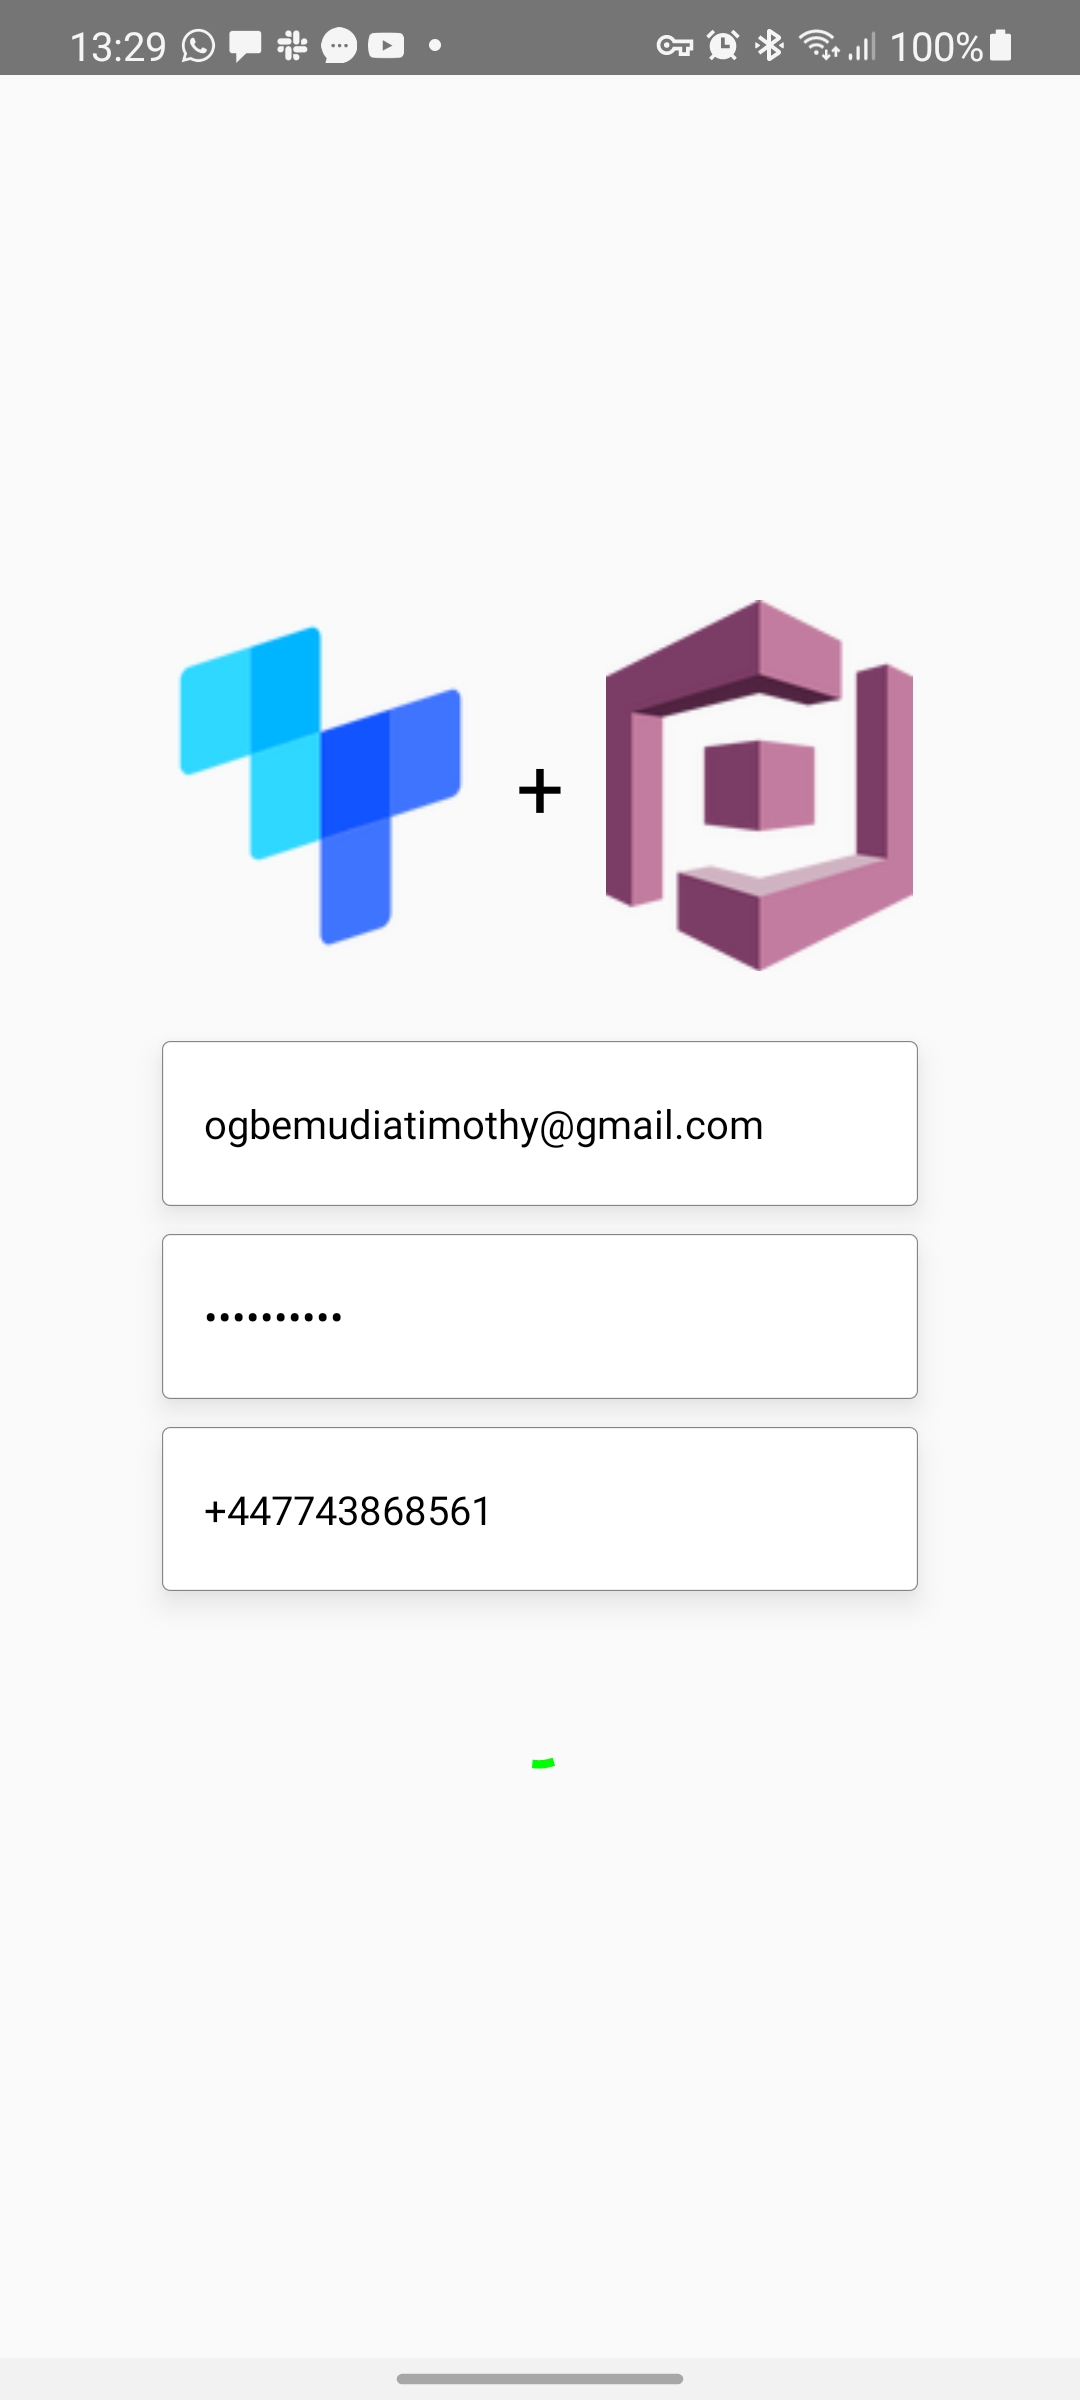
We set loading to true, which gives the user a visual cue that a process (an HTTP network request) has kicked off, as shown below:
Afterward, we sign the user up using the userPool.signUp method, passing the email, password, and cognitoAttributeList as parameters. If there is a problem, we call the generic error handler.
Augmenting the existing workflow to add SIM card-based authentication
The last thing we'll do is add SIM card-based mobile authentication to the signup flow using PhoneCheck.
For this, we make an HTTP POST request to the ngrok URL + /phone-check, e.g. https://{ngrokUrl}/phone-check. In a production environment, you would use your server, but we'll use the development server running from the CLI in this case.
First, update the baseURL variable to the value of the development server ngrok URL you started at the beginning of the tutorial.
const baseURL = 'https://{subdomain}.{data_residency}.ngrok.io'
Next, install the tru.ID React Native SDK:
npm install @tru_id/tru-sdk-react-native
Import to the top of src/screens.js:
import TruSdkReactNative from '@tru_id/tru-sdk-react-native'
With the SDK imported, we first want to check if the user's mobile operator supports the PhoneCheck API using the Reachability API.
Within the userPool.signUp callback function, find the line console.log('AWS userPool signUp Result:', result) and below this call the Reachability API with:
try {const reachabilityResponse = await TruSdkReactNative.openWithDataCellular('https://{DATA_RESIDENCY}.api.tru.id/public/coverage/v0.1/device_ip');console.log(reachabilityResponse);let isMNOSupported = falseif ('error' in reachabilityResponse) {errorHandler({title: 'Something went wrong.',message: 'MNO not supported',})setLoading(false)return} else if ('http_status' in reachabilityResponse) {let httpStatus = reachabilityResponse.http_status;if (httpStatus === 200 && reachabilityResponse.response_body !== undefined) {let body = reachabilityResponse.response_body;console.log('product => ' + JSON.stringify(body.products[0]));isMNOSupported = true;} else if (httpStatus === 400 || httpStatus === 412 || reachabilityResponse.response_body !== undefined) {errorHandler({title: 'Something went wrong.',message: 'MNO not supported',})setLoading(false)return}}let isPhoneCheckSupported = falseif (isMNOSupported === true) {reachabilityResponse.response_body.products.forEach((product) => {console.log('supported products are', product)if (product.product_name === 'Phone Check') {isPhoneCheckSupported = true}})}if (!isPhoneCheckSupported) {setLoading(false)errorHandler({title: 'Something went wrong.',message: 'PhoneCheck is not supported on MNO',})return}} catch (err) {setLoading(false)errorHandler({title: 'Something went wrong',message: err.message,})}
Here we call the Reachability API, which returns a list of MNO-supported products. If we get a 400, the MNO is not supported, and we inform the user.
If the status is not 412, we loop through the returned list of products, and if any match PhoneCheck, we set isPhoneCheckSupported to true.
If isPhoneCheckSupported is false, we inform the user and stop execution.
Now we can create a PhoneCheck via a new function. Add the following:
async function createPhoneCheck(phoneNumber) {const body = { phone_number: phoneNumber }console.log('tru.ID: Creating PhoneCheck for', body)const response = await fetch(`${baseURL}/v0.2/phone-check`, {body: JSON.stringify(body),method: 'POST',headers: {'Content-Type': 'application/json',},})const json = await response.json()return json}
Here, we make a POST request to /phone-check which returns a check_url and check_id.
Within the userPool.signUp callback function, underneath if (!isPhoneCheckSupported) {...} call the new function above the catch:
const phoneCheck = await createPhoneCheck(phoneNumber.Value)console.log('tru.ID: Created PhoneCheck', phoneCheck)
With the PhoneCheck created, we request the Check URL using the SDK to perform the authentication:
try {...const checkResponse = await TruSdkReactNative.openWithDataCellular(phoneCheck.check_url);} catch (err) {...}
The tru.ID React Native SDK forces a network request over mobile data, passing in the check_url, which performs the authentication check and readies a result.
With the check_url opened, you now need to complete the PhoneCheck flow, by making a PATCH request to tru.ID's PhoneCheck API. This request will return the result of the PhoneCheck. To create a function for data fetching, beneath the function createPhoneCheck, add the following:
const completePhoneCheck = async (checkId, code) => {const response = await fetch(`${baseURL}/v0.2/phone-check/exchange-code`, {method: 'POST',body: JSON.stringify({check_id: checkId,code: code,}),headers: {'Content-Type': 'application/json',},})const json = await response.json()return json}
Above, we make a POST request to /v0.2/phone-check/exchange-code, passing the check_id, and code properties in the body of the request.
Now call this newly created function at the end of your try { } block:
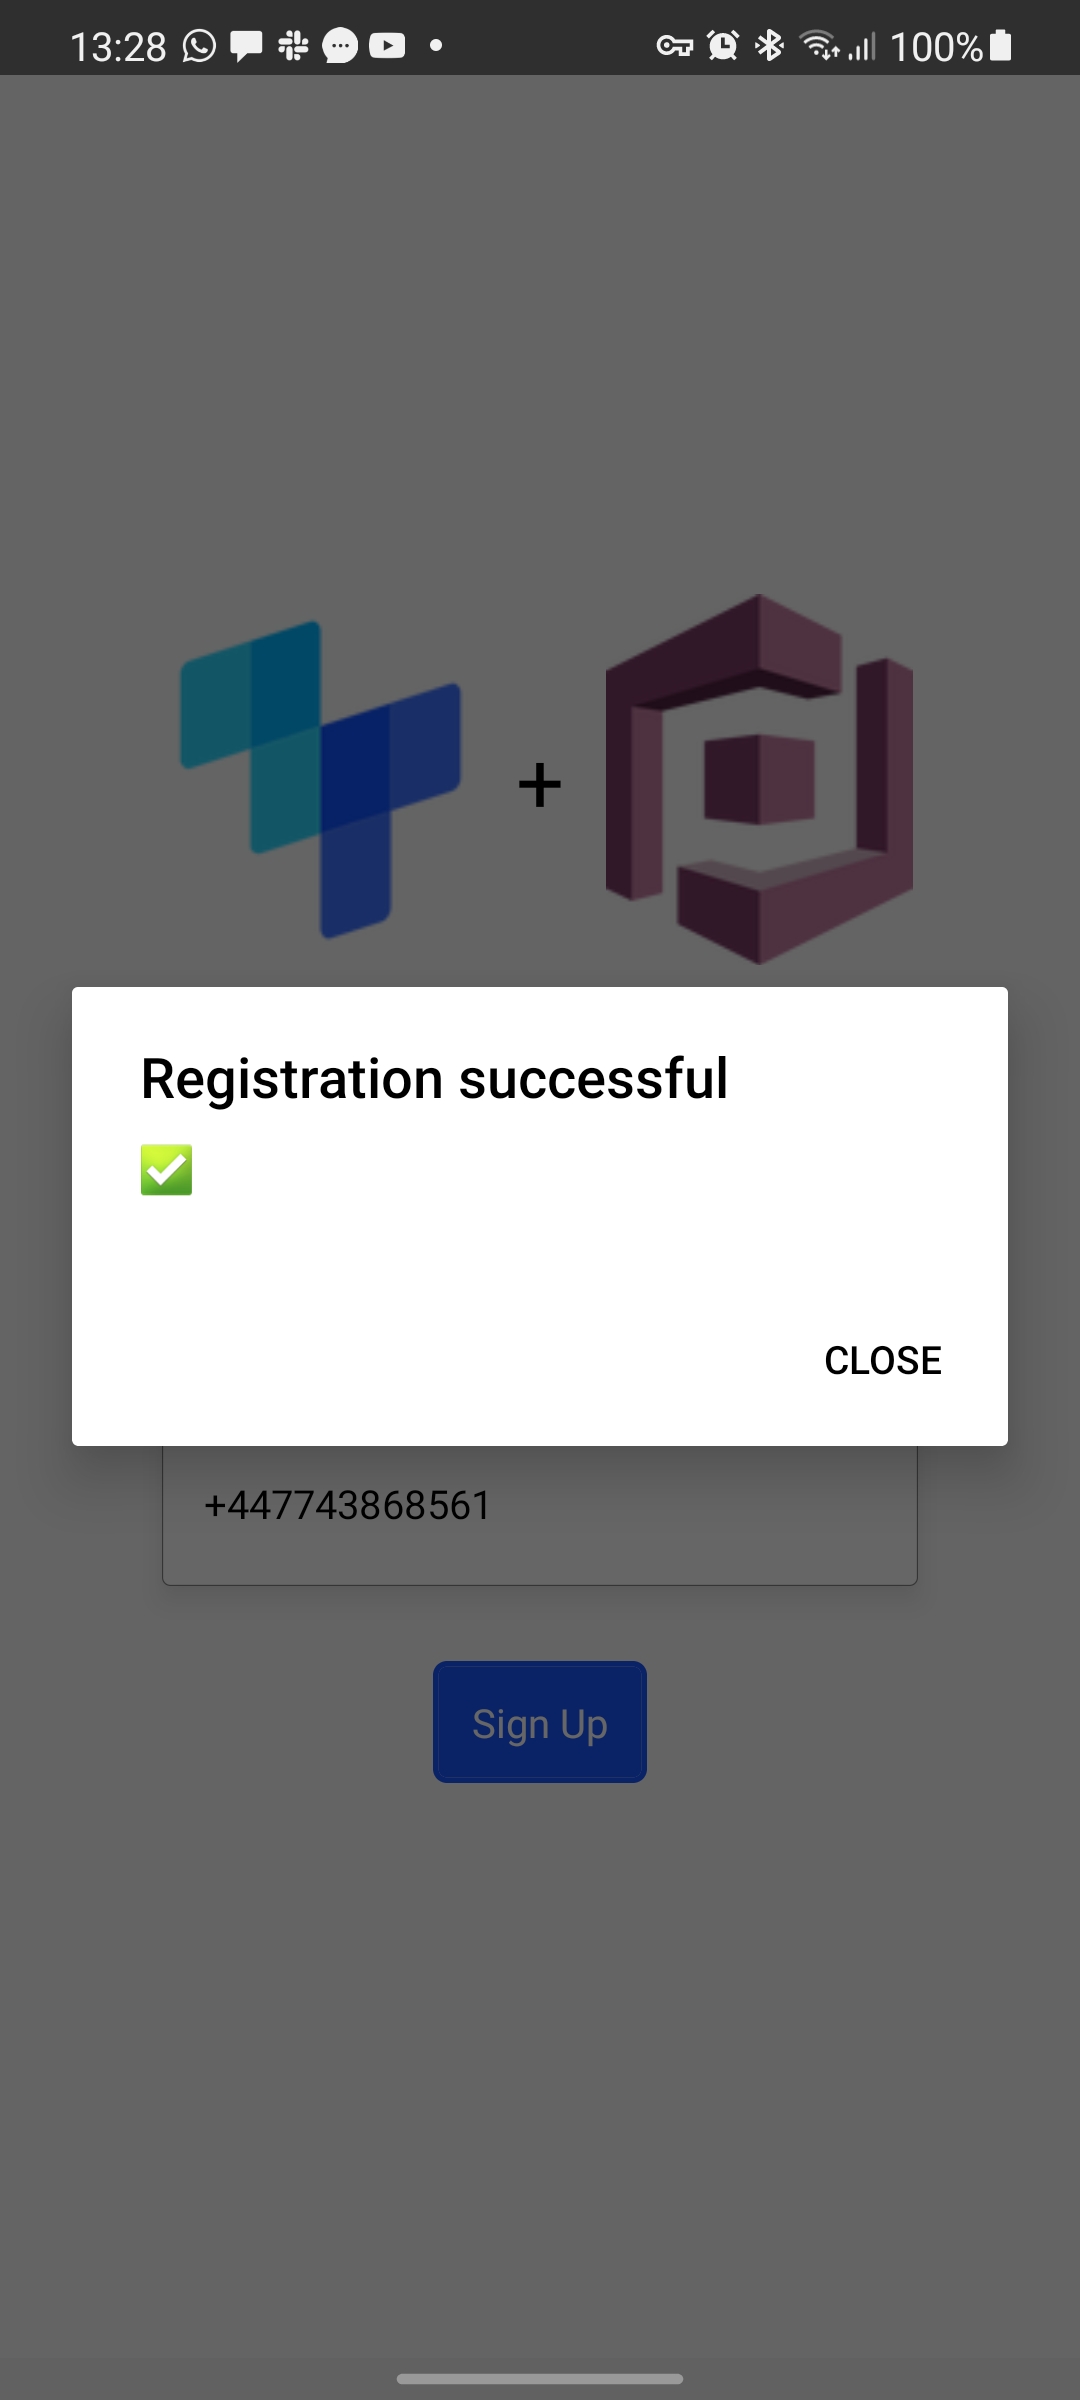
try {...setLoading(false)const phoneCheckResult = await completePhoneCheck(checkResponse.response_body.check_id, checkResponse.response_body.code)if (phoneCheckResult.match) {Alert.alert('Registration successful', '✅', [{text: 'Close',onPress: () => console.log('Alert closed'),},])} else {errorHandler({title: 'Registration Failed',message: 'PhoneCheck match failed. Please contact support',})}} catch (err) {...}
We render our generic error handler if there is no match or the application catches an error. If none of those two conditions are true, we have a match and render the result to the user.
The UI for a match would look like this:
Wrapping Up
There you have it: you’ve successfully integrated tru.ID PhoneCheck with your React Native applications secured with Amazon Cognito.

