

In this tutorial, you'll learn how to add tru.ID authentication using the SubscriberCheck API and Auth0’s social login to a Flutter application.
Auth0 is a platform that offers authorization and authentication strategies out of the box. It supports single-page web apps, regular web apps, and native apps. Auth0 does not have an officially supported SDK for Flutter, so this tutorial uses a third-party package called flutter_appauth.
flutter_appauth is a wrapper for AppAuth, a client SDK for native apps to authenticate and authorize end-users using OAuth 2.0 and OpenID Connect protocols.
Before you begin
To follow along with this tutorial, you'll need:
- A tru.ID Account
- An Auth0 Account
- An Ngrok account
- A mobile phone with a SIM card and mobile data connection
Getting started
In your terminal, clone the starter-files branch of the tutorial repository with the following command:
git clone -b starter-files https://github.com/tru-ID/sim-based-authentication-flutter-auth0.git
If the finished code is what you're interested in, then the command below will clone the repository with the main branch as the active branch:
git clone https://github.com/tru-ID/sim-based-authentication-flutter-auth0.git
npm install -g @tru_id/cli
tru login <YOUR_IDENTITY_PROVIDER> (this is one of google, github, or microsoft) using the Identity Provider you used when signing up. This command will open a new browser window and ask you to confirm your login. A successful login will show something similar to the below:Success. Tokens were written to /Users/user/.config/@tru_id/cli/config.json. You can now close the browser
config.json file contains some information you won't need to modify. This config file includes your Workspace Data Residency (EU, IN, US), your Workspace ID, and token information such as your scope.Create a new tru.ID project within the root directory with the following command:tru projects:create flutter-auth0 --project-dir .
flutter-auth0 directory and run the following command to clone the dev-server:git clone git@github.com:tru-ID/dev-server.git
dev-server directory, run the following command to create a.env copy of .env.example:cp .env.example .env
.env file, update the values of TRU_ID_CLIENT_ID andTRU_ID_CLIENT_SECRET with your client_id and client_secret in yourtru.json file.dev-server to the Internet for your mobile application to access your backend server. For this tutorial, we're using ngrok, which we've included in the dev-server functionality. So to start with, uncomment the following and populate them with your ngrok credentials:NGROK_ENABLED=true#NGROK_SUBDOMAIN=a-subdomain # Uncommenting this is optional. It is only available if you have a paid ngrok account.NGROK_AUTHTOKEN=<YOUR_NGROK_AUTHTOKEN> # This is found in the ngrok dashboard: https://dashboard.ngrok.com/get-started/your-authtokenNGROK_REGION=eu # This is where your ngrok URL will be hosted. If you're using tru.ID's `eu` data residency; leave it as is. Otherwise, you could specify `in` or `us`.
dev-server directory, run the following two commands:npm install # Installs all third-party dependencies in package.jsonnpm run dev # Starts the server
Getting started with Auth0
In your browser, sign in to your Auth0 dashboard. Once signed in, you'll be redirected to the dashboard, as shown below.

Create a new Auth0 application by clicking on the ‘applications’ pane on the left-hand side. This action will route you to a new page. Click on the ‘Create Application’ button to create a new application, as shown in the image below:

Creating an Auth0 application will give you Client ID and Client Secret values, found under the settings tab, to authenticate the user.
The next step is to set up the allowed callback URL, which gets called during the authentication process. In the settings page, scroll to ‘Application URIs’, and in the ‘Allowed Callback URL’ section, enter the following:
com.truid.flutterauth0subscribercheck://login-callback
The screen you should see is displayed in the image below:

In your project directory, duplicate the file .env.example and call it .env. Now within this file, you'll find some empty variables. Update the values of these variables to be your Auth0 Client ID and Auth0 Domain.
Note: The
AUTH0_ISSUERis your domain with thehttps://at the beginning.
Run the app
You've covered all the initial setup steps; it's time to start the project. First, make sure you have a physical device connected. Once the device is connected and turned on, enter the following command in your terminal:
flutter run
Note For a physical iOS device, ensure you've provisioned your project in XCode.
Once you've completed the above command, you'll see a screen on your device similar to what's shown below:

Get the user's phone number
For the mobile application to communicate with the backend web server, the baseURL value in lib/login.dart needs to be updated. The value of this variable should be the ngrok URL you noted earlier in the tutorial.
Next, the application needs somewhere to store the phone number and a boolean to determine whether an action is loading or not, usually triggered when the user has pressed the submit button.
Find the line class _LoginState extends State<Login>, and add the following two variable declarations (phoneNumber and loading) below the line:
String phoneNumber = '';bool loading = false;
Adding the above two variables currently doesn't have any use in the application, so now you're going to add functionality for this. In the lib/login.dart file, find the build widget, and within this widget, add the following two new blocks to your ListView's array of children:
Padding(padding: const EdgeInsets.symmetric(horizontal: 40, vertical: 10),child: TextField(keyboardType: TextInputType.phone,onChanged: (text) {setState(() {phoneNumber = text;});},decoration: const InputDecoration(border: OutlineInputBorder(),hintText: 'Enter your phone number.',),),),Padding(padding: const EdgeInsets.symmetric(horizontal: 10, vertical: 10),child: TextButton(onPressed: () async {}, child: const Text('Login')),)
A visual indicator is needed to disable the button and display a loading image when the login has been submitted. Near the bottom, find the following line: onPressed: () async {}, child: const Text('Login')), and update it as shown below:
child: TextButton(onPressed: () async {},child: loading? const CircularProgressIndicator(): const Text('Login'),),
In the code sample above, if the value of loading is true, then a CircularProgressIndicator widget is displayed as the visual cue that something is happening.
Refresh your application on the mobile device, and you'll see the screen shown in the example below:

Create reusable functions
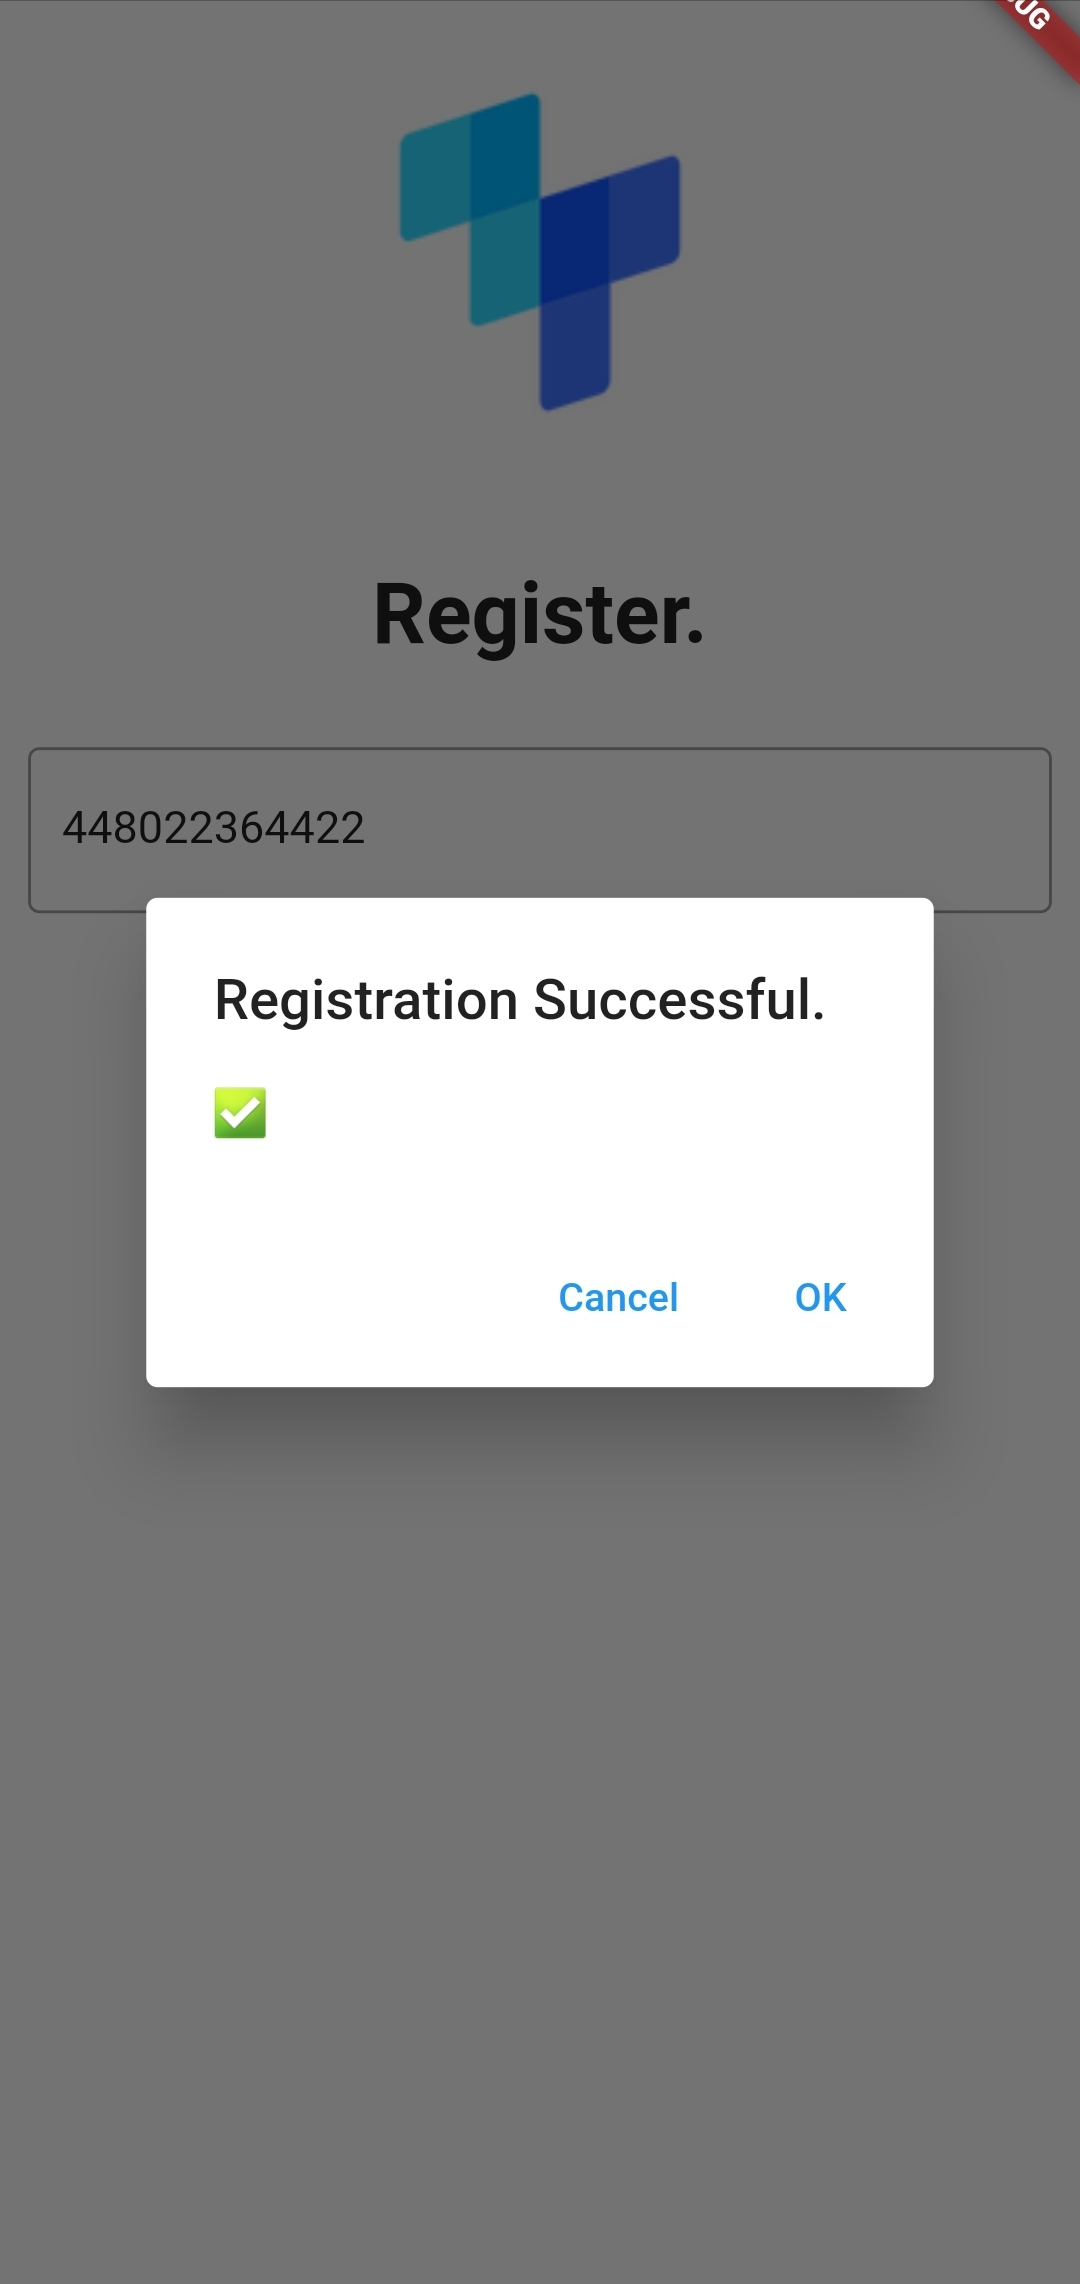
There are two core reusable functions needed for this authentication process. These two functions handle the flow for the user depending on the outcome of the SubscriberCheck. These are an errorHandler, which will display an AlertDialog widget containing the error. The second is the successHandler function to return a generic AlertDialog widget letting the user know of the successful check.
In lib/login.dart, find the line class _LoginState extends State<Login>, and add the following snippet of code which contains the two new functions for these possible outcomes:
Future<void> errorHandler(BuildContext context, String title, String content) {return showDialog(context: context,builder: (BuildContext context) {return AlertDialog(title: Text(title),content: Text(content),actions: <Widget>[TextButton(onPressed: () => Navigator.pop(context, 'Cancel'),child: const Text('Cancel'),),TextButton(onPressed: () => Navigator.pop(context, 'OK'),child: const Text('OK'),),],);});}Future<void> successHandler(BuildContext context) {return showDialog(context: context,builder: (BuildContext context) {return AlertDialog(title: const Text('Registration Successful.'),content: const Text('✅'),actions: <Widget>[TextButton(onPressed: () => Navigator.pop(context, 'Cancel'),child: const Text('Cancel'),),TextButton(onPressed: () => Navigator.pop(context, 'OK'),child: const Text('OK'),),],);});}
Create the SubscriberCheck
This next section makes an HTTP request to the reachability API, making sure the user's mobile network operator (MNO) supports the SubscriberCheck API. If so, the application triggers a PhoneCheck request. The tru.ID Flutter SDK contains all the functionality to provide this experience. Install this SDK in the terminal with the following command:
flutter pub add tru_sdk_flutter:1.0.0# or$ dart pub add tru_sdk_flutter:1.0.0
Now add the import for tru.ID's SDK to the top of lib/login.dart:
import 'package:tru_sdk_flutter/tru_sdk_flutter.dart';
Still, within the lib/login.dart file, locate your last Controller view (the TextButton widget). Within this widget you'll see the following line: onPressed: () async {},. This line is where the check is triggered when the user presses the button. Replace this line with the following:
onPressed: () async {setState(() {loading = true;});TruSdkFlutter sdk = TruSdkFlutter();bool isSubscriberCheckSupported = false;Map<Object?, Object?> reach = await sdk.openWithDataCellular("https://eu.api.tru.id/public/coverage/v0.1/device_ip",false);print("isReachable = $reach");if (reach.containsKey("http_status") &&reach["http_status"] != 200) {if (reach["http_status"] == 400 ||reach["http_status"] == 412) {return errorHandler(context, "Something Went Wrong.","Mobile Operator not supported, or not a Mobile IP.");}} else if (reach.containsKey("http_status") ||reach["http_status"] == 200) {Map body = reach["response_body"] as Map<dynamic, dynamic>;Coverage coverage = Coverage.fromJson(body);for (var product in coverage.products!) {if (product.name == "Subscriber Check") {isSubscriberCheckSupported = true;}}} else {isSubscriberCheckSupported = true;}if (isSubscriberCheckSupported) {} else {}},
The isReachable function gets called in the code above, which returns the fields networkId, networkName, countryCode, and products. The products field is an optional array listing the products supported by the tru.ID and the MNO. You'll also find an error object that may contain potential errors.
In the next part, the application creates the variable isSubscriberCheckSupported. If the HTTP status is not a 412, the application loops through the products and checks whether the productName equals Phone Check; if it does, then isSubscriberCheckSupported is set to true.
If the isSubscriberCheckSupported variable gets set to false by the end of the loop, the SubscriberCheck is not supported. For now, nothing happens (but you'll fix that later in the tutorial). If the value of isSubscriberCheckSupported is true, the SubscriberCheck can proceed.
To handle the SubscriberCheck response, you need a file with the data model classes. A SubscriberCheck API request returns the response with the fields check_id and check_url, so the SubscriberCheck class will have two fields, checkId and checkUrl, which will be converted values from the API response. Create a new file named models.dart inside your lib directory and add the following:
import 'dart:convert';class SubscriberCheck {final String id;final String url;SubscriberCheck({required this.id, required this.url});factory SubscriberCheck.fromJson(Map<dynamic, dynamic> json) {return SubscriberCheck(id: json['check_id'],url: json['check_url'],);}}
Now, within the lib/login.dart file, add the import at the top of this file for your newly created models.dart:
import 'package:flutterauth0subscribercheck/models.dart';
The next step is to create a function for creating the SubscriberCheck resource. The HTTP package is needed to make HTTP network requests. In the terminal, run the following to install this package:
flutter pub add http#ordart pub add http
Back in lib/login.dart file, at the top, add the import for this newly installed library:
import 'package:http/http.dart' as http;
The next piece of functionality to be added is to utilize the newly imported http library to take the user's phone number and make a POST request to the endpoint /v0.2/subscriber-check, which creates a new SubscriberCheck. If the HTTP status is 200, call the helper method from the SubscriberCheck class to convert the JSON to an object. Otherwise, return null.
To add this functionality, locate the onPressed handler, and below this you'll find the line: if (isSubscriberCheckSupported) {. Beneath this line, add the following functionality:
final response = await http.post(Uri.parse('$baseURL/v0.2/subscriber-check'),body: {"phone_number": phoneNumber});if (response.statusCode != 200) {setState(() {loading = false;});return errorHandler(context, 'Something went wrong.','Unable to create phone check');}SubscriberCheck checkDetails =SubscriberCheck.fromJson(jsonDecode(response.body));
The image below shows an example of what will be displayed if the MNO does not support the user’s phone number.

Open the Check URL
When the application creates a SubscriberCheck, the response contains a check URL needed to make a GET request over cellular for the check to succeed. The tru.ID Flutter SDK uses native functionality to force the network request through a cellular connection rather than WiFi.
Continuing to add more code from the last entry in the lib/login.dart file, add the following:
Map result =await sdk.openWithDataCellular(checkDetails.url, false);print("openWithDataCellular Results -> $result");if (result.containsKey("error")) {setState(() {loading = false;});errorHandler(context, "Something went wrong.","Failed to open Check URL.");}
The code above first opens the check URL; it then checks whether a result was received, which will indicate whether the check was able to continue or not.
Complete the SubscriberCheck
This section covers completing the SubscriberCheck flow and handling the result. To first complete the flow, you'll need to receive the check_id and code found in the final redirect when opening the check URL. These pieces of information need to be included in a PATCH request to tru.ID's API's, via your backend server. So, using the dev-server's /v0.2/subscriber-check/exchange-code endpoint.
First, a new data class is required to represent the properties expected in the SubscriberCheck response.
At the bottom of lib/models.dart, add the following SubscriberCheckResult class containing three new fields, id, match, and noSimChange:
class SubscriberCheckResult {final String id;bool match = false;bool noSimChange = true;SubscriberCheckResult({required this.id, required this.match, required this.noSimChange});factory SubscriberCheckResult.fromJson(Map<dynamic, dynamic> json) {return SubscriberCheckResult(id: json['check_id'],match: json['match'] ?? false,noSimChange: json['no_sim_change'] ?? true,);}}
Back in lib/login.dart, create a new function within your _LoginState class. This function will receive a checkID, code and optional referenceID. With these pieces of information it will make a JSON encoded POST request to your backend exchange-code endpoint, and if successful return the response of the SubscriberCheck.
Future<SubscriberCheckResult> exchangeCode(String checkID, String code, String? referenceID) async {var body = jsonEncode(<String, String>{'code': code,'check_id': checkID,'reference_id': (referenceID != null) ? referenceID : ""});final response = await http.post(Uri.parse('$baseURL/v0.2/subscriber-check/exchange-code'),body: body,headers: <String, String>{'content-type': 'application/json; charset=UTF-8',},);print("response request ${response.request}");if (response.statusCode == 200) {SubscriberCheckResult exchangeCheckRes =SubscriberCheckResult.fromJson(jsonDecode(response.body));print("Exchange Check Result $exchangeCheckRes");if (exchangeCheckRes.match) {print("✅ successful SubscriberCheck match");} else {print("❌ failed SubscriberCheck match");}return exchangeCheckRes;} else {throw Exception('Failed to exchange Code');}}
Within your login.dart file, locate the code you recently added, which opens the checkDetails.url. Below this block of code, add the following, which checks the HTTP status in the response is 200, it then proceeds to parse the data in the response and call exchangeCode to submit this information to your backend server.
The result for this POST request will contain information on the status of the SubscriberCheck, whether the phone number matches the one associated with that SIM card. The response will also contain information on whether the sim card has been recently changed or not.
if (result.containsKey("http_status") &&result["http_status"] == 200) {Map body = result["response_body"] as Map<dynamic, dynamic>;if (body["code"] != null) {CheckSuccessBody successBody =CheckSuccessBody.fromJson(body);try {SubscriberCheckResult exchangeResult =await exchangeCode(successBody.checkId,successBody.code, successBody.referenceId);if (exchangeResult.match &&exchangeResult.noSimChange) {// TODO, add Auth0 Functionality} else {setState(() {loading = false;});return errorHandler(context, "Something went wrong.","Unable to login. Please try again later");}} catch (error) {setState(() {loading = false;});return errorHandler(context, "Something went wrong.","Unable to login. Please try again later");}}}
Authenticating with Auth0
Now that you've covered verifying the user is the phone number owner through tru.ID's SubscriberCheck, the application needs the functionality to authenticate with Auth0's social login. This tutorial uses Google as the social login. However, Auth0 covers many other options.
Two different conditions of the authentication flow determine whether the application can make a call to Auth0. These conditions are:
- If the SubscriberCheck API isn't supported, the application will allow users to log in with Google through Auth0.
- If the SubscriberCheck returns a match and the SIM card has not recently changed, the user can log in with Google through Auth0.
The first step in this process is to add the following in the corresponding empty else block near the end of the file:
final AuthorizationTokenResponse? result = await appAuth.authorizeAndExchangeCode(AuthorizationTokenRequest(dotenv.env["AUTH0_CLIENT_ID"]!,dotenv.env["AUTH0_REDIRECT_URI"]!,issuer: dotenv.env["AUTH0_ISSUER"]!,scopes: ['openid', 'profile', 'offline_access'],promptValues: ['login']));if (result?.idToken != null) {setState(() {loading = false;});return successHandler(context);} else {setState(() {loading = false;});return errorHandler(context, "Something went wrong.","Unable to login. Please try again later");}
Next, find the line // TODO, add Auth0 Functionality, and replace it with the following:
final AuthorizationTokenResponse? result = await appAuth.authorizeAndExchangeCode(AuthorizationTokenRequest(dotenv.env["AUTH0_CLIENT_ID"]!,dotenv.env["AUTH0_REDIRECT_URI"]!,issuer: dotenv.env["AUTH0_ISSUER"]!,scopes: ['openid', 'profile', 'offline_access'],promptValues: ['login']));if (result?.idToken != null) {setState(() {loading = false;});return successHandler(context);} else {setState(() {loading = false;});return errorHandler(context, "Something went wrong.","Unable to login. Please try again later");}
The images below show screenshots of a mobile phone progressing through the authentication flow. This flow includes the parts of the code you've implemented throughout this tutorial and the parts that Auth0 handles.


Wrapping up
That's it! With everything in place, you have a seamless login flow using Flutter, Auth0, and the tru.ID SubscriberCheck API.

